[embedyt] https://www.youtube.com/watch?v=hu0zf3vwgI4[/embedyt]
Monitoring blood sugar levels to prevent complications from diabetes is recommended by the American Diabetes Association. If you have diabetes, a chronic condition that can usually be controlled by lifestyle changes, self-care measures, and medication, it is crucial for you to monitor your blood sugar levels.
If you happen to have the condition and want to give your fingers a break from frequent monitoring (especially if you are using your fingers for work), this article presents the six alternative best places to check blood sugar according to studies. Don’t forget to discuss with your healthcare provider to know which options suit you best.
Is your fingertip the best place to check blood sugar?
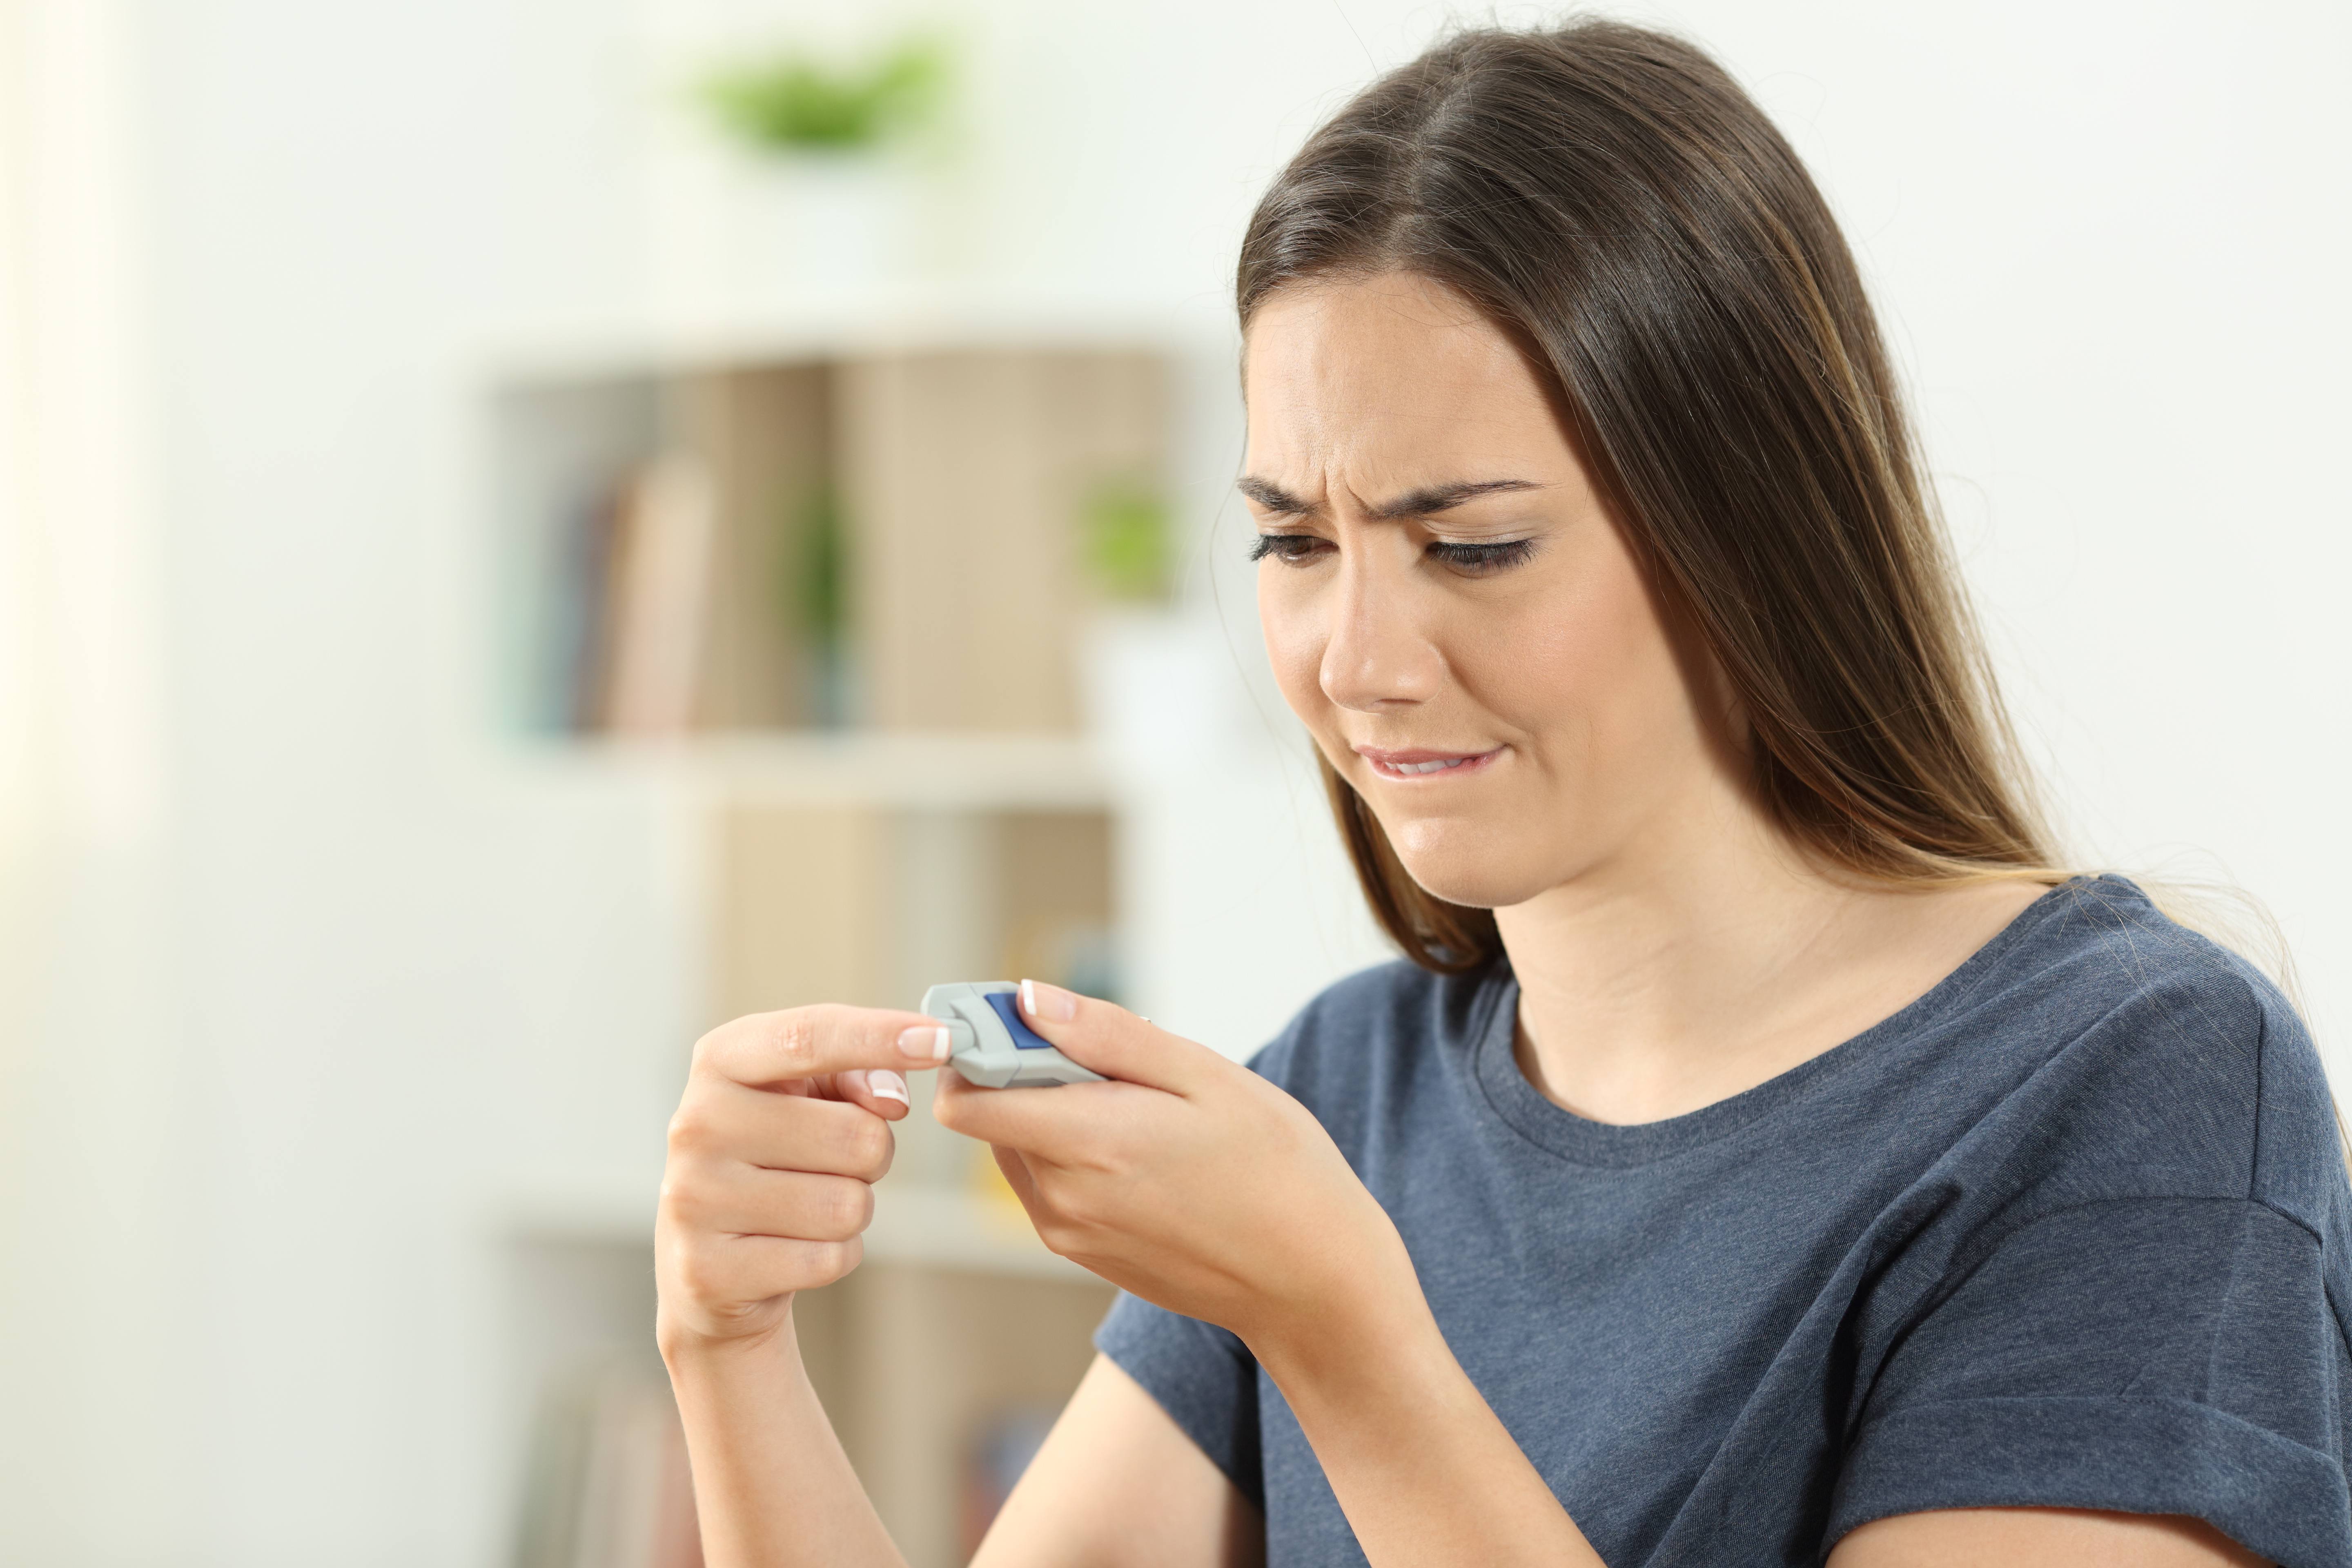
• The Fingertips. These remain as the traditional and recommended best locations to check blood sugar at home because of its many capillaries. However, your fingertips are filled with nerve endings that using them to obtain a blood sample generally hurts more than using other locations with a lesser number of these pain transmitters.
• Additionally, the “aftermath” of taking blood sugarfrequently from the same site, including 1) unwanted scarring, 2) calluses, 3) reduction of the blood droplet size (due to hardened fingertips), and at times, 4) bleeding, has pushed many diabetics to explore other best places to check blood sugar.
Alternate Site-Testing (AST): Other Reliable Locations to Check Blood Sugar
Alternate testing sites are other probable locations in your body where you can opt to check your blood sugar and obtain reliable results. These alternative locations have been explored due to the following reasons:
• patients claim to experience less pain at these alternative sites
• lessened difficulty in collecting the right amount of blood
• general improvement in compliance or self-monitoring
• lessening of the aftermath (i.e., hardened fingers, scarring, calluses)
• avoidance of multiple pricks
Here are the 6 Alternative Best Places To Check Blood Sugar:
1. The Forearm
If you wish to kiss away the pain from your digits, try using your forearm. According to a Diabetics Technology and Therapeutics journal article, 71% of patients claim that there is significantly less or no pain at all when checking via this body part. In fact, nearly a third of those who participated in the study prefer the use of their forearm as the best place to check blood sugar levels. It has been advised to rub your forearm until warm before lancing to minimize the difference in results in comparison with a fingertip test.
2. The Upper Arm
If you have diabetes but have relatively stable blood sugar levels, you can choose to have your glucose levels checked using your upper arm. Like the other AST locations, this area of your body should experience less of the ouchies, especially in comparison with your pain-sensitive digits. Keep in mind that if your result does not match with how you feel, it is advised to verify using your fingertips.
3. The Palm
According to studies, using the palm, particularly the base of the thumb, gave similar results to the blood collected from the fingertip. This location was also less painful when compared with the use of fingertips. Moreover, this alternate place to check blood sugar should be acceptable when the individual being tested is fasting, or it has been two hours or more after a meal.
4. The Abdomen
In a German study, participants claimed that taking blood sugar via skin in the abdomen was virtually painless. At the same time, results turned to be just as precise in comparison with actual laboratory results as well as readings taken through finger prick. Also, the practical aspects, including the number of punctures, incidences of bleeding after the procedure, and consumption of test strips, were essentially the same for samples taken via the abdomen and fingers. However, many individuals used this site only temporarily because of embarrassment or awkwardness that goes with using this location in public.
6. The Calf
The calf is generally advised to be used if your blood sugar level is stable at the time of testing. Also, in cold places or climate, people do not prefer to be tested at this site because of the inconvenience of taking off clothes in cold weather. Director Uelmen of the Diabetes Education Program of the University of Michigan, advises that “if you’re just curious about your body’s response to a meal–you could use this alternate site. But if you have apprehension that your sugar is low, or in a state where your blood sugar is unpredictably changing, then it is recommended to take samples from your hands.”
The Thigh.
A study in California published in the Diabetes Care Journal shows that taking blood sugar via the thigh appears to be useful for routine monitoring of blood sugar before meals. However, it was recognized that the results may be different in comparison with fingertip readings when blood sugar levels are changing swiftly. Specifically, the study showed that the thigh blood samples tended to produce lower readings in comparison with fingertip results at times when the blood glucose was increasing rapidly (i.e., 60-90 minutes after taking a meal).
The Accuracy of AST: How accurate are these alternate places to check blood sugar? When can AST be used?
Results may have variations partly due to the changes in blood circulation for the different locations. According to Diabetes.co.uk, several studies in recent years have proven that for routine blood sugar testing, results for alternate sites yield the same accuracy as fingertip testing.
• These alternate sites, according to studies, should work for people with controlled diabetes or have relatively stable blood sugar levels.
• The fingertips are still considered the best option to check blood sugar for individuals with results that are unpredictable or values that are rapidly changing.
• The AST best locations to check blood sugar is advised for routine testing before meals or when the individual is fasting, or when checking before bedtime
• AST should be done more than two hours after a meal, more than two hours after taking insulin, and more than two hours after having exercise.
• Not all blood glucose meters support AST. Check the manual to be sure that the device you use is compatible with your desired alternate test site.
The Contraindication for AST: When should these alternateplaces not be used? When should you not do AST?
• When blood sugar results are unpredictable or fluctuatingrapidly.
• When you think your blood sugar is low.
• When you want to verify high blood sugar levels.
• When the reading does not match how you feel. Trust your instinct, and check again, this time using a blood sample from your fingertip.
• When it is within two hours of you eating, exercising, or taking an insulin shot
• You have no symptoms when your blood sugar is low, also called “Hypoglycemic unawareness.”
• When you are feeling sick.
• When you are pregnant.
Here are tips in performing a blood sugar test using the 6best places to check blood sugar:
• Always check the expiry date of the test strips and that it has not been tampered prior to use. Never use wet, damaged, or expired test strips.
• Immediately use the test strips after removing from the bottle. Keep your materials and equipment away from heat and direct sunlight.
• Store the test strip bottle in a cool, dry place. It is important to record the “date opened” on the bottle label, and to discard any remaining test strips after three (3) months from the date of opening.
• Be careful when inserting the test strip into the test strip port. You should see a flashing blood-drop icon when the test strip has been properly inserted into the port.
• You may gently massage your chosen body location. However, be careful not to squeeze around the puncture site.
• If you will use your fingertips, lance or puncture the side of your fingertip to avoid soreness. And to prevent calluses, choose a different lancing site each time.
• Rubbing your forearm or upper arm until it is warm before lancing has been shown to minimize the difference in results; hence, doing this will make the readings more precise.
• The palm (at the base of your thumb) does not need to be rubbed before doing a test.
• It is crucial that if results from the AST does not agree with how you feel, use fingertip testing to verify.
• If you see “HI” or “LO” displayed on your glucose meter device, your blood sugar level may be extremely high or low (above 600 mg/dL or below 20 mg/dL). Recheck your blood sugar using fingertip testing at once. If you get the same readings, call your healthcare provider immediately.
• Be sure to properly dispose of your used test strips as advised by your healthcare provider.
Takeaway
Whether you’re using your fingertips or the other six best places to check blood sugar, compliance to monitoring your blood sugar levels is a must. This will allow you to make smart treatment choices daily. Also, monitoring informs you of the red flag of low blood sugar, the times when you need to modify your treatments (e.g., nutrition, exercise, and medication), and overall, to improve your mindfulness of your body’s condition. The six best places to check blood sugar should be used with careful consideration of essential guidelines, including those recommended by your healthcare provider.


