If you have diabetes, your primary goal of treatment should be to keep your blood sugar levels in the target range. Hence, you need to regularly check your blood sugar. With the proper tools and training you can do this at home. There are two common ways of checking blood sugar:
1. using a glucose meter via fingerstick,
2. with a continuous glucose monitoring (CGM) device. This article will provide a step-by-step guide on how to check blood sugar the right way using a glucose meter even in the comfort of your home.
Blood Sugar Test: What & How to Prepare
A blood sugar test, technically called a “blood glucose test,” measures the amount of glucose in your blood at a given time. Glucose is a type of simple sugar which is your body’s primary source of energy. Your body converts the carbohydrates you consume into glucose.
Blood glucose or blood sugar testing is primarily done to help diagnose diabetes. Diabetes is a chronic condition that causes blood glucose levels to rise. Your healthcare provider may also be looking to see if you have prediabetes, the condition where your blood glucose levels are higher than the normal range. People who already have type 1 diabetes, type 2 diabetes, or gestational diabetes also perform home tests to monitor their blood sugar and know how to better manage their condition.
Blood glucose tests are typically done either 1) with fasting or 2) as random blood sugar tests. For the fasting type, you will be instructed by your healthcare professional not to eat or drink anything (except water) for several hours (e.g., eight hours) before you test your blood sugar.
When you are able to check blood sugar the right way, the instant results will let you know the following:
- whether your nutrition or exercise program needs to change
- the effectiveness of your diabetes medications or treatment
- how high or low your blood sugar level is
- if your overall treatment goals for your condition is manageable
To check your blood sugar levels properly at home, you will need to prepare the following:
- blood glucose meter also called a “glucometer”
- finger-pricking device with lancets
- testing strips
- Alcholol swabs
- Puncture proof container
There is a wide variety of devices and materials which you can purchase from your state, pharmacies, diabetes centers, or local medical suppliers. Your healthcare provider can help you select what suits your needs.
You can also ask your healthcare provider help on the following:
- how to check blood sugar using your own device
- where to prick or draw blood
- how to use and dispose of the lancing device that punctures your skin
- how to clean your equipment properly
- how to check if your device is accurate
- how to calibrate your device (if needed)
Risks and Side Effects of Blood Sugar Tests
Taking a blood sugar test has low to zero risks or side effects. You may feel pain or soreness, swelling, and bruising at the puncture site, especially if you have gone to a clinic or laboratory to have your blood drawn from a vein. Typically, this should go away within a day. However, if you experience any extreme or prolonged untoward effects (e.g., bleeding, pain, or swelling), report this to your doctor at once.
Get Organized: How to Check Your Blood Sugar with a Glucose Meter
- It is best to check the manual/instructions of your glucose meter or talk with your healthcare provider to be clarified with standard guidelines specific to your device and condition. Important: Never share monitoring equipment or fingerstick devices to avoid possible infection.
- Gather the supplies you need to test your blood sugar. Check your equipment before you do a test (e.g., expiry date, code numbers for the meters, if needed)
- At regular periods, properly care for your supplies and device. You can make a reminder to clean your home blood sugar testing kit.
[embedyt] https://www.youtube.com/watch?v=MZCf621bRHs[/embedyt]
Performing the Blood Sugar Test
Although instructions may vary between devices used, the following are the general steps to check blood sugar accurately:
- Wash your hands adequately with warm water and soap, then dry with a clean towel.
- Prepare a clean pricker or lancing device by inserting a fresh lancet. The lancing device is typically a pen-sized holder for the lancet or needle. It holds the lancet in place and controls how deeply the lancet punctures your skin.
If you plan to reuse your lancet, you should know that once used, it will not be as sharp as it was, and can cause more pain/injury to your skin.
- Prepare your glucose meter and test strips as per the manufacturer’s instructions of your device.
- Get a test strip from your sealed container, and be sure to put the lid back on the container immediately to prevent any moisture from damaging the other strips.
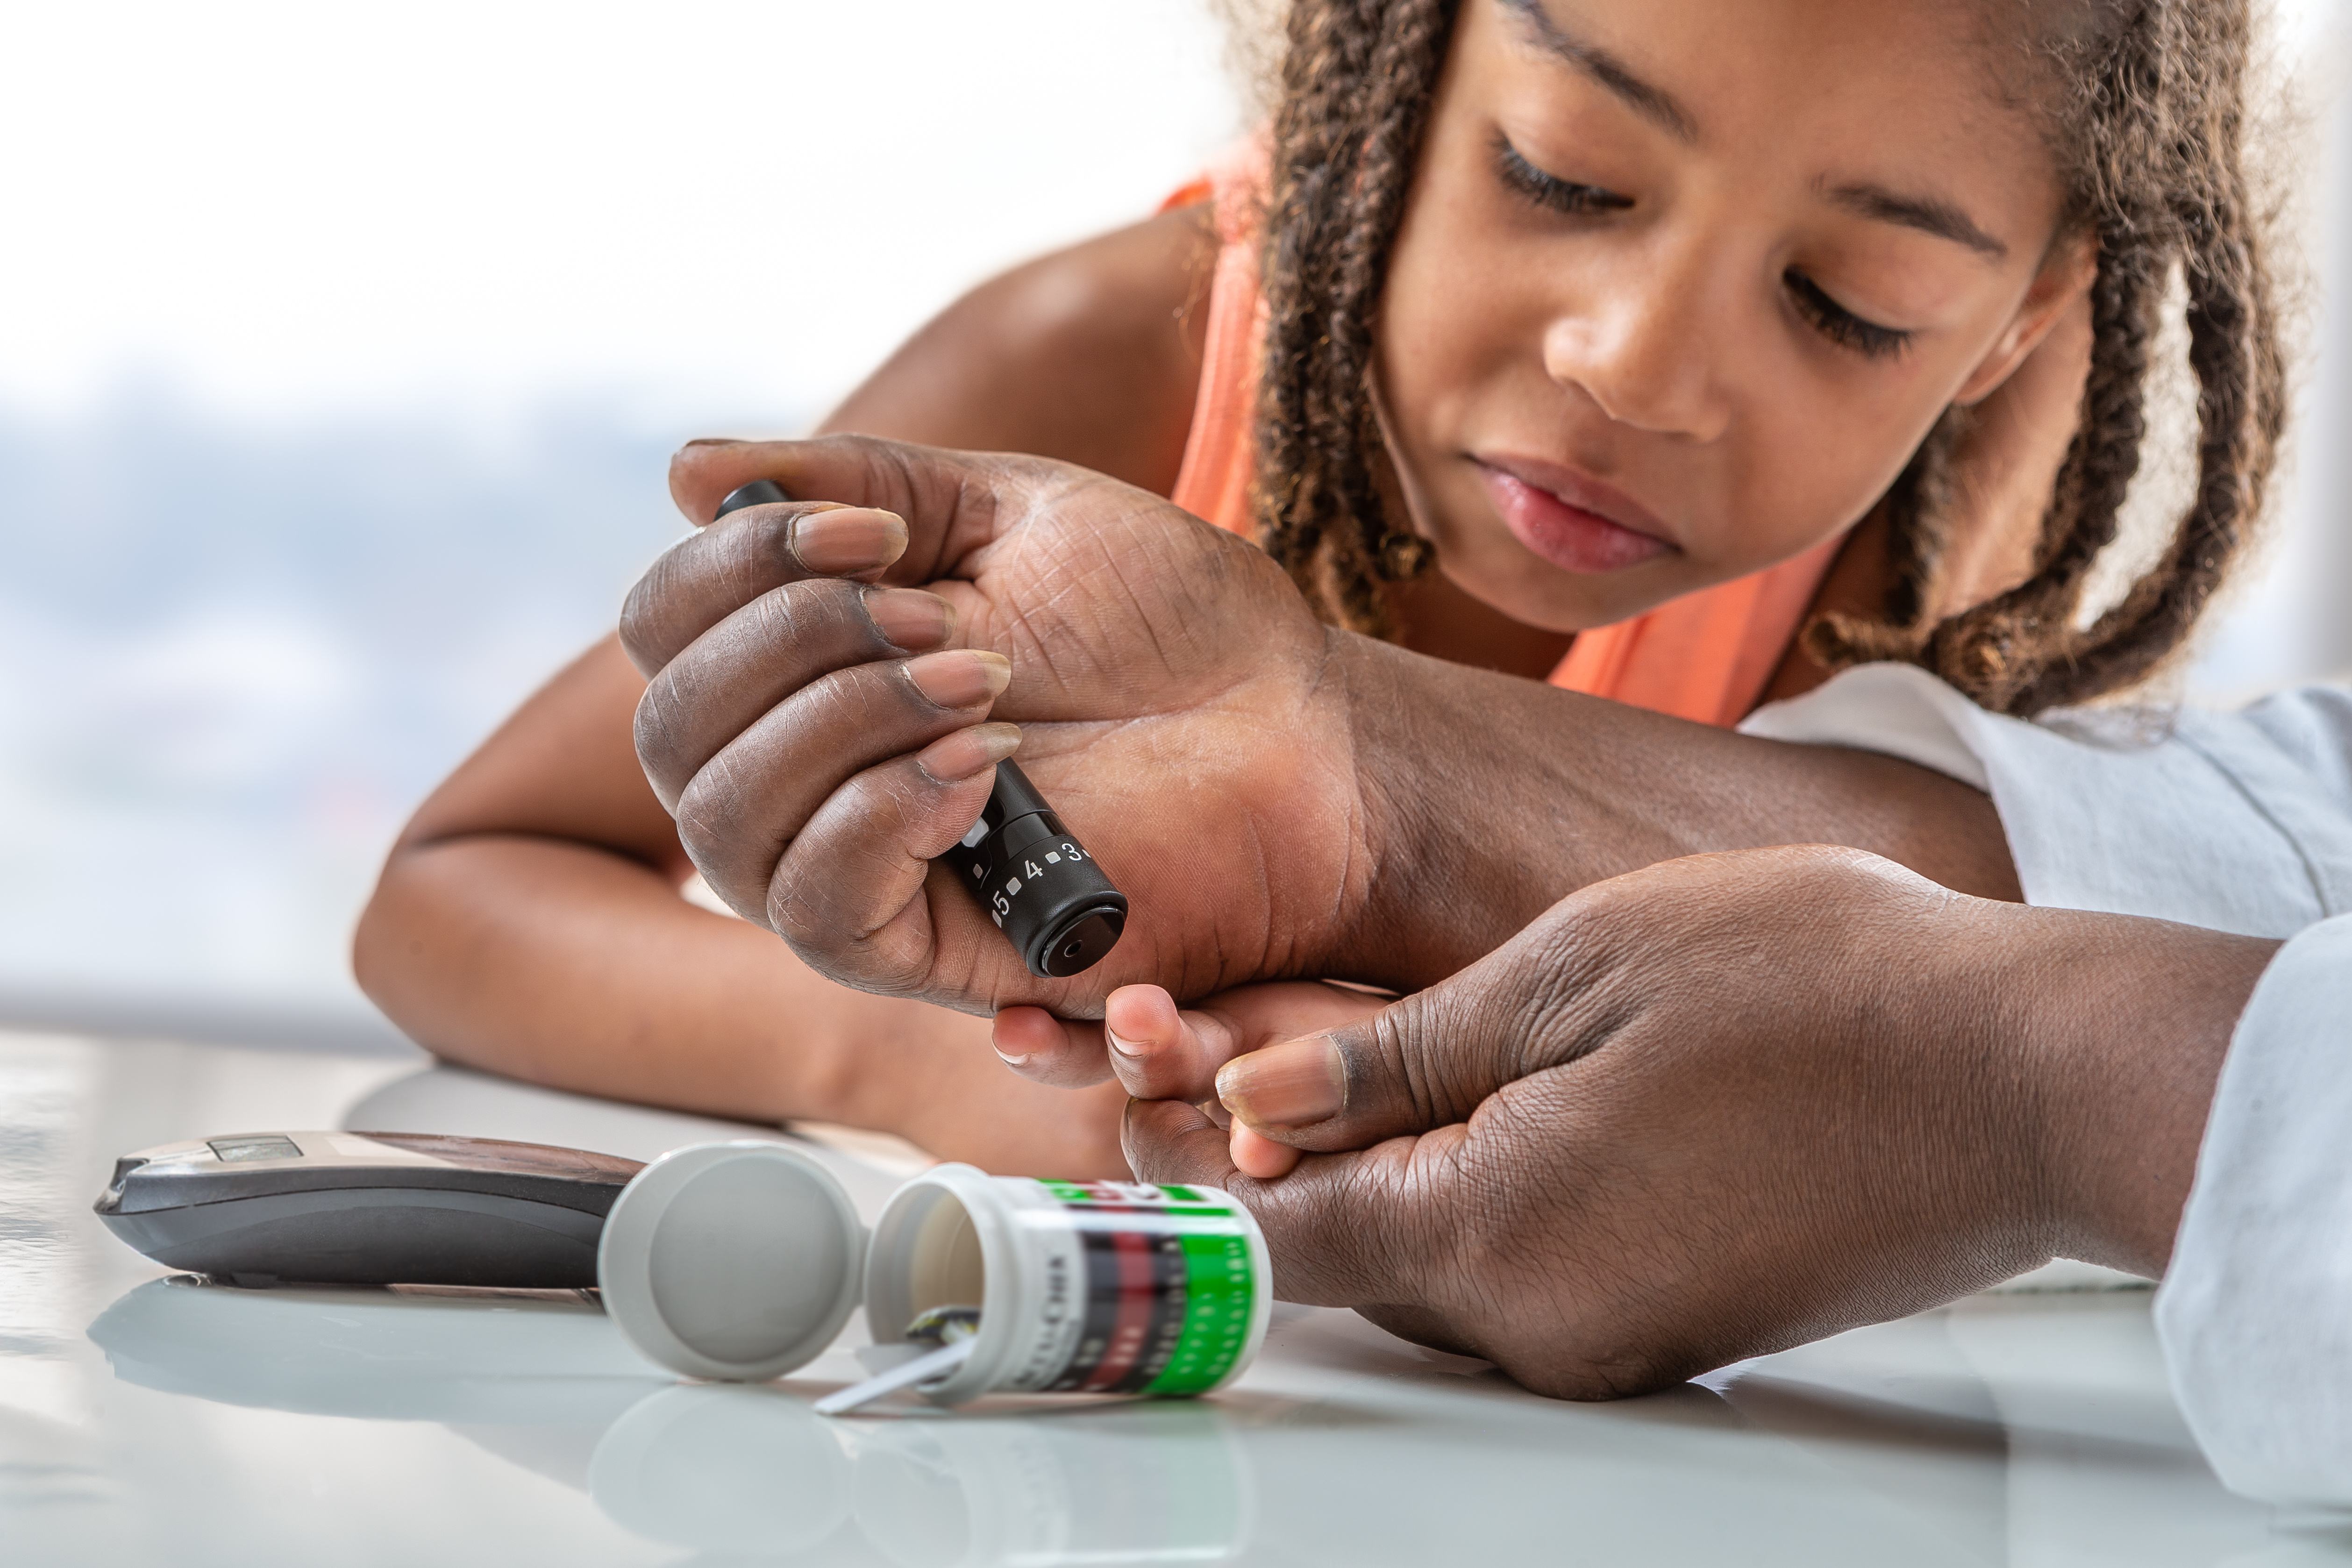
- Use the lancet or pricker to obtain a small droplet of blood from the side of your fingertip. Some devices allow blood sugar testing on alternate sites such as your palm, forearm, upper arm, abdomen, calf, and thigh. Be sure to check where your device can be used.
Alternate sites are often less painful. However, when your blood sugar is rising or falling rapidly (e.g., immediately after a meal or in response to exercise or insulin), it is advised to use the fingertips for accuracy. Alternate sites may give significantly different readings in these situations.
- With the test strip attached to the glucose meter, apply the blood droplet on the correct spot of the test strip.
- Using a clean cotton ball, put pressure on the part of the skin that you punctured to stop the bleeding.
- Wait for the results. This should be on the display of the meter after a few seconds.
- After checking your blood sugar, dispose of the used lancing device in a container for sharps (not in the household trash to prevent incidences of pricking).
Choosing the Glucose Meter to Check Blood Sugar
There is no single device that is superior over all other brands when it comes to a glucose meter device. You can consult with your healthcare provider or pharmacist to help you select a device with consideration of essential factors including:
- your condition
- cost or budget
- ease of use
- accuracy
Most importantly, your device should be approved by either the US Food and Drug Administration or the International Organization for Standardization for reliable results.
The Accuracy of your Test for Blood Sugar
- There can be variability between devices, but checking your blood sugar at home with a reliable blood glucose meter should be reasonably accurate.
- Do check your blood sugar with common sense and caution at all times. If you get a reading that doesn’t fit with how you feel (for example, the result reads a very low blood sugar level, but you don’t feel any untoward symptoms), it should be your practice to take a second reading. You can also use an alternate means of checking your blood sugar (such as using a different glucose meter).
- The precision of your test for blood sugar can be affected by factors, including the type of glucose meter device and test strips you use.
- It is a good idea to check the accuracy of your device occasionally by bringing it when you have an appointment to get blood sugar testing. You can use your device to check your blood sugar level at the same time that blood is extracted, and compare the results. If the reading differs by more than 15%, your meter and other equipment may have a problem. You can talk with your healthcare provider to identify the problem and work on possible solutions.
When Your Reading Doesn’t Seem Right: Other Factors To Consider
If a blood sugar reading does not seem right to you, you may want to check the following:
- Did you wash your hands and properly dry them before you did the test?
- Was the test strip used in good condition, and not beyond the expiry date?
- Are your test strips compatible or appropriate for your glucose meter?
- Did you use enough blood on the test strip?
- Did you put the test strip into the glucose meter correctly?
- Was your test strip affected by heat, light, or exposed to varying climates?
- Is your glucose meter clean?
- Is the device too hot or cold?
- Is the battery of your device low or near-empty?
Other Glucose Monitoring Devices
Alternatively, you can wear a device for continuous glucose monitoring (CGM). The blood sugar sensor is inserted under your skin and can read the sugar in your body tissue continuously. This device alerts you whenever your blood sugar is too high or too low.
Even with a CGM, it is advised for you to still check your blood sugar with a glucose meter at least twice daily to check the calibration of your CGM. In fact, for the most accurate readings, your glucose meter is considered superior over a CGM. This is especially so in the presence of acute conditions that will try to identify low blood sugar levels.
There is another new generation device called a flash glucose meter (FGM). This type of glucose meter uses sensor scans for monitoring your blood sugar, and no longer requires finger pricks.
Interpreting Blood Sugar Results
Typically, your healthcare provider will recommend a blood sugar range that is suitable for you. Your age, relevant health conditions, the length of time you have been living with diabetes, and the medications you take will be considered for your target range and treatment. Hence, the results you get from checking blood sugar regularly tells you how well your diabetes treatment plan is working. However, keep in mind that the readings can be affected by a range of other factors, including:
- your food intake
- level of physical activity
- stress levels
- medications you take (e.g., oral diabetes medicines, insulin)
Keeping Track of Blood Sugar Results
It is good practice to record your results and bring this with you on each visit to your doctor or diabetes healthcare professional. It is advised to include the following essential data when recording your blood sugar results:
- Date and time you checked your blood sugar
- All your blood sugar readings, including those taken in a clinic or laboratory
- A list of the medications (e.g., insulin) with correct dosages that is being given to you
You may also include additional notes about whether you exercised, what you ate, stresses, and other difficulties with the illness. During your appointments, you should discuss these information with your healthcare provider to understand what your readings mean and whether changes to manage your blood sugar are needed.
Final Thoughts
Knowing how to check your blood sugar and regular monitoring can help you see the effects of nutrition, exercise, medication, and illnesses (especially diabetes) on your blood sugar levels. Accurate results can help you and your healthcare provider identify any changes or patterns in your blood sugar. This will ultimately better your diabetes treatment plan for long-term. And always remember to stay healthy and feel your best by focusing on healthy eating, getting regular exercise, and monitoring your blood sugar the right way.
