Checking your own blood pressure comes with lots of great benefits. Studies show that home monitoring of your blood pressure is a critical step towards achieving blood pressure control. This is because whenever you find that your blood pressure is outside the acceptable range, you are able to seek medical attention quickly.
The option of having your blood pressure checked outside of the clinical setting also reduces elevated blood pressure associated with white coat hypertension. White coat hypertension is a medical term used to describe an increase in blood pressure at the doctor’s office. This can be caused by anxiety surrounding anticipated doctor’s visit.
In addition, its aso cheaper than going to the doctor’s office for just for a blood pressure check. This does not mean you should skip your doctor’s appointment
The ability to take your own blood pressure also serves as early detection of high blood pressure for people with normal blood pressure.
The Correct Way to Check Your Blood Pressure
Let us review the steps involved in checking your blood pressure the right way. Also, remember the preparation for checking your own blood pressure is the same as preparing to have it checked at the doctor’s office.
If you cannot avoid some of the items listed , then inform the person taking your blood pressure. This way it can be noted in the medical record. For instance, if you had coffee, then let the clinician know so they can make a note of your coffee intake in your chart. This is important especially if your readings are higher than expected.
Devices used to measure blood pressure are called sphygmomanometer and there are several types. The method used to check blood pressure varies, but they all include wrapping a cuff around a limb such as your arm or leg. The cuff is squeezed and inflated around the artery in that limb using a bulb or pump and then slowly released. The pressure is detected and measured with a gauge, mercury or digital device.
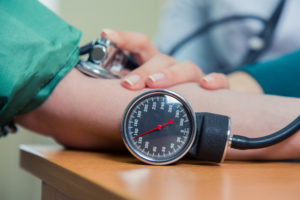
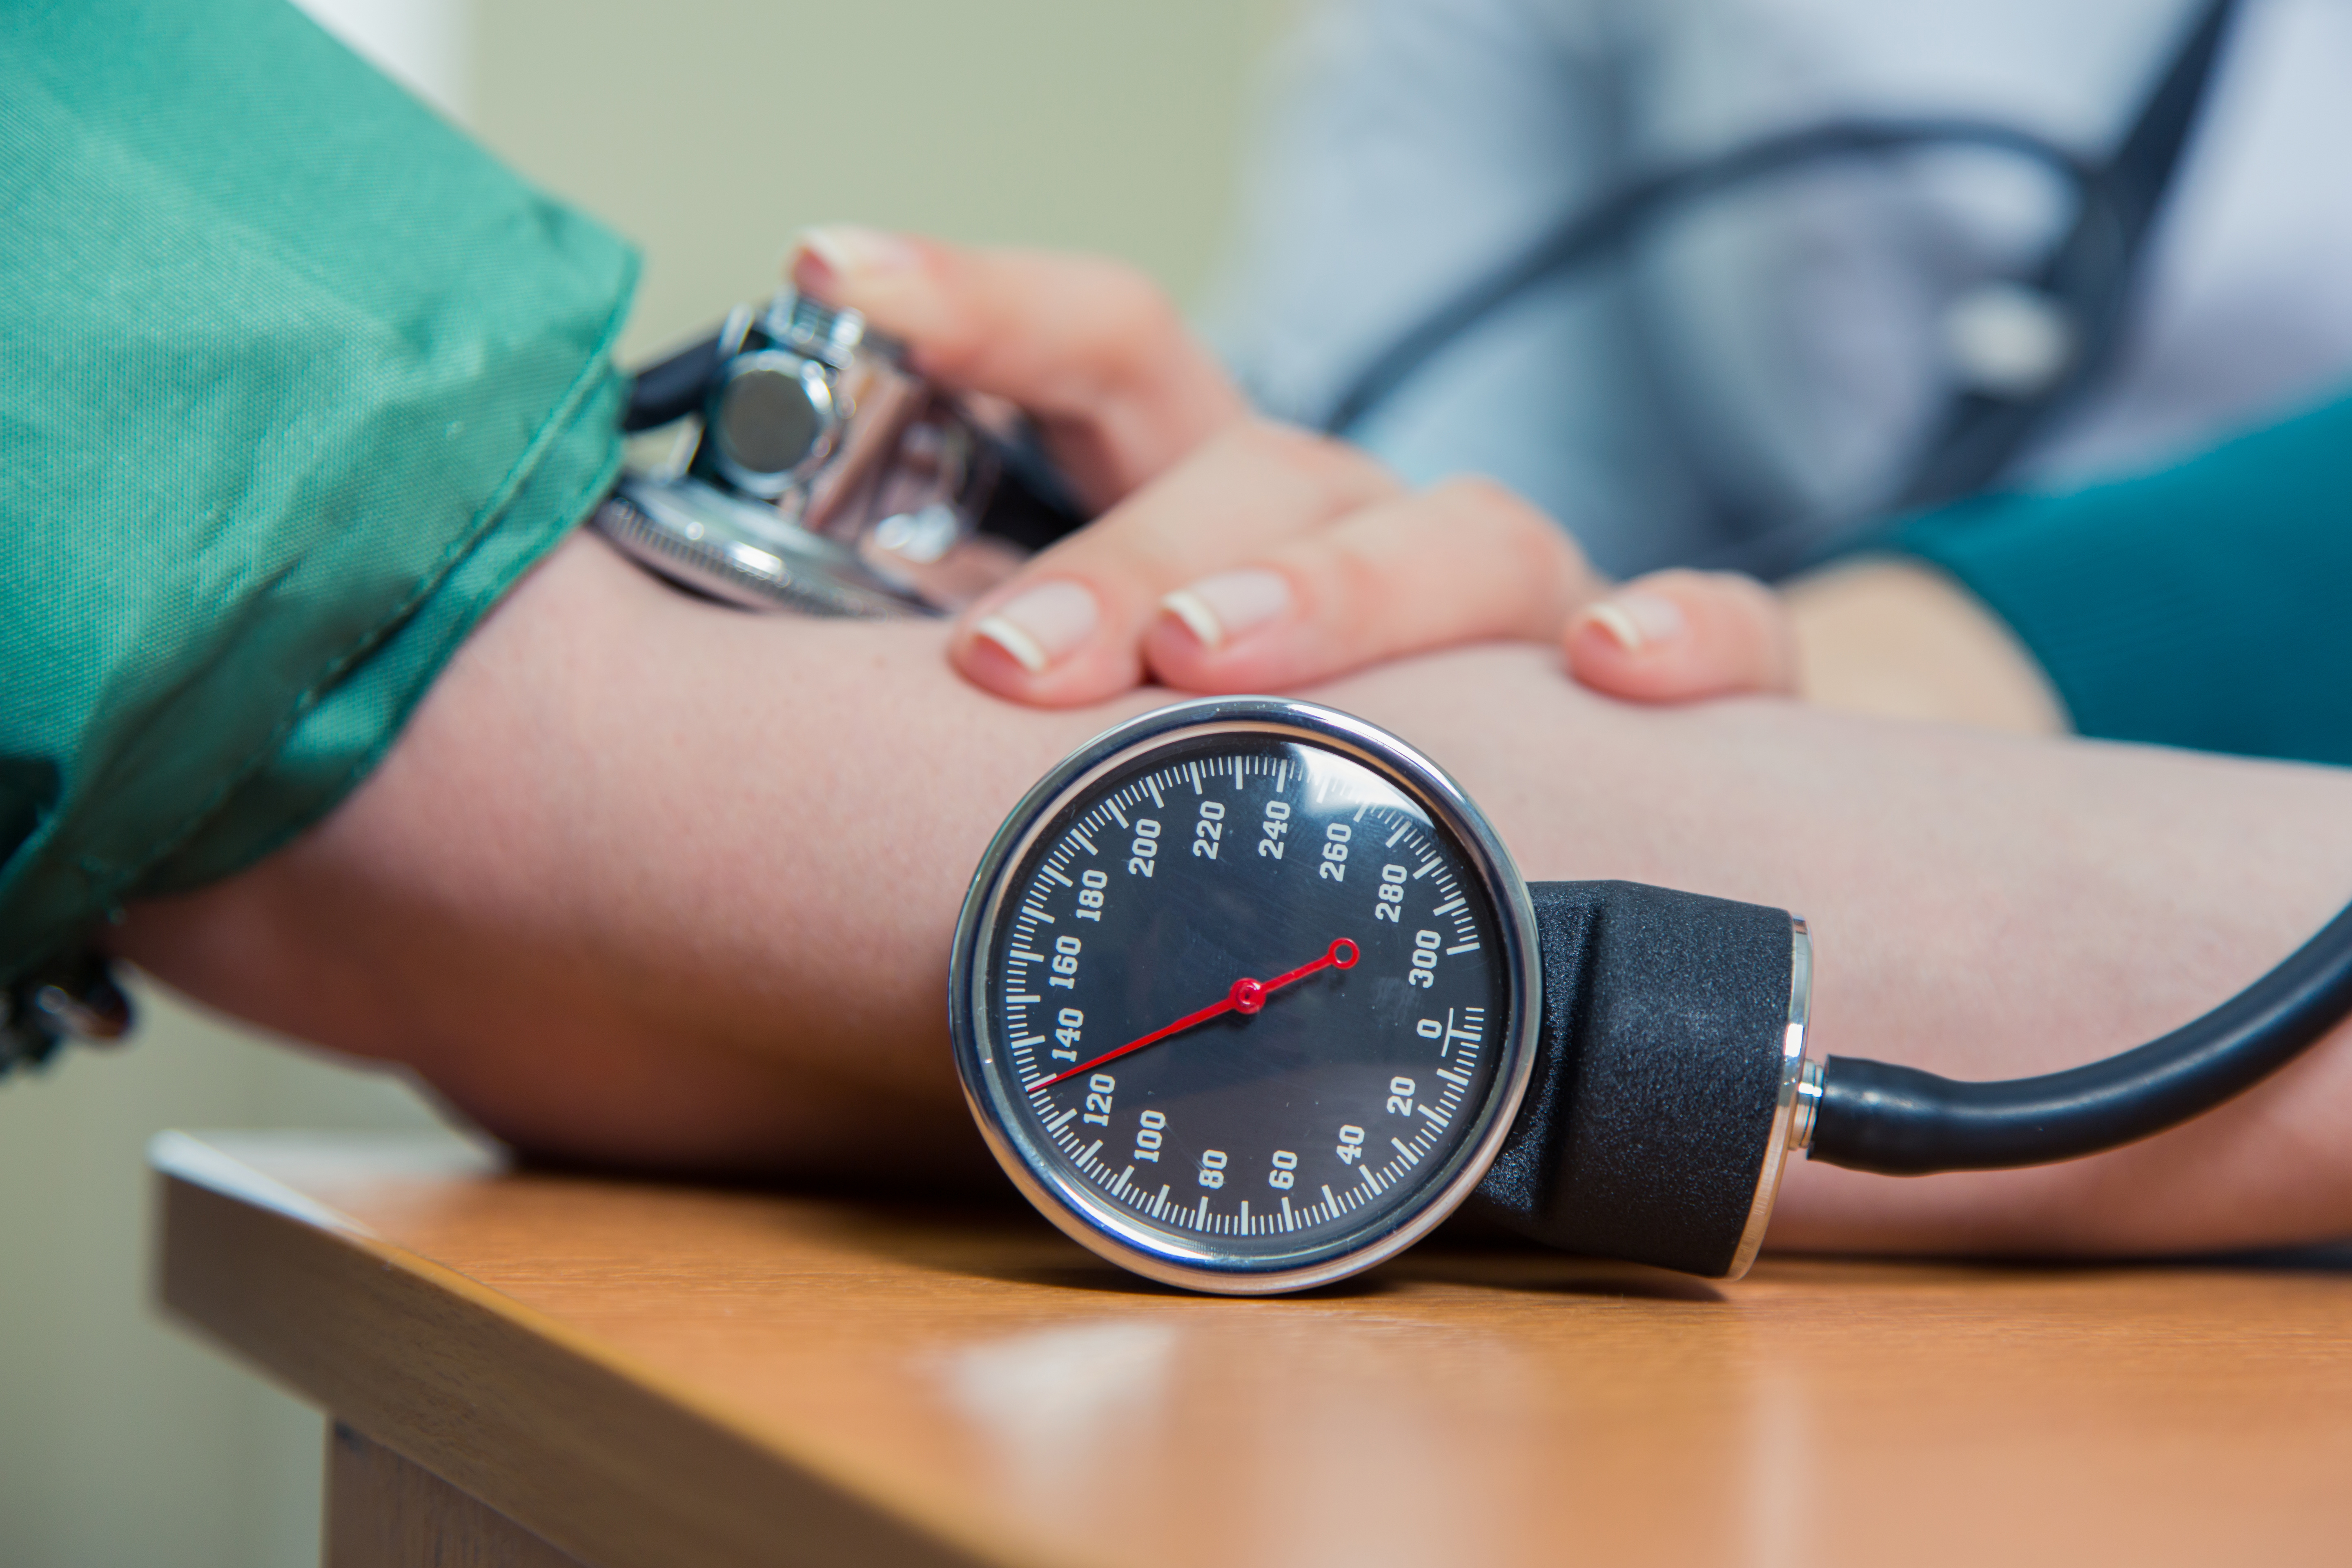
Aneroid and mercury sphygmomanometer utilizes manual measurement technique using a stethoscope to detect blood flow in the artery. Excellent listening skills and a quiet environment is essential for this technique to be accurate . Some clinicians still use this technique, but you will find that most use digital devices/automated devices.
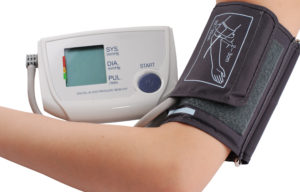
Digital device uses oscillometer and an automatic calculation to display the measurement. A button on the device is pressed to start the measurement. These devices are routinely used in hospitals because they are quicker and more convenient. Efficiency is critical when you have a patient that needs frequent blood pressure check as often as every 5 mins.
Location Matters

Chances are you will use an automated digital device to check your blood pressure . American Heart Association (AHA) recommends using the upper arm for measurement. It should be snug but you should be able to slide your finger under the cuff easily.
The finger is not recommended because the blood vessels in those areas are small and will show a higher reading. You can use your wrist on under special circumstances. See the limb alert section below.
If you are unable to take measurement in your upper arm, then wrist or leg will be a better option than the finger. Keep in mind that the further away you are from the heart the higher the reading.
If you have to take your blood pressure on your leg, do this lying down with your leg at the level of your heart. Use a pillow to support your legs to raise them up to your heart level.
When taking your blood pressing while laying in the bed make sure your arm is supported at the level of your heart. If necessary use a pillow to support your arm.
Assume the Correct Position
- Non restrictive sleeve
- No caffeine 30 mins prior
- No exercise 30 mins prior
- No smoking 30 mins prior
- Empty your bladder
- Relax for 5 mins
- No talking, text, watching TV or activity
- Sit in a chair with back supported
- Uncross legs
- Feet flat on the ground or supported by a foot stool
- Relax upper part of the arm at the level of the heart on a flat surface
- Place cuff directly on the skin 1 inch above the bend of the arm
- Cuff should cover about 80% of arm length
- Keep tube still
- Follow manufacture instructions on how to use the device
- Repeat if necessary but no more than 2 times 2-3 mins apart
- Record reading date and time
- Take at the same time every day
Size Matters: One size Does Not Fit All
You will have to measure your arm to find the right size cuff. Make sure you take your arm measurement at the largest part above the bend of your arm. The measurement should be in centimeter. You should re measure your arm if you gain or lose weight. Before you buy a machine, find one that has you the cuff in your size.
Cuff sizes are as follows:
| Cuff Size recommended by American Heart Association | |||
| Cuff | Arm Circumference (cm) | Bladder Width (cm) | Bladder Length (cm) |
| Small Adult | 22- 26 | 10 | 24 |
| Adult | 27-34 | 13 | 30 |
| Large Adult | 35-44 | 16 | 38 |
| Adult Thigh | 45-52 | 20 | 42 |
Using the wrong cuff size can impact your blood pressure reading. If the cuff is too tight, it will overestimate and cause a higher reading. If it is too lose, it will underestimate and produce a lower reading.
Device Validation and Certification Programs
Medical equipment must pass a safety testing before than can be used in the hospital or clinic. However, devices that are sold for personal usage are not required to pass safety testing before being placed on the market. Therefore, some devices that are being sold are not checked for safety and are not recommended by the American Heart Association.
In order for any equipment to pass the reliability and safety test in an out of the hospital setting, they must pass testing according to the standard international testing protocol. This also includes home blood pressure equipment. Therefore, before you purchase a device make sure it has met standards set by one of the following listed below :
Device Validation and Certification Programs
- Association for the Advancement of Medical Instruments (AAMI)
- British Hypertension Society
- European Society of Hypertension
Take the device with you to your doctor’s office so you can compare the readings. With their equipment.
Limb Alert
You may have a good reason why you are unable to take your blood pressure on your arm. In these instances you can use your wrist or leg. Individuals with the conditions listed below should not take blood pressure in the affected arm.
- AV Graft
- AV Shunt
- Fistula
- Arm Trauma
- Inflammation
- Cast
- Bulky Bandage
- Breast Surgery
- Axillary Surgery
When To Call Your Physician or Seek Medical Attention
- For multiple high readings
- For SBP above 180
- Diastolic above 110
Regardless of the blood pressure equipment used, calibration determines the reliability of the machine. Follow the manufactures guide on how to calibrate the device.
