You’re probably used to seeing commercials or TV shows with fit men and women lifting weights with their strong, toned arm and based on that you assume that’s the only way to get those guns.
But, unfortunately, you’re recovering from an injury and your doctor told you to stop using weights during exercise, or perhaps you just don’t have access to a gym at the moment. Whatever the reason is, that shouldn’t stop you from working on those biceps. You can still get toned and lose arm fat.
The secret to it is using your body weight. It’s free after all, so why not? We’ll discuss 12 exercises you can try right now in the comfort of your own home!
Where Are Your Biceps?
The biceps are what people refer to as “guns”. It’s a set of muscles located at the front of the upper arm, between the shoulders and the elbow. They are considered pulling muscles and oppose your triceps.
To target these muscles, you’ll need to do some sort of forearm contractions. These contractions are more effective when there is some sort of resistance, whether from weights, body weight or resistance bands.
Since weights are out of the question, we’ll focus on exercises you can do with your bodyweight or with resistance bands. Here you go:
1. Push ups
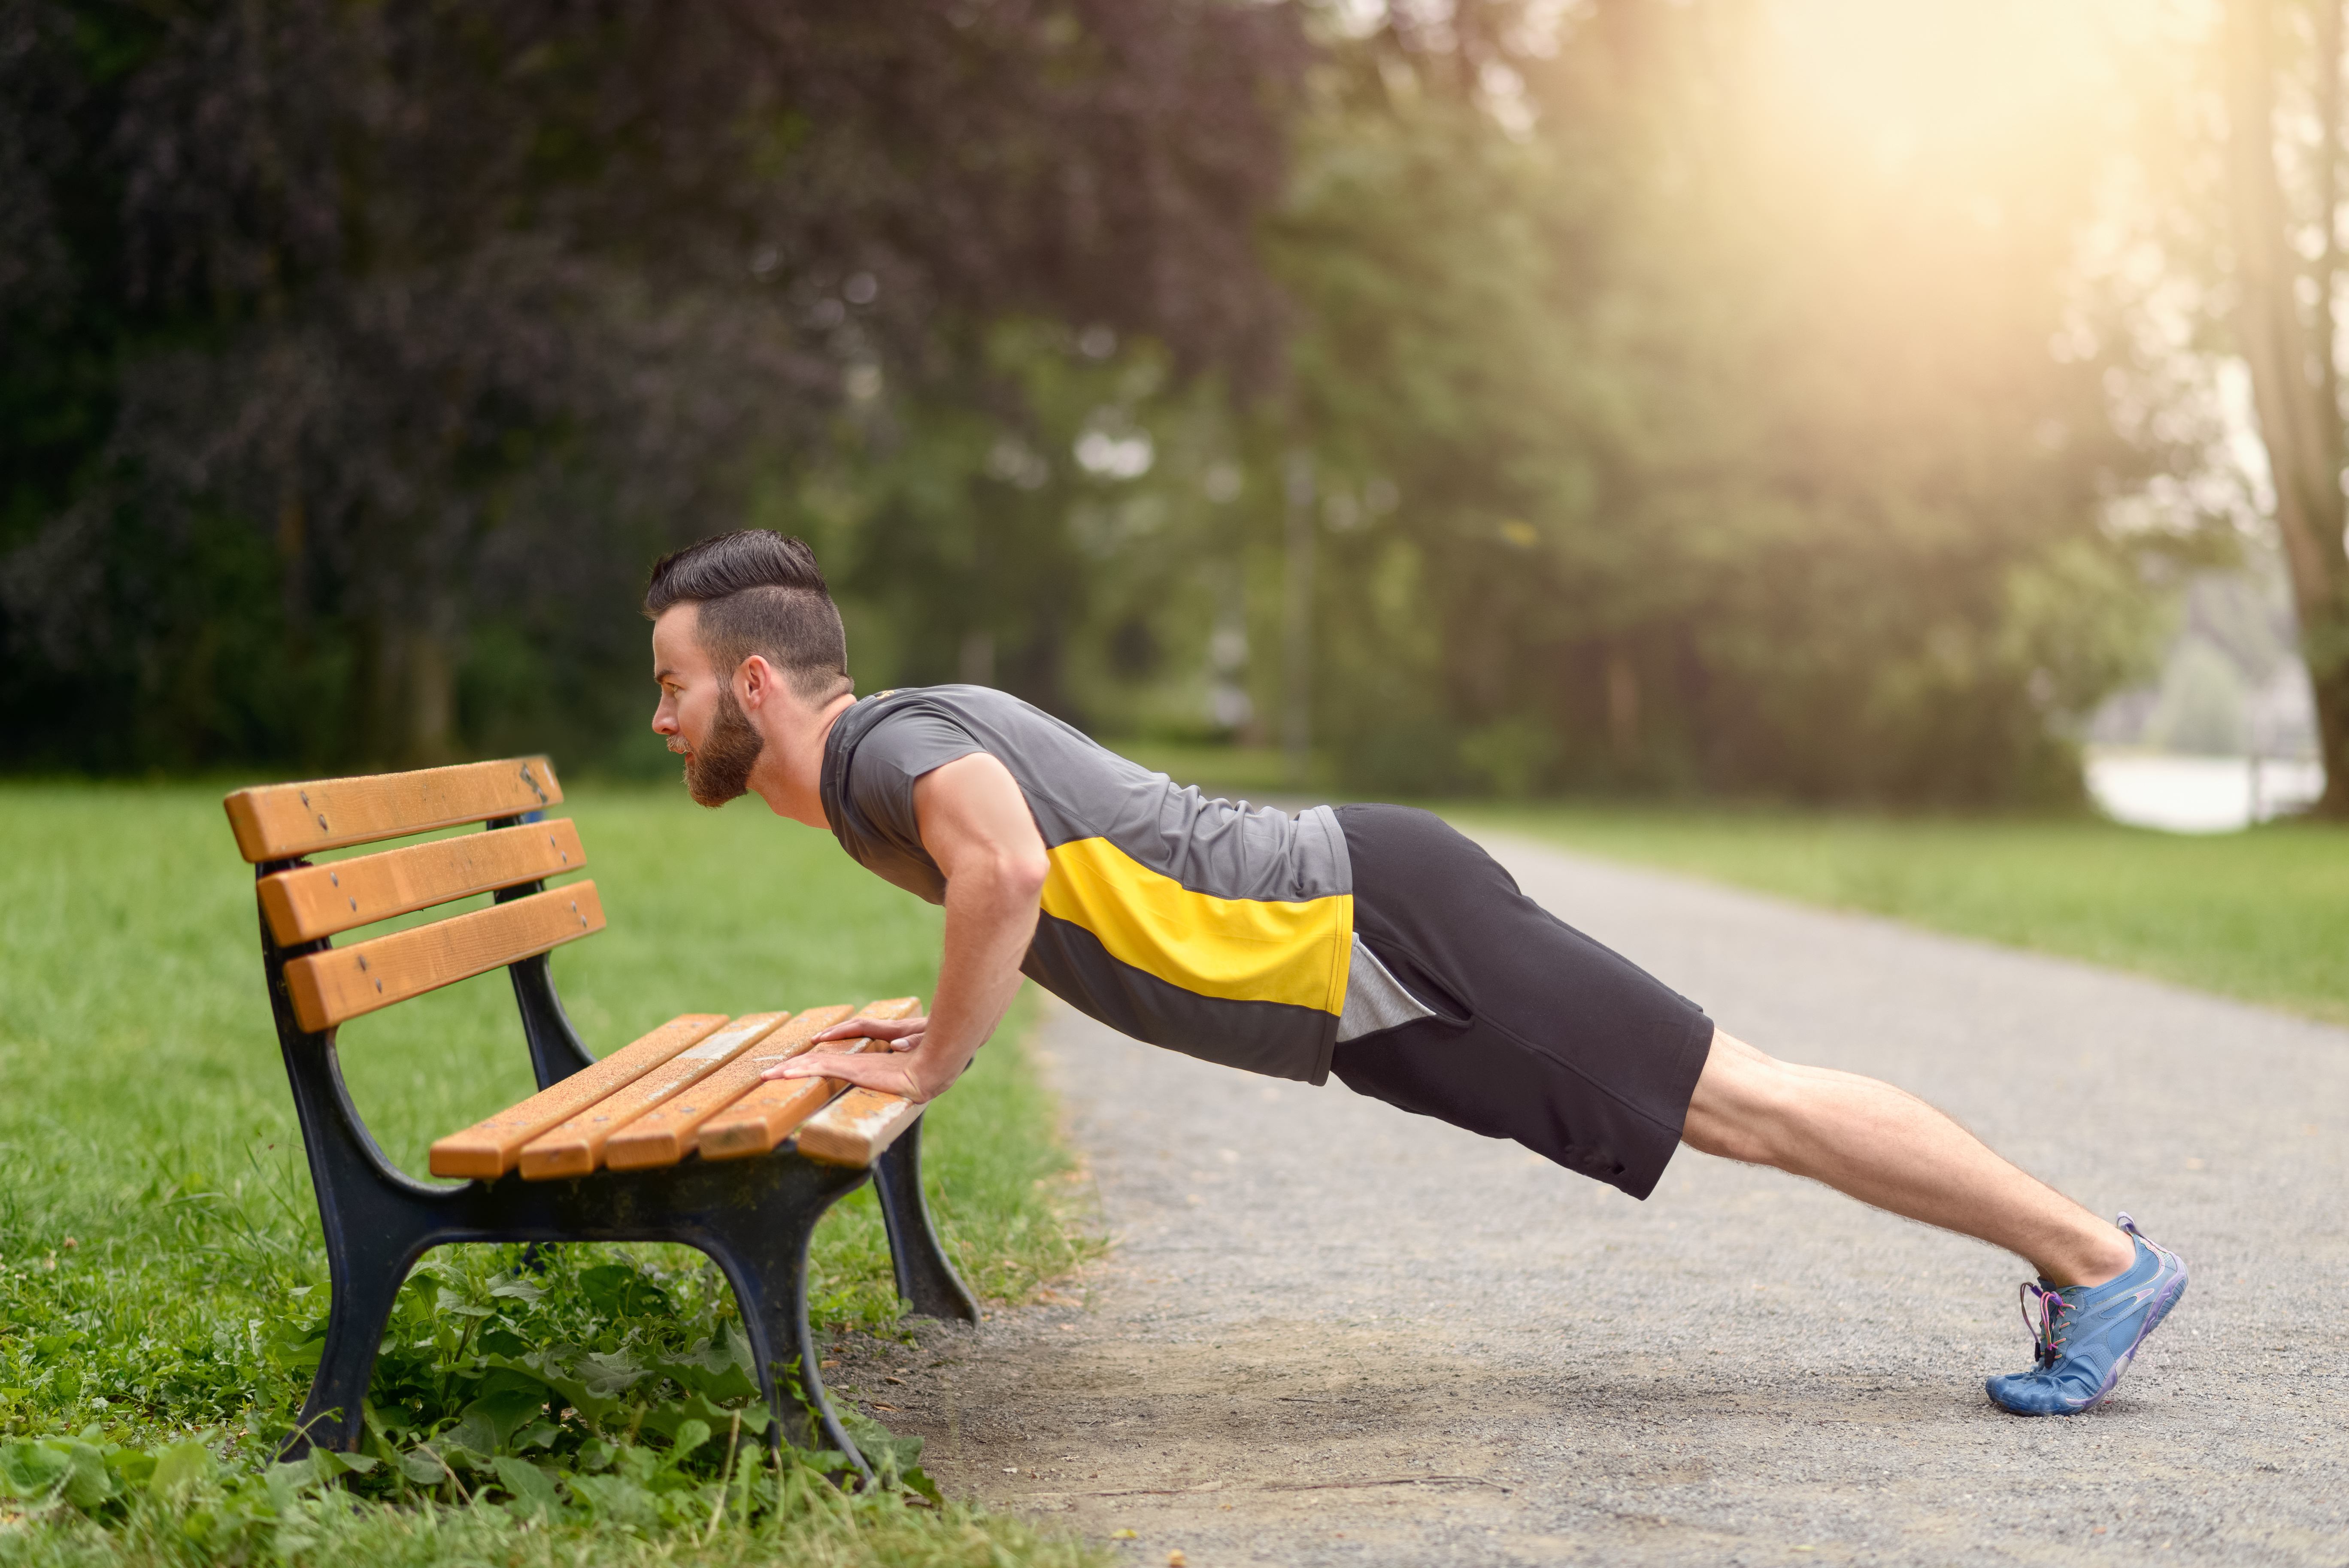
Push ups are sometimes known as press-ups since you are using your arms to lower your body to the ground, then pressing against them to push it back up. To do this exercise, all you will need is a flat surface.
Step 1: Start in a tall plank position with your arms fully outstretched and your belly facing the floor. Your legs should b
e straight, and you should be on your tippy-toes.
Step 2: Use your elbows to slowly lower your chest by bending them. Your knees should not be bent and your body should not touch the flokoior.
Step 3: Squeeze through your chest to straighten your arm to the original tall plank position. This is one rep.
Modification: Bend your knees
2. Shoulder taps
Shoulder taps are great because they target several muscles, strengthen the core and improve stability.
Step 1: Get into a tall plank position by extending your arms downwards and extending your body into your toes.
Step 2: Keep your hip and shoulders level and in slow, controlled motion, lift your right palm off the ground and tap your left shoulder.
Step 3: Return your right palm to the floor, then use your left palm to tap your right shoulder. This is one rep.
Modification: If you want to make it more advanced you can push ups in between each tap.
3. Standing shoulder taps
This is a simple version of shoulder taps you can use when you are new to the workout lifestyle.
Step 1: Stand with your back straight and feet flat.
Step 2: Curl your arms and place the tips of your fingers on your shoulder. Your arms should resemble wings.
Step 3: Raise your arms above your head by extending your elbows, then return them to the original position. This is one rep.
Modification: None. You can do it!
4. Side bicep extensions
This exercise is more effective with weights, but it doesn’t mean you can’t do it without them.
Step 1: Stand with your back straight, feet flat and with your hands by your side. Your palms should be facing your body.
Step 2: Extend your arms sideways and upwards until they are in line with your shoulder blades.
Step 3: Return your arms to the original position. This is one rep.
Modification: This is the most basic form of the exercise. The only way to modify is with weights or a resistance band to make it more advanced.
5. Forearm plank
The forearm plank is similar to a regular plank, however, the weight is concentrated on the forearm rather than the palms.
Step one: Lay flay on your stomach then bend your arms at your elbows in front of you. You can lay your palms flat or roll your hands into a fist, whatever is more comfortable for you.
Step two: Extend your body until you are on your tippy-toes.
Step three: Tighten your abs and your glutes and hold for 30 seconds. This is one rep.
Modification: None. You’ll have to tough this one out!
6. Sitting knee curl
To do a sitting knee curl, all you need is a chair. For the modified version, all you need is a flat surface. If you don’t own a yoga mat, a clean floor should do.
Step 1: Sit on a chair with your legs outstretched.
Step 2: Tuck your hands underneath your hamstrings and use your biceps to pull your knees into your chest.
Step 3: Return to the original position. This is one rep.
Modification: Sit on the floor or mat
7. Inverted body row
To do an inverted body row, you will need a sturdy table with the feet at its corners that have an area you can grip from underneath.
Step 1: Sit on the floor with your legs underneath the table to chair
Step 2: Grab the grip area with your palms facing your body and pull your body off of the ground as you walk your legs further underneath the table. At this point, your head should be hanging out and your chest should be in line with your grip area.
Step 3: Your elbows should be far apart. Slowly lower your back and by extension the rest of your body to complete one rep.
Modification: If possible, bend your knees.
8. Chin-ups
This exercise will only work if you have a chin-up bar, and it’s pretty easy to make one if you’re handy. If not, you can easily do this in an area of your house with a sturdy horizontal surface that is taller than you, like a door frame or handrailings. Be sure to test if it is strong enough to manage your body weight before going all out.
Step 1: Find an area to grip if you aren’t using an actual bar. This should be an underhand grip, meaning your palms should face you. In other words, you should be standing on the opposite side of the grip surface.
Step 2: Pull your body up to the bar until your chin is at the height of the bar.
Step 3: Lower your body to your starting point smoothly. This is one rep.
Modification: This doesn’t get easier, but you can make it more advanced by pulling your body high enough that your chest is in line with the bar.
9. Jump rope
For this exercise, it is good to have a jump rope, but you can always make a makeshift jump rope with an old piece of rope, a flexible old cable or a PVC cord.
Step 1: Stand with one end of your jump rope in each hand. The rope should be behind you, held at waist height.
Step 2: Bend your knees, get onto your tippy toes and prepare to jump. As you do, spin your wrists to lift the rope off the ground, over your head and behind you again. Your elbows should not move. You can jump with both feet at once or jump in a hopscotch motion (hop with one leg), whichever works best for you.
Step 3: Don’t stop at one jump. Even if you step on the rope or trip on your first try, the more you practice it the better you get so keep going.
Modification: None really, try jump rope at a slower pace until you are comfortable.
10. Resistance band bicep curl
For this exercise, you’ll have to have resistance bands at home already. If you don’t, they’re pretty cheap and you can get a good pair on Amazon in no time.
Step 1: Kneel on the floor with your buttocks touching the heels of your feet.
Step 2: Relax the upper body and sit up straight.
Step 3: Tuck the resistance band beneath your right knee and hold the excess with your right hand.
Step 4: Pull the resistance band towards your right shoulder by bending your arm whilst keeping your shoulder stationary and your back straight.
Step 5: Slowly release the band by straightening your elbow to a 90-degree angle without letting the resistance band go. This is one rep. After one set, switch to the next leg.
Modification: None.
11. Standing bicep curl
This exercise requires a resistance band as well.
Step 1: Place the resistance band beneath your feet and grab both ends, one with your right hand, and the other with your left hand.
Step 2. Stand up, as you do so, pull up the resistance bands until your hands are at your hips.
Step 3: Keeping your chest tall, bend your elbows. This will bring your hands along with the band up to your shoulder. This is slow, controlled motion.
Step 4: Slowly lower your hands by straightening your elbows. This is one rep.
Modification: None.
12. Handstand push ups
This exercise should only be performed if you are athletic, have done handstands before and can support your body weight.
Step 1: Stand in front of a wall and kick your feet up to assume the handstand position
Step 2: Tighten your entire body by squeezing the abs, glutes, and thighs.
Step 3: Lower your body to the floor by bending your elbows. This motion is slow and controlled.
Step 4: Extend your elbows to raise yourself off the floor again. This is one rep.
Modification: None
What are you waiting for? It’s time to workout!
Get those biceps ready for questions like “Wow, have you been working out?”.
Of course, you’ll let them know you got a little help right? Be sure to share where you got the secret to great arms without using weights.

