​​ 5 Ways to Protect Your Knees When You Exercise

​​

Knee problems can flare up at any age, and they’re inconvenient!  In some cases, knee pain can be severe enough that it’s difficult to work out or even get around comfortably.  While osteoarthritis of the knee is more common in older people, younger people can experience chronic knee pain due to a condition called patellofemoral pain syndrome, also known as jumper’s knee. No one knows exactly what causes jumper’s knee, but it can hang around for months and cause discomfort when you run, climb stairs, and squat. People who have anatomical problems such as poor knee alignment are more susceptible to jumper’s knee.  The other risk factor is knee overuse and muscle imbalances in the lower body. Too much running and jumping are common causes.

Knowing that knee pain can make it hard to exercise and comfortably get around, take steps to lower your risk of knee injury and chronic knee conditions like arthritis of the knee and jumper’s knee. Knees are forced to bear the force of 2 to 3 times your body weight when you go up and down stairs. So, the tendons, ligaments, and muscles that support your knees take a beating!  Here are some steps you can take to lower your risk of knee injuries and chronic knee pain when you exercise.

Wear the Right Shoes

Don’t buy exercise shoes based only on how they look or how much they cost. They perform a useful function! Choose shoes based on how well they support your feet. Consider having a professional at a sports store look at your feet and help you select the right shoe. It’s that important.  When your feet have proper support, it takes stress off your knees. For example, if you have a low arch, your feet need arch support. Otherwise, you’ll have a tendency to turn your foot inward when you walk or run. If you’ve had knee, foot, ankle, or hip problems in the past, see a sports medicine physician and have them analyze your gait. Anatomic problems can often be corrected with shoe inserts. Correcting existing foot problems and choosing the right shoes are small steps you can take to keep your knees healthy!

Strengthen the Right Muscles

Research shows strong quadriceps, the muscles in the front of your thighs, protect against a knee injury. Having strong quads may also lower the risk of developing knee arthritis by absorbing some of the force placed on the knee when you walk or run. You may have heard that squats are bad for the knees. But research doesn’t support the idea that squats are harmful if you use good form. In fact, squats are beneficial for knee health because they strengthen the quadriceps muscles, the muscle in the front of the thigh that supports the knee. One mistake people make when squatting that places stress on their knees is they let their knees move too far forward when they squat, sometimes to the point that their knees track over their toes. Bad idea!  Ideally, you want your knees to move as little as possible when you squat.

Cross-Train Cross-Train

Don’t do the same training over and over. Rather vary the types of workouts you do to avoid repetitive stress injuries. For example, runners are prone toward Achilles tendonitis because they stress the tendons by doing the same repetitive movements without giving the tendons enough time to recover.  If you have a history of knee injuries or arthritis, the bulk of your workouts should be low impact. However, low impact doesn’t mean low intensity. You can still get an effective workout without pounding your legs against a hard surface. If you do high-impact exercise, do it on a softer surface to protect your knees. Also, don’t increase the intensity or duration of your workouts too quickly. Give your muscles, tendons, ligaments, and joints a chance to adapt to the stress you place on them.

Correct Muscle Imbalances

Recent research, including a study published in the Journal of Aging Research, suggests that muscle weakness and muscle imbalances play a role in osteoarthritis of the knee. Therefore, strengthening muscles in the lower body symmetrically, including the quads and the opposing muscles, the hamstrings helps maintain balanced strength to support the knees. Studies also show that exercise has an anti-inflammatory effect that may help keep the knee joint healthy and reduce age-related cartilage breakdown. So, make sure your lower body workouts are balanced. Work the muscles in the front of your thighs, the quads, as thoroughly as you work the hamstrings and glutes in the back. Make sure you’re doing core strengthening exercise as well.

Watch Your Weight

Now that you know how much force your knees have to bear when you walk and when you go up and down stairs, it’s easy to see why not becoming overweight or obese is so important. Obesity, along with genetics and prior knee injury, and the biggest risk factors for osteoarthritis of the knee. Fortunately, exercise helps control body weight. Plus, movement helps lubricate the joints and keeps them healthy.

Conclusions

Now, you have a better idea of how to protect your knees when you exercise. You need your knees for a lifetime. Don’t take them for granted when you train. Take steps to protect them and lower your risk of injury. Also, if you have knee pain, stiffness, or your knees are giving out or locking up, see a physician. There are other more serious conditions, like a meniscal tear that can cause knee discomfort too. Don’t ignore knee pain.

References:

Ortho Info. “Patellofemoral Pain Syndrome”

Arthritis Rheum. 2009 Jan;60(1):189-98. doi: 10.1002/art.24182.

Int J Sports Phys Ther. 2014 May; 9(3): 320-328.

PM R. 2012 May;4(5 Suppl):S117-21. doi: 10.1016/j.pmrj.2012.02.011.

Journal of Aging Research. Volume 2011, Article ID 374653, 6 pages.

Short Summary:

.
How to Improve Your Balance Skills When You Fitness Train

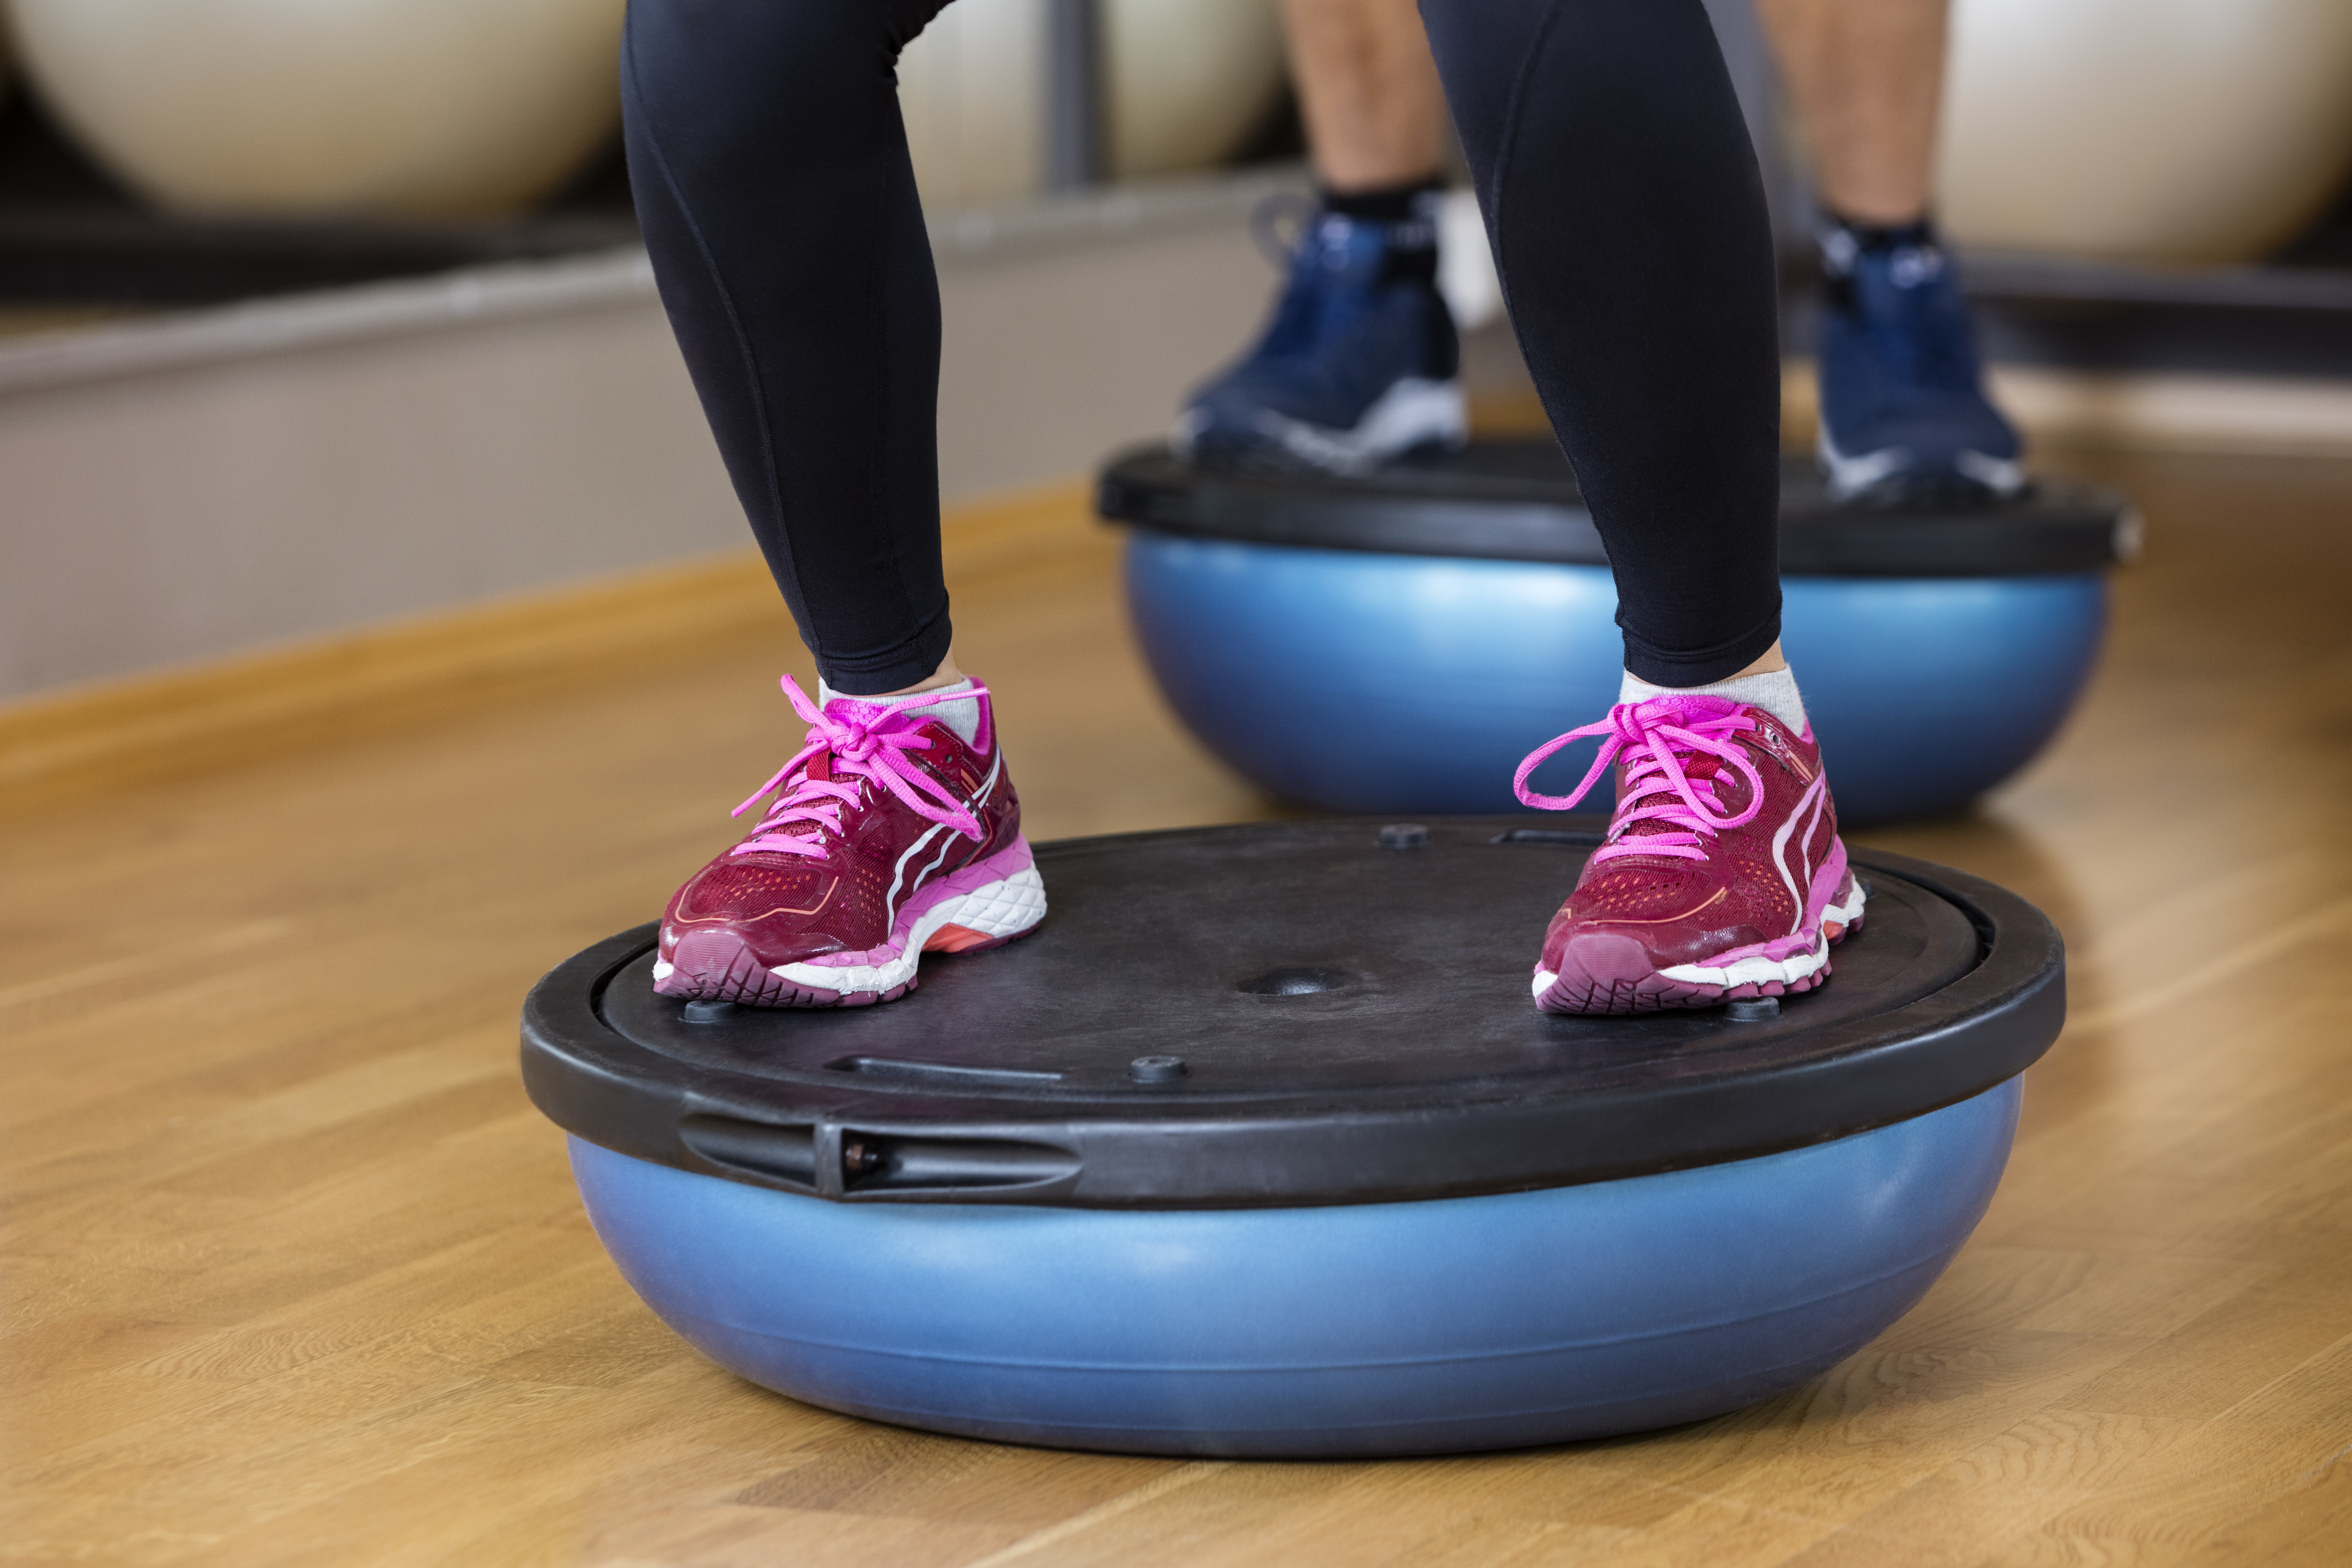
Low section of woman standing on bosu ball in health clubMost people focus the bulk of their workouts on developing greater cardiovascular fitness and building muscle strength and size. But, there’s another aspect of a well-balanced training program that you should ignore. It’s balance and stability training.

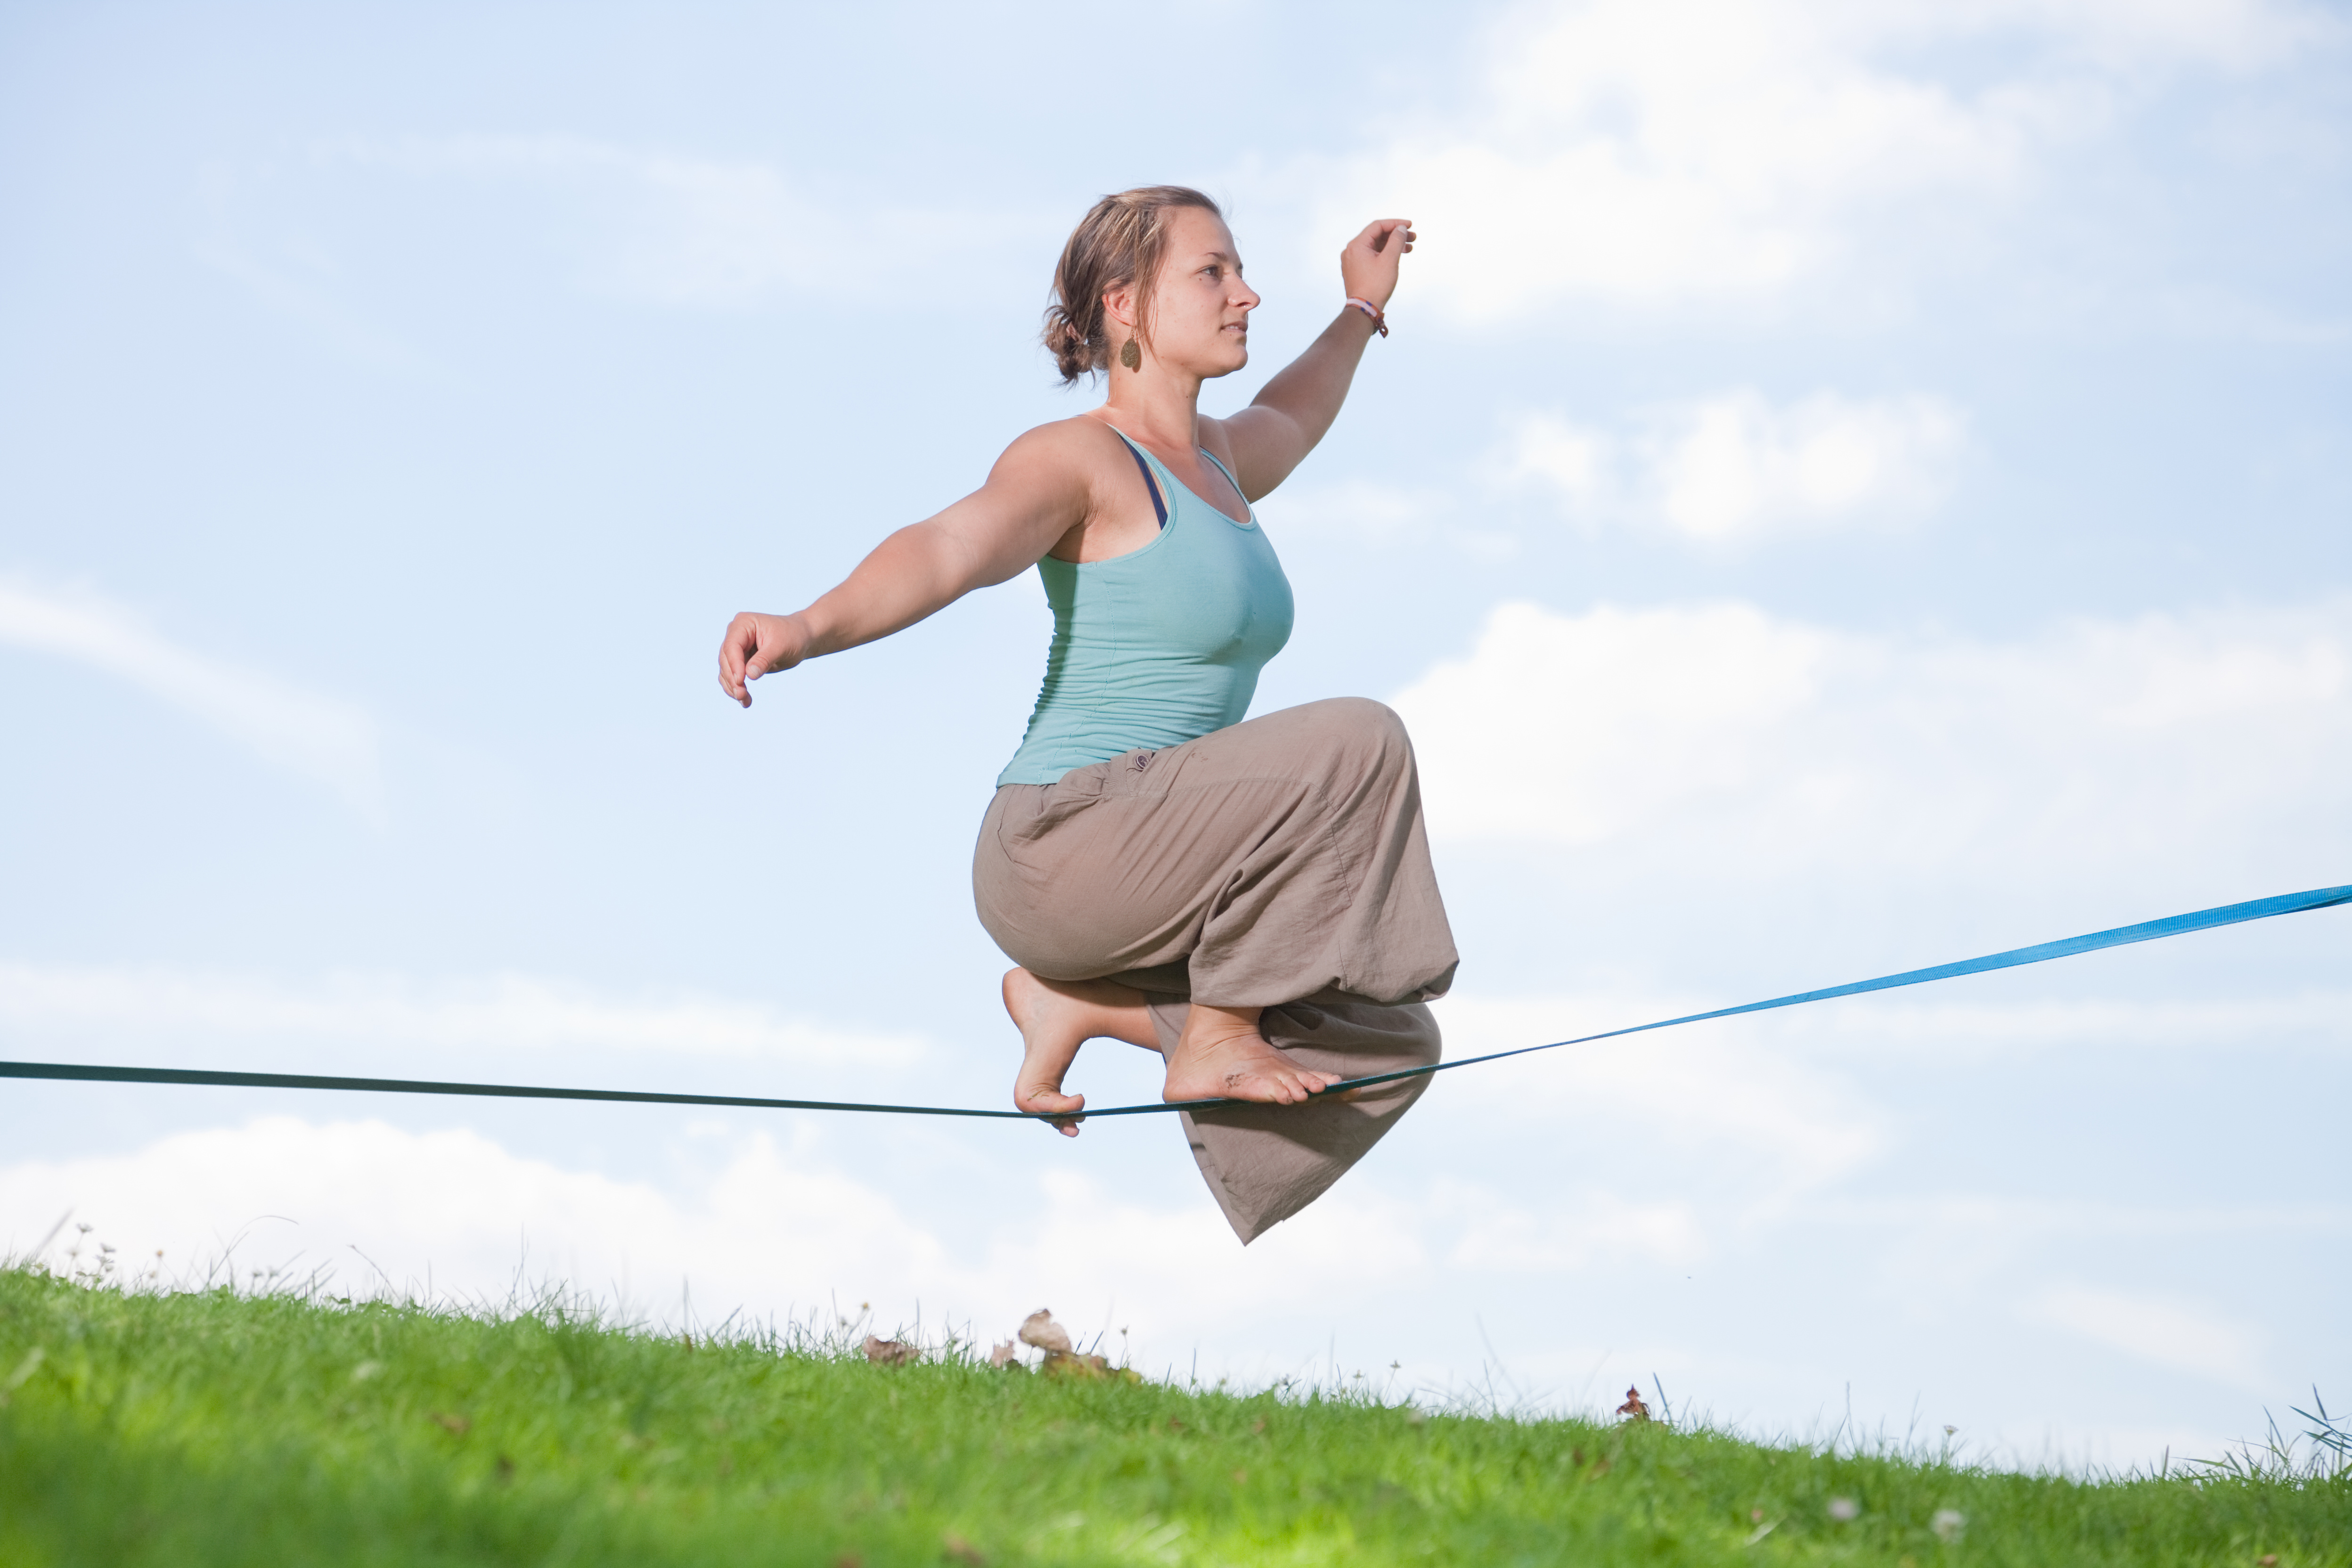
What is balance? It’s the ability to hold your body in an upright, stable position. There are two types of balance. The first is called static balance. It refers to the ability to hold your body steady when you’re standing or sitting still. Dynamic balance is being able to stay steady when your body is moving. Balance and coordination share some similarities. When you describe someone as coordinated, it means they have good balance skill but also have speed and agility.

When you think of balance, you might envision a gymnast effortless moving her body across a narrow balance beam with enviable precision, but you need balance skills if you play any type of sports. In fact, poor balance greatly increases the risk of injury. We tend to lose our sense of balance as we age. That’s why balance training throughout life is so important. Balance training reinforces the pathways that help us maintain static and dynamic balance.

How can you improve your balance skills as part of your fitness training?

Static Balance

The simplest way to develop better static balance is to practice standing on one leg and holding that position as long as possible. You can even do this while you’re brushing your teeth. Simply lift one leg off the ground and hold it up until you become unsteady. Time yourself and try to improve on your time. Switch legs and do the same. Over time, your times will increase. You should reach the point where you can balance on one leg for at least 30 seconds. Don’t be surprised if you have an easier time balancing on one leg than the other! That’s fairly common. Work on static balance first. It’s important to master the ability to stay stable in a static position before progressing to dynamic balance exercises.

Dynamic Balance

Once you can balance on each leg for 30 seconds, it’s time to introduce exercises that will help boost your sense of dynamic balance. Here’s a good beginning movement:

•​Stand on one leg and hold the other leg up as you did for the static balance exercise. The knee that’s elevated should be bent to 90 degrees.

•​Switch so you’re bearing weight on the other leg and holding the other leg up with knee bent to 90 degrees.

•​Keep switching legs back and forth as you hold up one and then the other.

•​Don’t do the movement too. Stop to balance on each leg and avoid using too much momentum.

Once you’ve mastered this movement, let’s add forward and lateral movement. Start by jumping forward on to one foot. Then, quickly jump back onto the back foot. Keep jumping forward and backward from the front foot to the back foot. The foot that’s not bearing weight should be slightly bent and not touching the ground.

Now, try the same movement laterally. Jump onto your right foot as you hold your left foot up. Then bounce back to your right foot as you hold your left foot off the ground. Keep alternating feet. You can do this type of dynamic balance exercise in any plane of motion.

Plyometric drills, like lateral jumps and skaters, will also help improve your dynamic balance skills.

Other Ways to Improve Your Balance Skills

You can even work on your balance skills while strength training Two of the best strength-training exercises that help develop your balance skills are single-leg squats and single-leg deadlifts. To do a single leg squat, hold one leg up as you descend into the squat. It’s challenging, but you’ll get better at it over time. Here’s how to do a single-leg deadlift:

•​Stand on one leg.

•​Bend your body toward the floor at the hip as you extend your other leg behind you for balance.

•​Stop when your body is parallel to the floor.

•​Slowly come back up to the starting position.

•​Keep repeating.

•​Switch to the other leg.

Forward and backward lunges are also excellent exercises for boosting dynamic balance. Forward lunges are more difficult than backward lunges for most people. You can make the exercise even more dynamic by doing walking lunges.

Use a BOSU Ball

A BOSU ball is a device used for balance training. One side is a flat surface that rests on the floor and the other is rounded like a dome, creating an unstable surface. Once you’re comfortable balancing on one leg on a flat surface, try balancing on each leg while standing on a BOSU ball. The unstable surface makes it more challenging to stay in balance. Doing movements on a BOSU ball also recruits more stabilizing muscles. An additional perk!

Now, try lunges on the BOSU. Here’s how:

•​Stand two feet behind the BOSU ball. (the rounded portion facing up)

•​Step forward so your right food lands on the center of the BOSU ball.

•​Once your foot is secure, descend into a lunge to a depth that your left knee almost touches the ground.

•​Raise your body back to the standing position.

•​Switch legs and keep alternating.

You can do a variety of exercises that work balance on a BOSU ball. Investing in one is a good way to add variety to your workouts too.

Conclusion

Good balance skills will make you a better athlete and protect against injury. Now, you have simple ways to improve your own ability to stay upright and stable.

References:

American Council on Exercise. “Advanced BOSU Balance Exercises | 5 Exercises for Dynamic Balance”

J Athl Train. 2010 Jul-Aug; 45(4): 392-403.

J Hum Kinet. 2017 Sep; 58: 45-64.


3 Simple, Low-Tech Ways to Measure Exercise Intensity

Watch for sports with smartwatch. Jogging training for marathon

Exercise intensity refers to how much energy you’re expending when you work out. In other words, how hard are you working out. Intensity can be divided into three categories: low intensity, moderate intensity, and high intensity. Why should you know how hard you’re working?

There’s a threshold intensity that you need to achieve intensity you need to improve your cardiovascular fitness. To maximize the cardiovascular benefits of a workout, you need to exercise at a moderate intensity or greater during most of your training sessions. You can also get cardiovascular benefits from short, high-intensity sessions because you’re trading duration for intensity. In fact, research shows you can get similar benefits in half the time with high-intensity interval training.

So, how do you know how hard you’re working?

Monitor Your Heart Rate

One way to measure how fast your heart is beating is to wear a heart rate monitor when you exercise. If you don’t have a heart rate monitor, you can periodically stop and place your finger against the carotid artery in your neck and count the number of heartbeats you feel for ten seconds. Then, multiply by six to get your heart rate.

To determine exercise intensity using your measured heart rate, you must also know your maximum heart rate. There’s a standard formula for this, and you can also find maximum heart rate charts online that give you these values at a glance based on your age. The formula has recently been upgraded to make it more accurate:

Maximum Heart Rate Formula

206.9 – (0.67 x age)

To use the formula, plug your age into the equation to get your maximum heart rate. Once you know your maximum heart rate, compare the heart rate you measure during exercise to that value.

If your measured heart rate is 40% to 50% of your maximum heart rate, you’re working out at a low intensity. Exercise should feel comfortable at this level even for long periods of time. If your measured heart rate is 51% to 70%, you’re working out at a moderate intensity. This is an intensity range that people strive for when doing long distance cycling or running. It’s in this range that you start to get full cardiovascular benefits, as long as you maintain exercise for 20 minutes or longer.

Beyond 70% of your maximum heart rate and you’re in the high-intensity zone. When you hit 80% to 90% of your maximum heart rate, it’s difficult to exercise at that intensity for long. People who do high-intensity interval training work out at this intensity during the active intervals.

Keep in mind that calculated maximum heart rate using the above formula is an approximation. The only way to determine it with absolute accuracy is to hop on a treadmill while technicians monitor your heart rate.

The Talk Test

Heart rate isn’t the only way to determine how hard you’re working. You can also use the “talk test.” It’s a pretty straightforward approach and is scientifically validated by a study carried out at the University of Wisconsin at Lacrosse. It’s based on the concept of the ventilatory threshold.

When you exercise beyond a certain intensity, you exceed the ventilatory threshold of your lungs. This is the point when breathing becomes labored. You’ve probably experienced it during a past high-intensity workout. You’re exercising at an intensity where you can’t say a complete sentence because you’re working so hard to breathe. It’s hard to get out a complete sentence because you’re above your ventilatory threshold and are in the anaerobic zone.

Here’s how the talk test works.

If you’re exercising at an intensity that it’s hard to talk in complete sentences, you’re at or above your ventilatory threshold and are working out at a high intensity. You may be able to get out a word or two, but you can’t string those words together to form complete sentences.

If you can get out a complete sentence, yet it’s difficult to carry on a conversation, you’re just below your ventilatory threshold and are in the moderate intensity zone. But if you can recite a poem or sing a song, you’re working out at a low intensity. Exercise feels comfortable at this level.

Rate of Perceived Exertion

Another low-tech way to estimate how intensely you’re exercising is to use the perceived exertion scale. With this scale, you rate how hard you’re exercising on a scale of one to ten with one being the easiest and ten the hardest. One on the perceived exertion scale would correspond to a relaxed state. You’re chilling! However, a ten would be sprinting as fast as you can to escape from a bear that’s hot on your trail.

If you rated your exercise intensity between three and five on the perceived exertion scale, you’re exercising at a low intensity. If it’s between five and seven, you’re working out at a moderate intensity. Beyond seven, you’re in the high-intensity zone. Although this is a subjective assessment, research suggests people are fairly accurate at estimating exercise intensity using this scale.

Conclusion

You really don’t need a fitness tracker or even a heart rate monitor to estimate exercise intensity. The talk teste and perceived exertion scale is a handy way to track how hard you’re working. Don’t exercise at the same intensity each time you train. If you train in the high-intensity zone all the time, you’ll accumulate fatigue and quickly burn out.

After a high intensity one day, give yourself a day of rest or work out at a low intensity to give your body time to recover. You’re in this for the long haul, and you don’t want to end up over-trained and exhausted. Now, you have a better idea of how to monitor exercise intensity, and you can do it without fancy equipment or gadgets.

References:

ACE Fitness. “Validating the Talk Test as a Measure of Exercise Intensity”

Med Sci Sports Exerc. 2007 May;39(5):822-9.

IDEA Personal Trainer. 14(1) 36-42.


Lunge Progression: Start Easy and Progress Over Time

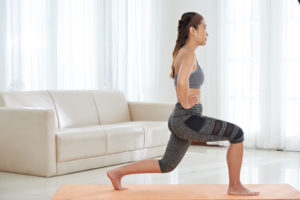
You need lunges in your lower body routine! They’re a basic exercise that works the muscles in the front and the back of the thighs as well as the glutes. They also offer a balance challenge to help you improve your proprioceptive skills. You can choose from a variety of lunge variations that are more difficult than a standard lunge. Here’s a simple lunge progression from easiest to hardest to help you get started with this lower body exercise.

Pulsing Lunge

The easiest way to get acquainted with lunges is to do a pulsing lunge. This movement targets primarily the quads but also works the hamstrings, glutes, and calves to a lesser degree. It’s a good introduction to the exercise because it will teach you the appropriate movement patterns you need to progress into more advanced lunges. Here’s how to do one:

•Step one foot forward and descend into a standard lunge with your legs at a 90-degree angle.

•Keep your weight on your front heel as you pulse up and down.

•Do ten pulses and switch legs.

Backward Lunge

Why begin with a backward lunge? It might sound a bit “backward,” but there are reasons. The backward lunge is a safer movement if you have knee pain Lunging backward places less stress on the knees since the momentum is shifted back rather than forward. Yet, it still strengthens the muscles in your lower body, including the quads, hamstrings, and glutes. Plus, you’re generating the power to lunge from the leg that stays on the ground. This makes backward lunges easier to perform, as you’re in a more stable position. So, start with backward lunges before tackling a forward one.

Here how to do one:

•Stand upright with your hands on your hips and spine neutral.

•Step your right foot back behind you as you descend into a lunge. Your right knee should almost touch the floor at the bottom of the lunge.

•Use your right foot to push yourself back to the starting position.

•Repeat the same sequence stepping your left foot back.

•Keep alternating legs.

Forward Lunge

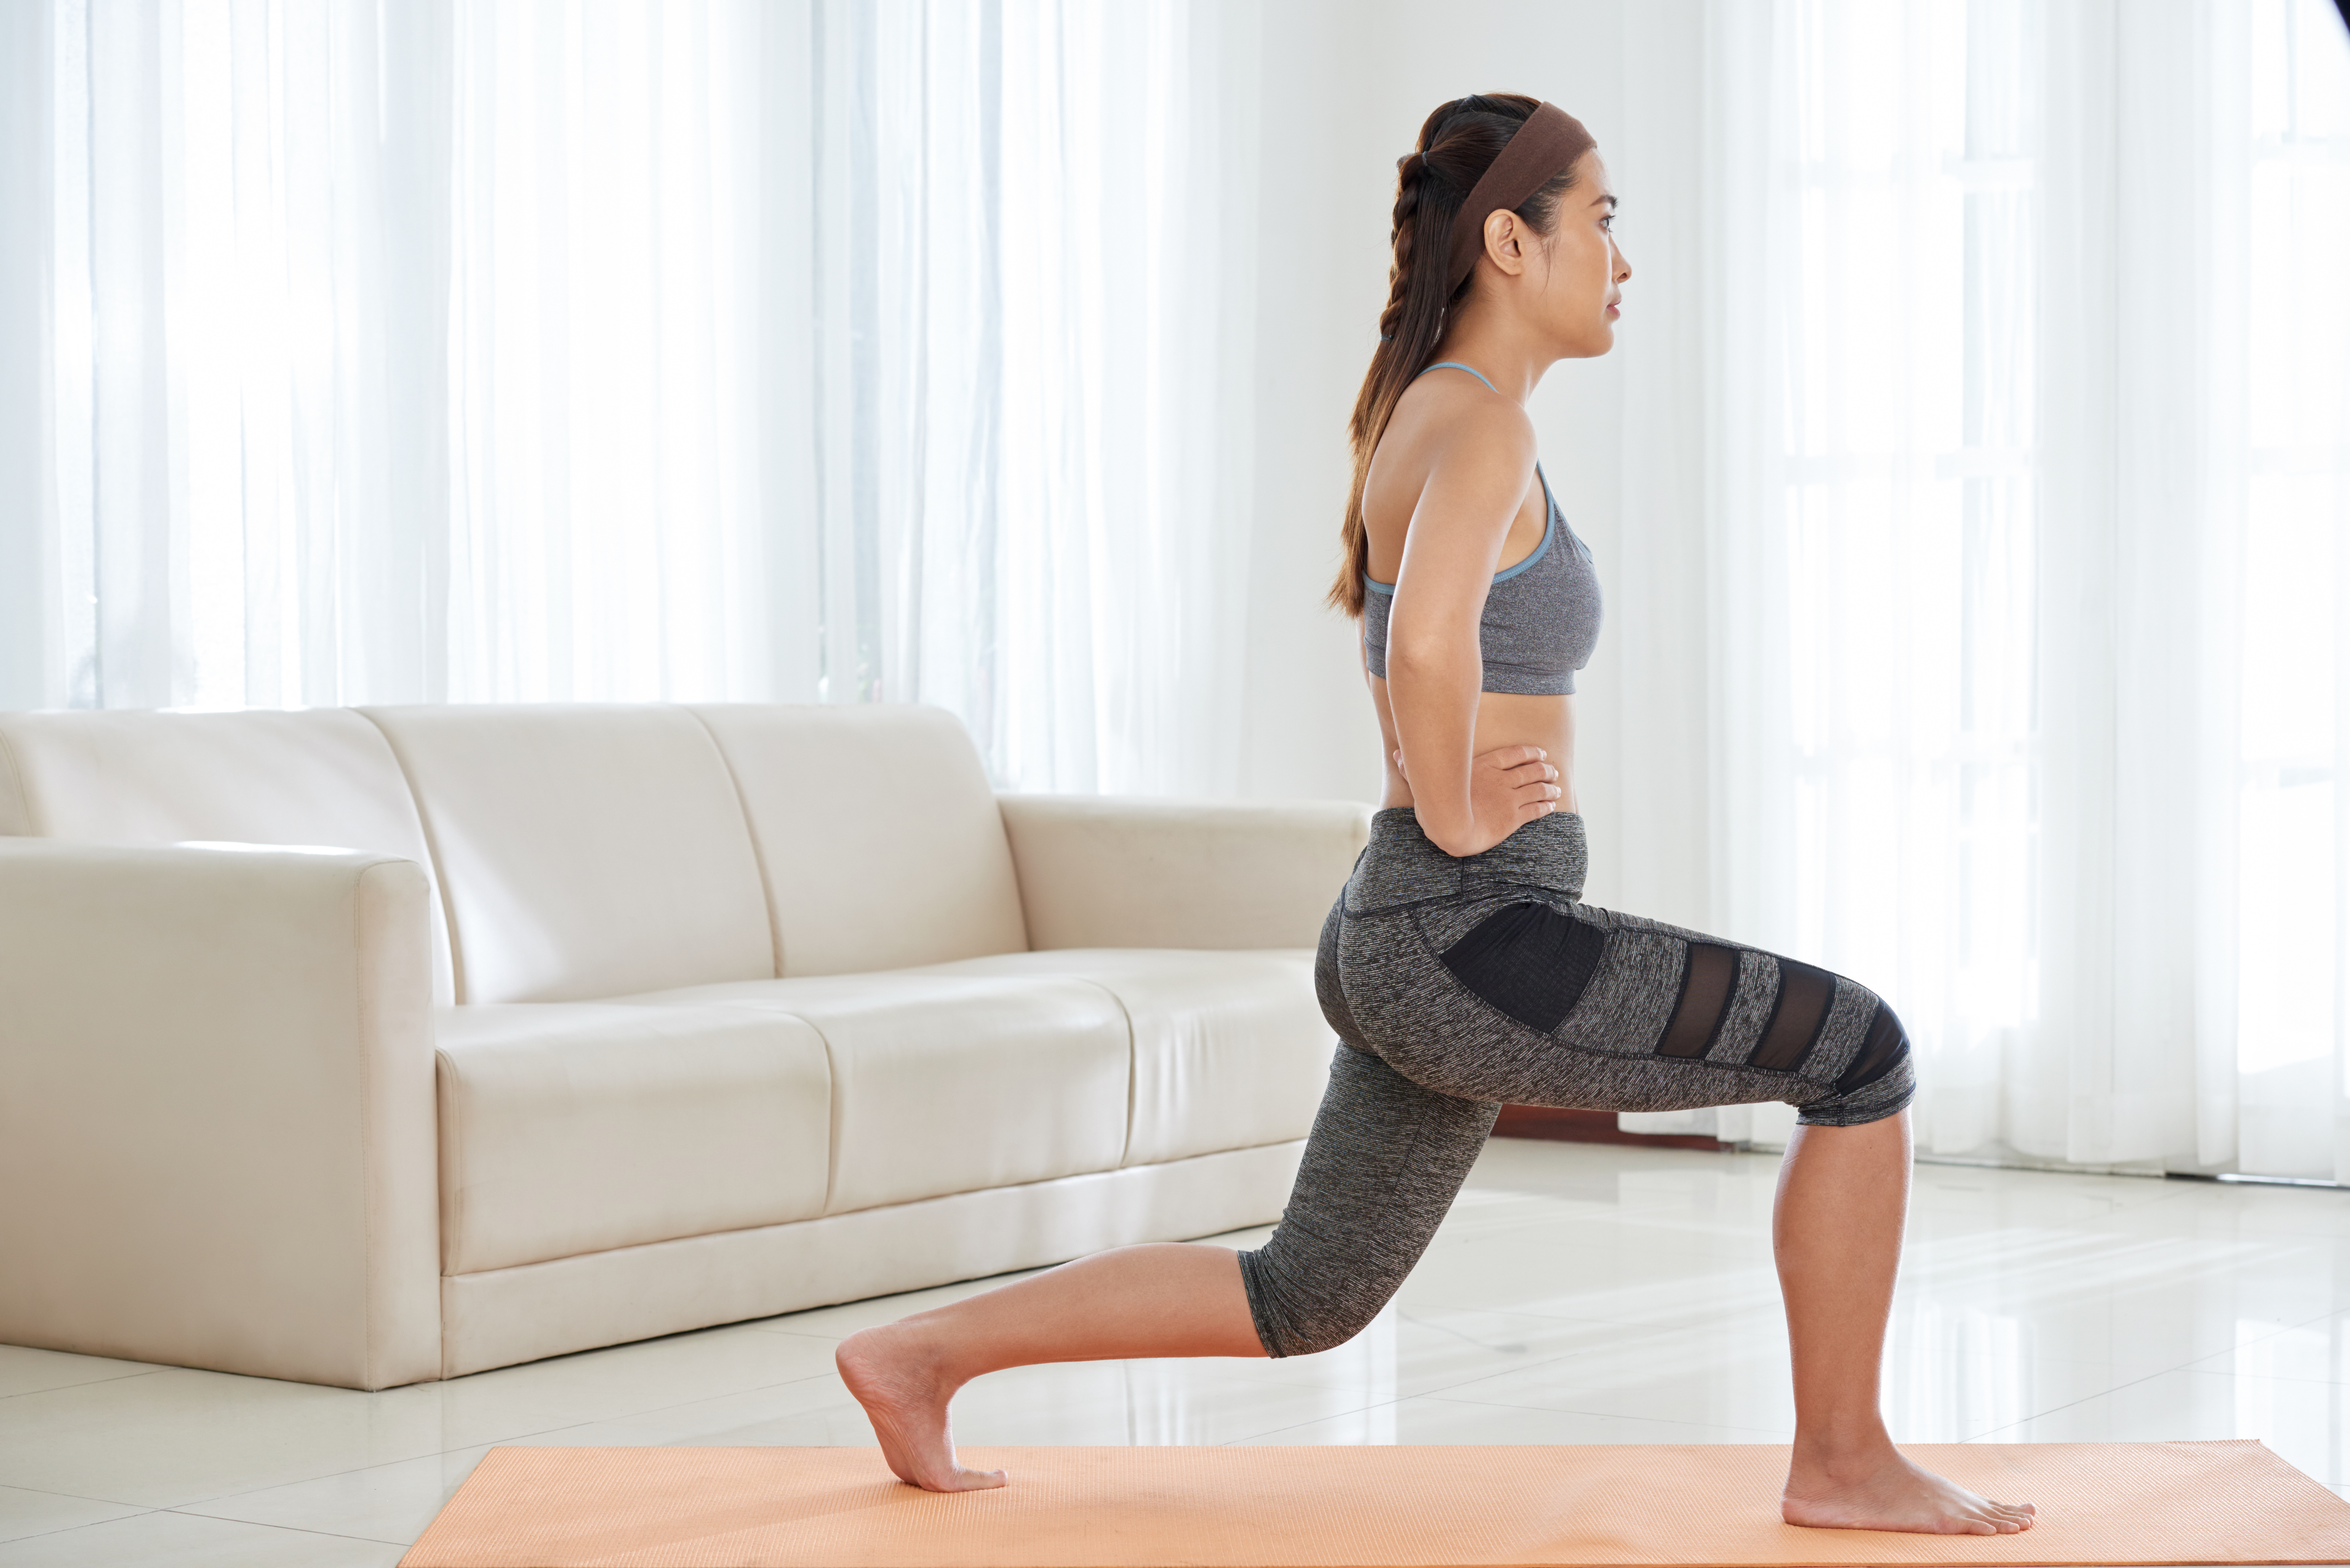
After you’re comfortable with pulsing and backward lunges, get ready to try a full, forward lunge. As mentioned, it’s more of a balance challenge as your body is less stable when you step forward than when you step back. It’s also harder on the knees as it increases the compressive forces on the knee joint. You can lower the risk of knee injury by not letting your knees go over your toes. On the plus side, the added instability means your core muscles get more of a workout. Nothing wrong with a little extra core work!

Here’s how to do one:

•Stand upright with your hands on your hips and your spine neutral.

•Step your right foot forward as you lower your body into a lunge position. Lower your body to the point that your left knee almost touches the floor.

•Use your right foot to push your body back to the starting position.

•Repeat the sequence by stepping your left leg forward as you lower your body into a lunge position.

•Use your left foot to push your body back up to the starting position.

•Keep alternating legs.

Lateral Lunge

Once you’ve mastered the forward and backward lunge, tackle a lateral lunge. Lunging laterally offers benefits you won’t get from forward and backward lunges. This move works your inner thighs more, a muscle group that often gets neglected. Here’s how to do one:

•Stand facing front with your feet wider than shoulder-width apart.

•Shift your body weight to the right leg as you lower your body as far as you can to the right side. Your left leg should remain straight.

•Use your left foot to push your body back to the starting position.

•Now, shift your body weight to the left leg as you lower your body to the left. Keep your right leg straight.

•Use your right foot to push your body back to the starting point.

•Alternate back and forth.

Forward to Backward Lunge

This is a more advanced variation that’s more dynamic and requires greater agility and coordination. Don’t try it until you’ve mastered the forward and backward lunge. Here’s how to do it:

•Stand upright with arms by your side and spine neutral.

•Step your right foot forward and do a full, forward lunge.

•Push off your right foot and immediately bring your right leg back behind you as you do a backward lunge.

•Return to the starting position and switch legs.

•Continue to alternate legs as you complete a forward and backward lunge on each side.

More Advanced Lunges

These aren’t the only lunge variations you can do. For example, you can create an added balance challenge by placing your foot on an unstable surface, like a BOSU ball, when you do forward lunges. The foot that moves forward lands on the rounded portion of the ball. You can also make the move more dynamic by doing walking lunges where you step forward with your right leg and descend into a lunge. Then use your right foot to keep you stable as you bring your left leg forward into a lunge on the opposite side. Keep switching back and forth as you move across the floor. But, master the basics first!

Tips for Safer, More Effective Lunges

Always begin a lunge workout with a dynamic warm-up. Good exercises for getting lunge-ready include leg swings, butt kicks, and high knees. Since the emphasis is on the lower body, you want the muscles you’re working to be warm and ready to work. If you have knee problems, stick mainly to backward lunges as they place the least compressive forces on the knees. If you do forward lunges, decrease the depth to which you descend. In other words, don’t go all the way down.

Conclusion

Lunges are an ideal exercise for the quads and they also target the hamstrings and glutes. Start with the basic moves, and prioritize backward lunges over forward ones if you have a history of knee pain. They can also help improve your balance.


Page 1 of 1

4 Reasons Why You’re Not Getting Results From Your Strength Workout


You’ve been lifting weights for months. In fact, you’re a regular at the gym. But despite your efforts, you’ve yet to see a bicep ripple or even a hint of a six-pack. Frustrating, isn’t it? Some people genetically have difficulty building lean body mass, but most commonly, lack of progress comes down to ineffective training and diet. Here are some of the reasons you’re not building muscle definition.

You’re Lifting for Endurance rather Than Strength

To gain lean body mass and definition, you need to lift a weight that’s heavy enough to fatigue your muscles after eight to twelve reps. If you’re lifting heavy enough, it should be a struggle to complete the last rep in a set. If you’re using weights you can easily lift more than 12 times, you’re training for muscle endurance rather than strength and definition.

Muscles grow on the basis of progressive overload, when you force them to deal with greater loads over time. Once you can lift the weight you’re using eight to twelve times, and you’re not struggling to do the last repetition, it’s time to increase the weight. Good form is important too. Don’t just go through the motions. If you’re swinging or jerking the weight, you’re using too much momentum, which makes the exercise less effective.

You’re Not Getting Enough Calories or Protein

Some people become so obsessed with losing body fat that they don’t take in enough calories to support muscle growth. Use an online calculator to find out how many calories you need a day based on your activity level, and make sure you’re getting that amount from whole foods, not junk foods.

Protein can be an issue too. Sedentary people need about 0.8 grams of protein per kilogram of body weight, but if you’re lifting hard, you may need as much as 1.2 to 1.5 grams of protein per kilogram of body weight. Protein is often a problem for people who restrict calories. If you don’t give your muscles the building blocks they need to grow, you won’t get definition. Exercise is only one part of the muscle-building equation. If you’re not seeing results, take a closer look at how you’re eating.

You’re Doing Too Much Cardio

If you’re doing an hour or more of cardio and spending 15 minutes lifting weights, don’t expect to see muscle definition. Doing that much cardio, especially if you’re not getting enough calories, sends your body into a catabolic state that makes it almost impossible to build lean body mass. When you do long periods of cardio without getting enough calories and carbs, it leads to muscle breakdown as your body looks for alternative sources of glucose to fuel your workout. Your liver supplies through a process called gluconeogenesis, but it uses amino acids that come from the breakdown of muscle tissue. Too much cardio and inadequate nutrition cannibalizes muscle tissue – and that’s not a good thing if you want more definition.

You’re Overtraining

Muscles not only need to be stimulated, they need time to recover too. More isn’t always better when it comes to strength workouts. If you’re working the same muscles without giving them at least 48 hours to recover, you won’t get the definition you’re looking for because you’re not giving them the time they need to repair before breaking down muscle fibers again. If you’re lifting hard, you’ll get results by working each muscle group only once or twice a week. At the very least, give each muscle group a two day rest before challenging it again.

Other Tips

Make sure you’re getting at least 7 hours of sleep a night. This is time for your body’s time to repair, and that’s when you release much of your growth hormone. Don’t skimp on sleep.

The Bottom Line?

Most failure to see muscle definition stems from improper training and inadequate nutrition. Keep these factors in mind if you’re not getting results.

References:

Exercise Physiology. Fifth Edition. McArdle, Katch and Katch. 2001.


What is Proprioception and Why Are Good Proprioceptive Skills Important When You Exercise?

Exercise places a significant amount of stress on your body. It’s a good kind of stress, but if you’re not properly trained and haven’t developed a certain level of fitness, your risk of injury goes up. Using good form during resistance training and doing a balanced workout that targets all the major muscle groups helps lower your risk for injury. It also improves muscle strength in a balanced manner. But there’s another aspect of training you may not be as familiar with. It’s proprioceptive skills. You need effective proprioceptive skills if you play sports, especially sports that require quick movements and rapid changes in position. It can even help your performance when you strength train.

What is Proprioception?

What is proprioception? It’s the ability to tell how your body and limbs are oriented in space without looking at them. Having the ability to do this allows your body to make the necessary adjustments needed for you to stay stable when you move around. You make these adjustments constantly throughout the day without conscious awareness. For example, you walk down the street and encounter an object in your path that threatens to send you tumbling on to the sidewalk. Hopefully, the pathways involved in proprioception will react quickly enough to keep you from taking a nasty fall!

Another time strong proprioception works in your favor is when you try to find your way in the dark when you don’t have visual input. Normally, you depend on visual markers to help you navigate through a dark room. If you don’t have visual cues because the lights are out, you need proprioception to help you reach your destination safely. The systems that help you successfully get around safely are threefold–proprioception, visual, and vestibular. They all work together, but proprioception and your vestibular system have to work overtime when you’re operating in the dark or with your eyes closed.

You might wonder how proprioception works. Your muscles, tendons, and joints have receptors called mechanoreceptors that are highly sensitive to position changes and changes in tension. If these receptors detect even a small change, they send a signal to your brain and your brain makes the appropriate compensation to keep you stable and upright. This goes on “behind the scenes” without you having to think about it.

You Need Good Proprioception

Having strong proprioception is obviously important if you play sports. Knowing where your body and limbs are positioned in space helps you move more efficiently and accurately. It also lowers your risk of a potentially catastrophic injury. When you play sports, your environment is constantly changing and the quicker you can react the better your performance will be in your chosen sport and the lower your risk of injury will be.

As you can see, proprioceptive skills are vital for success in sports, but you also need them to safely carry out the activities you do daily. You use proprioception every time you change positions, rise out of a chair, or move across a room. Unfortunately, proprioceptive abilities decline with age. That’s one reason the risk of falls goes up with age, especially when you combine poor proprioception with declining vision and loss of muscle strength and power. It’s a bad combination! Changes in proprioception with aging also contribute to joint degeneration and arthritis.

Fortunately, you can improve your proprioceptive skills with consistent training. Doing so will positively impact your performance when you train and your functionality in daily life. How do you know if your proprioceptive skills are weak? Here’s a simple test:

  • From a standing position, place one foot in front of the other so that the heel of one foot touches the toes of the other and your feet form a straight line.
  • Raise your arms straight out to your sides at shoulder height as you hold this position.
  • Hold this stance as long as you can while someone times you.


If you can’t hold this position for at least 30 seconds, your proprioceptive skills could use some work.

How to Improve Your Proprioceptive Skills

Plyometric drills are helpful for improving proprioception. One that’s particularly beneficial is lateral jumps where you jump back and forth across an invisible line. Here’s how to do them:

  • Stand on one side of an imaginary line or a line you created with tape.
  • Lower your body into a quarter squat and jump across the line to the other side. Land in a squat position.
  • Continue jumping back and forth across the line.

Another way to improve proprioception is to remove visual input from the exercises you do. In other words, close your eyes when you do exercises like squats and lunges. When you do this, you force your proprioceptive pathways to work harder since there’s no visual input. Try doing on the final set of an exercise. It may be difficult at first, especially lunges, but as it becomes easier, you’ll know your proprioception is improving.

You can even work on proprioception when you’re standing at the sink brushing your teeth or washing dishes. Raise one leg off the ground and hold it as long as you can. Then, try it with your eyes closed. Much harder, right?

Another way to enhance proprioception is to do some exercises on an unstable surface, like a BOSU ball. When you perform your last set of squats or curls, do the exercises while standing on a BOSU ball. Working on an unstable surface, like a BOSU ball, has other benefits as well. It forces your core and stabilizing muscles to work harder. Some people even invest in a wobble board to work on proprioception, but you don’t need to do that. If you use the techniques above, your proprioception should improve over time.

Conclusion

Getting strong, powerful, and building muscle endurance and cardiovascular fitness are important, but so is strong proprioception. Improving this skill will help you in every aspect of your training and your daily life. You’ll also have a leg up on the aging process, as the loss of these skills is a common cause of disability in older people. Now, you have a better idea of how to improve proprioception when you train.

References:

Stack.com. “Why Athletes Need Balance and Proprioception Training”

Front Hum Neurosci. 2014; 8: 1075.