Is Grapeseed Oil Healthy For You?

Cold Pressed Grapeseed Oil

Grapeseed oil has gotten more popular over the last few decades with people looking for healthier alternatives to traditional cooking oils. Online, this oil has been given rave reviews about its benefits from cooking to skincare and has been backed by social media influences and beauty gurus who swear by it! However, is grapeseed oil healthy for cooking?

So, what’s the deal with grape seed oil and does it live up to its reputation? Keep reading to find out if you should join the grapeseed oil movement.

Where does it come from?

Grapeseed oil is nothing new and has been used in Europe for thousands of years to treat skin and eye-related conditions.

As the name suggests, grape seed oil, or simply grape oil, is made from the seeds of a grape. These are typically left behind after grapes are pressed during winemaking.

On a commercial scale, the grape seeds are crushed and solvents added to extract the oil. Others cold-press the seeds to extract the oil.

What is it used for?

Grapeseed oil is loved by chefs and is incorporated into many popular meals as a substitute for vegetable oil. It also has benefits that are non-culinary. These include:

Hair and skin care

Persons with acne can attest to the fact that using grapeseed oil will kill the bacteria in their pores which cause acne, thus making skin clearer and preventing future outbreaks. It also makes the skin softer and more elastic due to its Vitamin C and Vitamin E content.

Aside from preventing wrinkles, grape seed oil contains an antioxidant called proanthocyanidin. This helps to even out the skin tone and addresses skin conditions such as hyperpigmentation and melasma. Grape seed oil also acts as a great sunscreen by absorbing harmful UV rays that can damage the skin.

The best part about this oil is that it absorbs into the skin quickly, and doesn’t clog pores. This makes it ideal for all skin types and you won’t be left skin feeling super oily.

Loaded with vitamin E and fatty acids, this oil also acts as a great moisturizer for hair to keep it hydrated and protected. Persons who have to deal with dandruff will appreciate how it loosens the dead skin on the scalp and keeps it moist. Since it is so light, it is a great alternative to oils such as olive oil and coconut oil which can leave the hair feeling greasy or weighted. Lastly, it is a great remedy for balding because of compounds such as linolenic acid and procyanidin oligomers which stimulate hair growth.

Preventing chronic illness

Grape seed oil is full of Vitamin E whose fat-soluble antioxidant properties support the immune system and protects again chronic illnesses such as diabetes, cancer, and heart disease. There has also been a theory that grape seed oil slows the progress of dementia, but more research is needed on this matter.

Sex

Persons who are very eco-conscious may be pleased to hear that grape seed oil is a great lubricant for sex. It is a great alternative to many big-name lubricants which contain parabens, glycerin, propylene glycol, along with fragrances and flavorings which are a no-no for persons with sensitive skin and overall vaginal health. Just don’t use it with latex condoms because it may cause it to break or tear.

Nutritional facts

For every 1 teaspoon of grapeseed oil, you will find:

Calories: 40 – This is not much different from other oils such as olive, canola or peanut oils. The recommended oil intake based on a 2000-calorie per day diet is 6 teaspoons.

Total fat: 4.5 g

Saturated fat: 0.4g

Polyunsaturated fat: 3.1g

Monounsaturated fat: 0.7g

Cholesterol: 0mg

Sodium: 0mg

Potassium: 0mg

Carbohydrates: 0g

Dietary Fiber: 0g

Sugars: 0g

Proteins: 0g -Since grape seed oil is a fat, it will not contain any proteins or carbohydrates, and that includes sugars.

Vitamin E: 1.3mg- The recommended daily allowance is 15mg for adults.

Though present in grapes themselves, grape seed oil lacks vitamin K, vitamin C, copper, and potassium.

Type of Fat

The majority of fats contained within grape seed oil are polyunsaturated fats (PUFAs), primarily being omega-6 acids. The American Heart Association gives PUFAs the green light as a healthy alternative to saturated and trans fats which make up a huge portion of our diets.  PUFAs are essential fats that our bodies can make . Therefore we have to eat them.

Taste and smell

Grapeseed oil is described as having a clean, light taste which makes it perfect for cooking or acting as a topper.

Its smell is mild and does not have that oily smell people complain about as with other seed oils. Persons have even described it as smelling like “nothing”.

Smoke point

You may be pleased to know that grape seed oil has a high smoke point of approximately 421°F or 216°C.

It is important to note however that this smoke point is not constant and decreases as the oil breaks down.

Pros

Grapeseed oil has a lot of health and beauty benefits. Let’s explore a few:

• It is relatively inexpensive- Grape seed oil is more expensive than vegetable oil, but it is cheaper than olive oil. This makes it a great solution for persons on a budget, but who also want to spoil themselves a little.

• It decreases the risk of blood clotting- Studies have shown that consuming grape seed oil reduces platelet aggregation. This means that it reduces the thickening and clumping together of blood which lessen the chances of a blood clot.

• Great for hair- If you suffer from a sensitive scalp or allergic reactions to certain hair products, grape seed oil is a great, hypoallergic alternative which keeps hair healthy and shiny.

• Great for skin- Grape seed oil is perfect for moisturizing, postponing aging, sun protection, preventing acne, treating undereye bags and circles and stretch marks and can even act as a pre-shave oil.

Cons

Since we have taken a look at the benefits of using grape seed oil, it is time to look at some of its drawbacks:

• It oxidizes when exposed to heat- Despite having a high smoke point, grape seed oil oxides, which causes the fatty acids contained within it to break down. This greatly diminishes its benefits and at that point it becomes unhealthy.

• It contains trans fats- Trans fats are bad for you, and, when heated, the number of trans fats found in grape seed oil increases. This can contribute to heart disease and conditions such as diabetes.

• It can have health implications- While omega-6 fatty acids are good for the body, if not properly balanced, it can cause inflammation and even chronic diseases such as cancer.

What’s the best way to use it in food?

Grape seed oil can be used in cooking, but it is probably not the best choice for cooking oil. With that being said, let’s look at how it is commonly used in cooking:

Frying and stir-frying- Many persons fry with grape seed oil but it releases many free radicals and harmful compounds at that heat that can be detrimental to your health. Therefore, we would not recommend it for frying.

Sautéing and searing- Sautéing and searing are also done at high heat, but for shorter periods and while using less oil. For that reason, you can probably get away with it a few times. Just don’t overdo it.

Grapeseed oil is also used for roasting, grilling, and even in some baked goods. However, the healthiest way to consume it orally is by using it as a dressing or marinade

Alternatives

The best alternative to grape seed oil is probably extra virgin olive oil. It has many of the same benefits and is also heat stable.

Other alternatives are avocado oil, canola oil, and coconut oil, depending on what it is being used for of course.

Things to note:

• If you are allergic to grapes, you should probably avoid this oil to stay on the safe side. If you want to use it topically, you could always do a patch test first to see how your skin reacts to it. If you have no allergic reaction in 48 hours, then, by all means, go ahead.

• Persons are a bit iffy about giving grape seed oil the green light because of a chemical solvent known as hexane. This solvent is used during commercial winemaking, and that’s where most of our grapeseed oil comes from. It is considered a pollutant and a neurotoxin. While the effects on humans are inconclusive at this time, it is also important to note that the heat used during this process may cause the oil to oxidize and its benefits may be lost.

• Grape seed oil can come in its pure form or in a capsule.

• The National Center for Complementary and Integrative Health warns against using grape seed oil if you are about to undergo surgery or having an existing blood condition and are on blood thinners.

Conclusion- Healthy or Unhealthy?

Grapeseed oil has been a hot topic for many years. On one hand, its omega fatty acids content makes it great for heart health, skin and hair, hormones and brain health, but on the other hand, for persons who already have large quantities of these in their diet, grape seed oil can work against their favor. Plus, it can become pretty unhealthy after heating.

The final say is, it depends. How it is used and preexisting diet and health conditions will determine how healthy or unhealthy it is for you.

What is The Best Weight Loss Program?

Guide To Chosing or Building A Comprehensive Weight Loss Program

Weight loss is a daunting topic for people. Staring at yourself in the mirror can become cumbersome as you notice those love handles and gapless thighs. It can be challenging to wake up in the morning knowing you’re not in good shape. Does this mean one has to live with excess fat for the rest of their life? Absolutely not, but what can you do to get rid of it? Stay away from weight loss pills and other nonsensical items, which provide minimal value. It is critical to focus on building a comprehensive, well-designed weight loss program catered to your specific goals. Let’s take a look at what you should be keeping in mind while diving head first into this process.

Understanding Weight Loss

Shedding weight is not as simple as reducing caloric intake. It requires meticulous attention to detail to ensure everything is being done in a healthy and efficient manner. Weight loss is not difficult as long as you comprehend what it entails from the beginning.

The body’s overall shape and size changes as the pounds are shed. This is where looking into the mirror is essential to see whether or not you are satisfied with the weight loss. Far too many people assume the concept of shedding weight is numerical. This means, they look at their scale in the morning with an empty stomach and if the numbers are going down, they are happy. Yes, the scale is key as you want to lose weight, but so is the reflection in the mirror.

Let’s take a look at what you need when it comes to putting together a weight loss program that will be easy to follow and effective at the same time. The last thing you want is an ineffective program.

Defining A Good Weight Loss Program

So, what does a good weight loss program look like by the way? Researchers have done numerous studies on the topic considering the popularity of the subject matter.

A good weight loss program is comprehensive and emphasizes a change in lifestyle rather than an immediate and/or drastic reduction in caloric intake. Starvation is never acceptable.

Emphasis is placed on tracking nutritional intake along with understanding the importance of exercise along the way. Those who track will succeed while those who don’t will spin their wheels without a solution in sight. Far too many people do this and continue to struggle because of it.

Now that a ‘good’ weight loss program has been defined, let’s move onto putting together your own.

Dietary Intake

Assuming you have measured your body fat % and weight, it is time to move onto the next step. This will look at what you are putting into your body on a regular basis. Remember, it is important to figure out how much you need to eat in order to ‘maintain’ weight on a daily basis and then reduce by 500 calories. This will get you going in the right direction and tweaks can be made along the way based on how your body responds.

For your diet to remain effective, you will have to pinpoint the value of fruits and vegetables. This is the only way to ensure you are getting enough food to remain full without being inundated with calories.

Whole grain foods along with a significant amount of water are substantial. They will ensure you are putting the right foods into your body. Remember, you are cutting 500 calories from your daily intake, so the amount you have to work with should be maximized.

Focus On Portion Sizes

Ever ate a lot and felt bloated? Everyone has had this feeling at one point or another. It comes to a point where you have to unbuckle your belt before it pops open. This should never be the case when you are on a diet.

Don’t sit down and eat large meals as this pushes one to eat more than they should. Break down your meals into smaller portions. This means try to get in at least 5-6 mini meals rather than three large ones as you might have in the past.

Consistency is essential when it comes to portion sizes to see positive changes.

Exercise

What about being active? Losing weight without exercise is possible, but will not optimize the process. If you are someone who wants to become fitter, lifting weights is an excellent way to speed up the process. It will help your muscles remain firm and only cut away the fat on your body. Those muscles going away will not feel good and fatigue will begin to set in as time goes on.

Exercise does not always mean going to the gym and lifting weights. In fact, many prefer to stay as lean as they are while dropping pounds. In that case, going for a light jog during the day for 20-30 minutes should help.

Always do what is best for you and your needs. If you don’t do this, the process is going to slow down at one point or another.

Exercising can be something as simple as grabbing a few buddies and shooting hoops for a while. This is going to get the heart pumping and sweat pouring as desired.

Any weight loss program with these changes in place is going to be effective and produce results. There is no reason to be frustrated with how things are at the moment. Shedding excess fat is not easy and those who assume it is will never get past this hurdle. Remain mentally strong as that is the only way to keep chugging along as things get harder. Once you are into a groove, it becomes hard to not want to head to the gym or continue to eat healthily. You have to develop a passion for the process as those who do this are going to shed excess fat in a matter of months.

Anyone can do this as long as they are focused on making this a lifelong change.

Type 2 Diabetes Exercise Guidelines

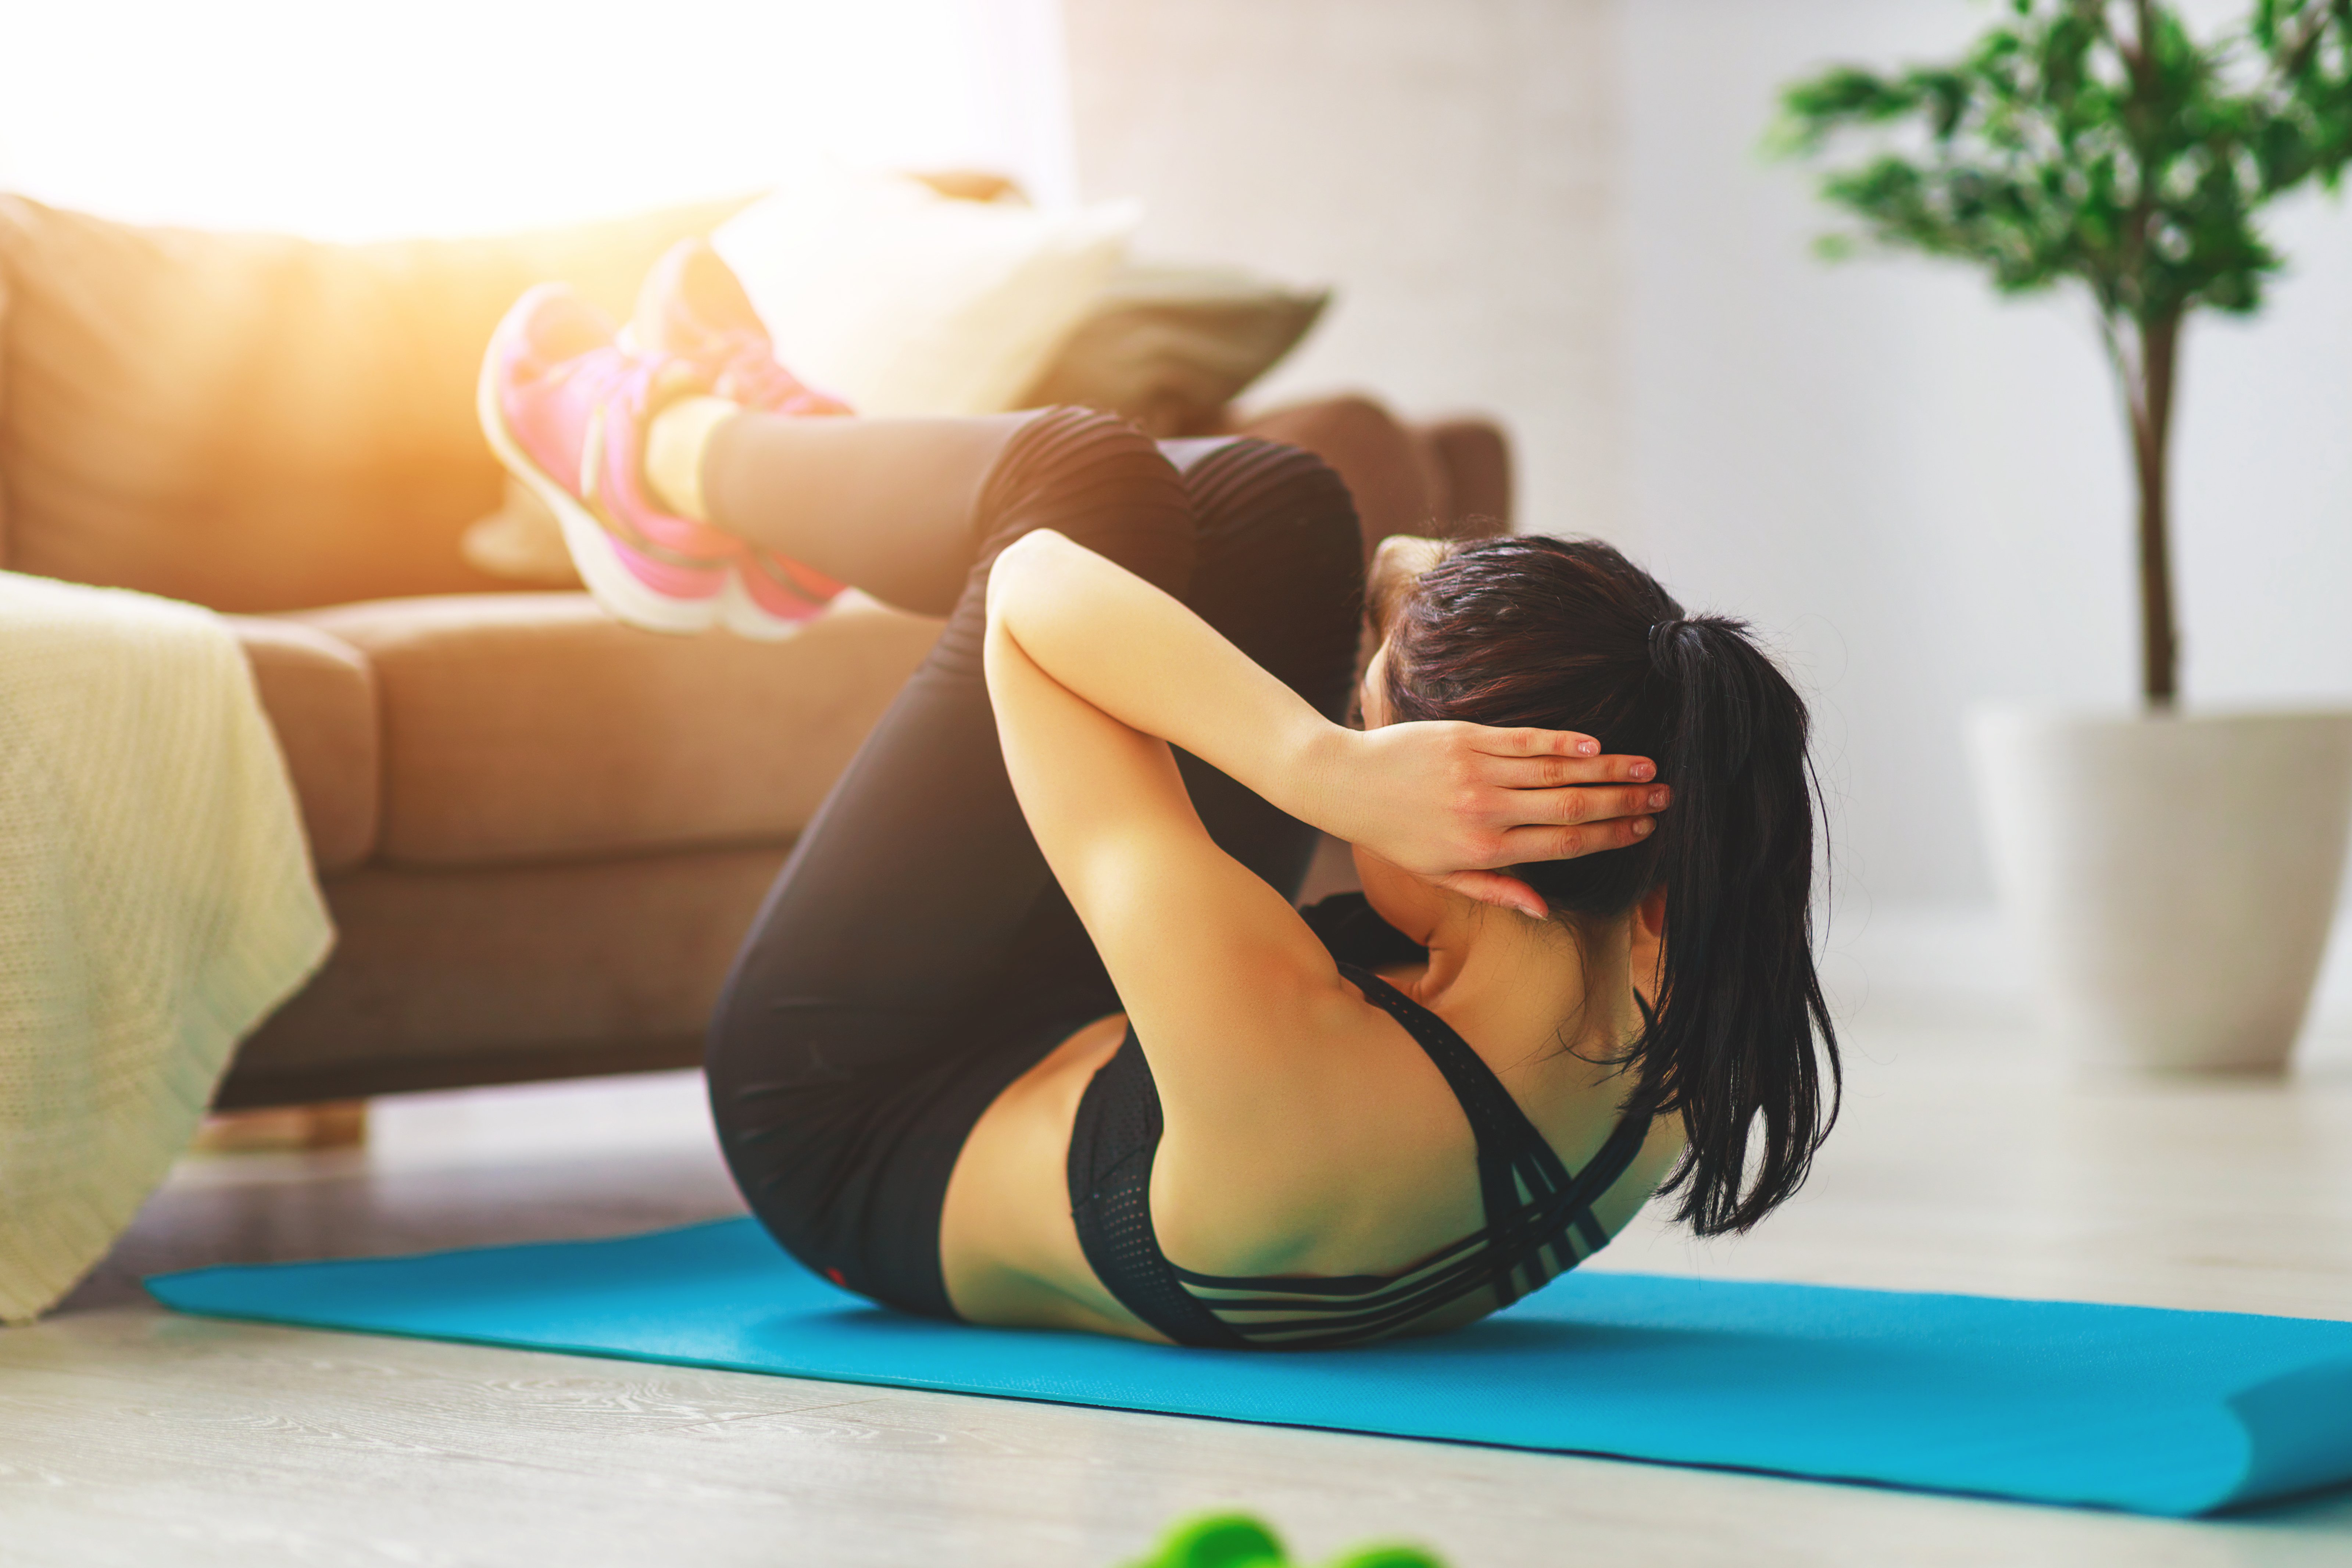
A diabetic young woman exercising

Exercise to Defeat Type 2 Diabetes

One of the best ways to control blood sugar, fight cardiovascular disease and improve general health is regular exercise. But that’s easier said than done in today’s world. Many jobs can now be done from an ergonomic chair, in front of a computer, so exercise can be hard to come by. Furthermore, people are busy working and caring for their families and cannot find the time to exercise. Life just get in the way of exercising.

How Much Exercise Do You Need?

Type 2 Diabetes exercise guidelines is similar to the one recommended to improve your overall health. If you have high blood pressure, high cholesterol or just want to improve your overall health, this means you do not have to do anything different. Experts say that 30 minutes of daily exercise is enough but only about 30% of the population in the United States is getting that minimum. In fact, 25% of the people are not exercising at all. This is an important reason why obesity has become an epidemic in this country. In turn, obesity is a major contributor to the increase in type 2 diabetes. That’s because inactivity increases insulin resistance which, in turn, causes diabetes. However, it’s never too late to start controlling your diabetes and exercise is the perfect place to start. By improving your sensitivity to insulin, you will also lower your risk for heart disease and, as a bonus, lose weight.

What is Type 2 Diabetes?

There is no question that diabetes is on the rise in the United States. In the last 20 years, the number of newly-diagnosed people with diabetes increased by 48%. Most of these cases were Type 2 Diabetes (Adult-Onset). This is the type that generally appears in middle age. The symptoms include increased appetite, thirst and need to urinate. They also include feeling nauseous, edgy and tired, and blurred vision. In addition, there is sometimes a loss of feeling in the feet and hands. Sometimes there is no symptoms until its severe. Many people show up to the Emergency Room after experiencing some of the above symptoms and their blood sugar is already 700mg/dl. This high usually doesn’t happen over night. It similar to gaining weight. It is a gradual process that occurs over years. The cumulative effect of insulin resistance builds up over time. Just like fat, when your body does not use it, it stores.

Not all the causes of Type 2 Diabetes are completely understood yet, but it has been proven that obesity is a major contributing factor. A second related factor is the trend toward sedentary work and an inactive lifestyle away from work. There is no question that this trend is causing diabetes for many people. So it’s time for everyone to start exercising. Exercising allows your muscle to use sugar for energy. Therefore, you wont have excess sugar to store and circulate around your body damaging your blood vessels.

How to Get Started

Whether you are already a diabetic or have just been inactive for a period of time, it is always best to check with your healthcare provider to make sure exercise will be good for you. If you have risks for heart disease, your doctor may want to do a stress test to see what level of exercise will be safe for you. If you have complications from diabetes, you may be restricted from certain exercises. For example, if you have diabetic retinopathy, weightlifting, high-impact aerobics and jogging may not be appropriate for you. This is because there is a risk for more damage to blood vessels and detachment of your retina, which is a very serious complication.

Even if you are currently actively participating in sports or working out regularly, you can still benefit from discussing your proposed routine with your doctor. For example, if you are injecting insulin, you will need to take precautions to keep from having sharp drops in blood sugar when you are working out. Be Sure to start slowly.

If you have Type 2 Diabetes, you will benefit from something as simple as a nice walk around the neighborhood after dinner. If you have not been active, be sure to start slowly and work your way up to more intense activity. Other great ways to exercise are walking the dog, raking leaves, using the stairs instead of the elevator and parking away from the market and walking back. It doesn’t take much to add up to enough exercise. With only 15 or 30 minutes of aerobic exercise daily, blood glucose control will be improved and risk of complications will be lowered. The best all-around exercise is walking and it can be done cheaply. Just be sure you have well-fitting, supportive shoes.

You don’t need expensive health club memberships or up-to-date exercise machines to start lowering your blood sugar. As long as you are determined to exercise, you will soon be controlling your blood sugar.

In summary, one of the best ways to manage Type 2 Diabetes is to exercise regularly. All you need is 30mins a day for 5 days per week of aerobic activity. Only 2 days per of strength training is necessary. You should train all your major muscle groups at least once per week. Never train the same muscle group 2 days in a row. As a bonus, one of the biggest benefits is that you will have more energy and start looking forward to exercising.

Can Stress Make Diabetes Worse?


Dealing with Stress & Diabetes

Stress can be a major disruption of your health. It is also considered a silent killer. Research shows that poor stress management could be responsible for health conditions, including raising your blood sugar to abnormal levels. Hence, it can contribute to the development of diabetes, heart disease, and other life-threatening illnesses.

Stress Demystified

Stress is defined as anything that causes the body to behave as if it were under attack. With stress, the body prepares to take action: to fight or flight. When you’re stressed, the stress hormones cortisol and epinephrine (also known as adrenaline) kick in to elevate blood sugar levels for energy, when you need it most. However, in people with diabetes, the “fight-or-flight”response doesn’t work effectively. Insulin, the hormone that keeps sugar in your blood from getting too high, is not able to continually allow extra energy into the cells. In effect, blood sugar piles up in the blood.

The Bad (Distress), the Good (Eustress), & Blood Sugar

When you’re sick, your stress levels naturally rise. This signals your body to produce increased levels of hormones, which, in turn, raises the blood sugar levels in your bloodstream. If you’re non-diabetic, your body produces insulin effectively, which manages this rise in blood sugar. However, for people with diabetes or insulin problems, the pancreas produces less or virtually no insulin over time.

But do you know that even excitement or good stress raises your blood sugar? Yes, it does. The excitement from cheering for your basketball team will mobilize and heighten your sugar the same way a terrible traffic jam would. So understanding that even good stress can increase blood sugar can help people, especially diabetics, to take precaution, monitor regularly, and work with your physician for proper advice and management.

How Stress Affects Diabetes

If your have diabetes here is how stress will impact your blood sugar:

1. Stress hormones alter blood sugar directly– when you become anxious, angry, or stressed, your body releases hormones which have a double effect: elevate high blood sugar, and hamper the body’s ability to deliver sugar for energy use of your body tissues.
2. Stress can translate to an unhealthy lifestyle- Individuals who are under significant stress may not find time to take care of themselves or exercise regularly. Often, people either overeat or stop eating healthy meals when distressed. Worse, they may resort to heavy alcohol drinking, smoking,and other unhealthy habits that prevents blood sugar control.

For individuals who have no diabetes (but may be prone to acquiring it because of risk factors such as heredity, ethnicity, and unhealthy lifestyle practices), the psychological componentsof stress, among other factors, have been found to lower insulin secretion and raise blood sugar.

Chronic Stress

When you are under chronic or long-lasting stress, day after day, this results to consistent elevation in the stress hormones and other ill effects in health. As a consequence, adverse conditions occuurs, including spikes in blood sugar and blood pressure readings, suppressed immunity, elevation in blood cholesterol (lipids), and even bone loss and impaired brain function.

When stress hormones are constantly elevated, this can cause the stored sugar in your body to be released from the liver and muscles into your bloodstream. At the same time, fat is released for energy use. Sugar and fat are great energy sources, but they cause gain in weight when stored in the body. Nowadays, it is believed that weight gain or obesity may bedue to the following factors:

1. The shift from physical to psychological and/or emotional stress- evidence shows that chronic mental or emotional stress raises the stress hormone cortisol which stimulates your appetite, making you extremely hungry, while mechanisms in your brain tell you that you are not yet full.
2. The release of insulin due tto psychological and/or emotional stress  can result in more fat storage.

Symptoms of Chronic Stress

Most individuals, even you, may be unaware that you are being affected by chronic forms of stress. Are you experiencing any of the following regularly? You may have it. Talk this over with your physician for proper care.

  • Insomnia
  • Unexplained fatigue
  • Irritability
  • Difficulty concentrating
  • Forgetfulness
  • Anxiety or nervousness
  • Anger for no apparent reason
  • Chest pains (intermittent or persistent)
  • Recurring headaches, muscle pain or back pains
  • Gastrointestinal problems
  • Depression or sadness
  • Restlessness compulsive eating
  •  Excessive alcohol drinking

The Evolution of Stress

It is clear that stress, in its many forms, contribute to high blood sugar, and eventually, the development of conditions such as diabetes. With rates of diabetes at the highest ever, we may wonder whether the stress we are experiencing today is much higher than that which people experienced a hundred or maybe a thousand years ago.

Experts believe that people throughout history have always been subjected to more or less the same amounts of stress. And that diseases such as diabetes are so high today because of our lifestyle.

Here is Why

➢ Diet changes through the years- A hundred years ago, the rates of diabetes were much lower because people did not overeat as much fats, sugars or calories as we do today.
➢ The rise of physical inactivity- In the past, people were more physically active. Today, cars, drive-through food chains, internet shopping, and other modern-day conveniences have significantly eliminated our need to move about actively. This has contributed greatly to the high rates of diabetes.

The key, thus, is to sustain a healthy lifestyle while reducing too much stress. Watch what you eat, prioritize activities that boost your health and well-being, and embrace diet and new habits that will keep you happy and stress-free, so you can monitor and keep your blood sugar levels where it should be.

Tips for Managing Stress

Here are some tips which can help minimize and manage too much stress:

➢ Identify your stress source- Naturally, eliminating your source of stress is the best way to go, but this is often not an option. It’s virtually impossible to remove all stress that affects us. What is doable is to do things or opt for ways that make stressful situations easier to cope or manage.
➢ Let it go – First, try not to get upset or worry over things that are out of your control. You cannot control many things around us, such as the weather, other people’s actions, and many other things. Many believe that a sense of “letting go” of the situation (especially the bad ones) and doing our best to make outcomes as positive as possible is the best approach.
➢ New habits- In order to succeed, you must make big changes in your lifestyle. This means making several alterations, even the radical ones, to implement the healthy changes you want to achieve. Practically, this means killing your old ways and starting brand new habits that work well with your plan for achieving a healthier, better version of yourself. The good practices include good sleep, regular exercise, hydration (drinking water), eating healthy, and having less stress.
➢ Have fun & be happy- It’s never too late to start doing things that make you happy. Do spend beautiful mornings in the garden, enjoy reading your favorite book, go fishing, do an artistic task, or play your musical instrument of choice. What important is that you make it a habit to unwind and stop stress from building up.
➢ Exercise- Physical activity is essential to reducing stress levels, and consequently bringing your blood sugar to the normal range. The great thing about physical exercise is that it can be addictive! So when you start the habit of exercising for a sufficient period, you will likely begin to enjoy the activity and it will become an essential part of your daily activities.
➢ Engage in relaxation (such as yoga)- The combination of yoga, relaxation, and deep breathing techniques often help individuals reduce their levels of cortisol in the blood, and eliminate its harmful effects such as elevated high blood pressure which is not good news when in tandem with blood sugar problems.

Home Workout Equipment for the Upper Body: Pull Up Bars

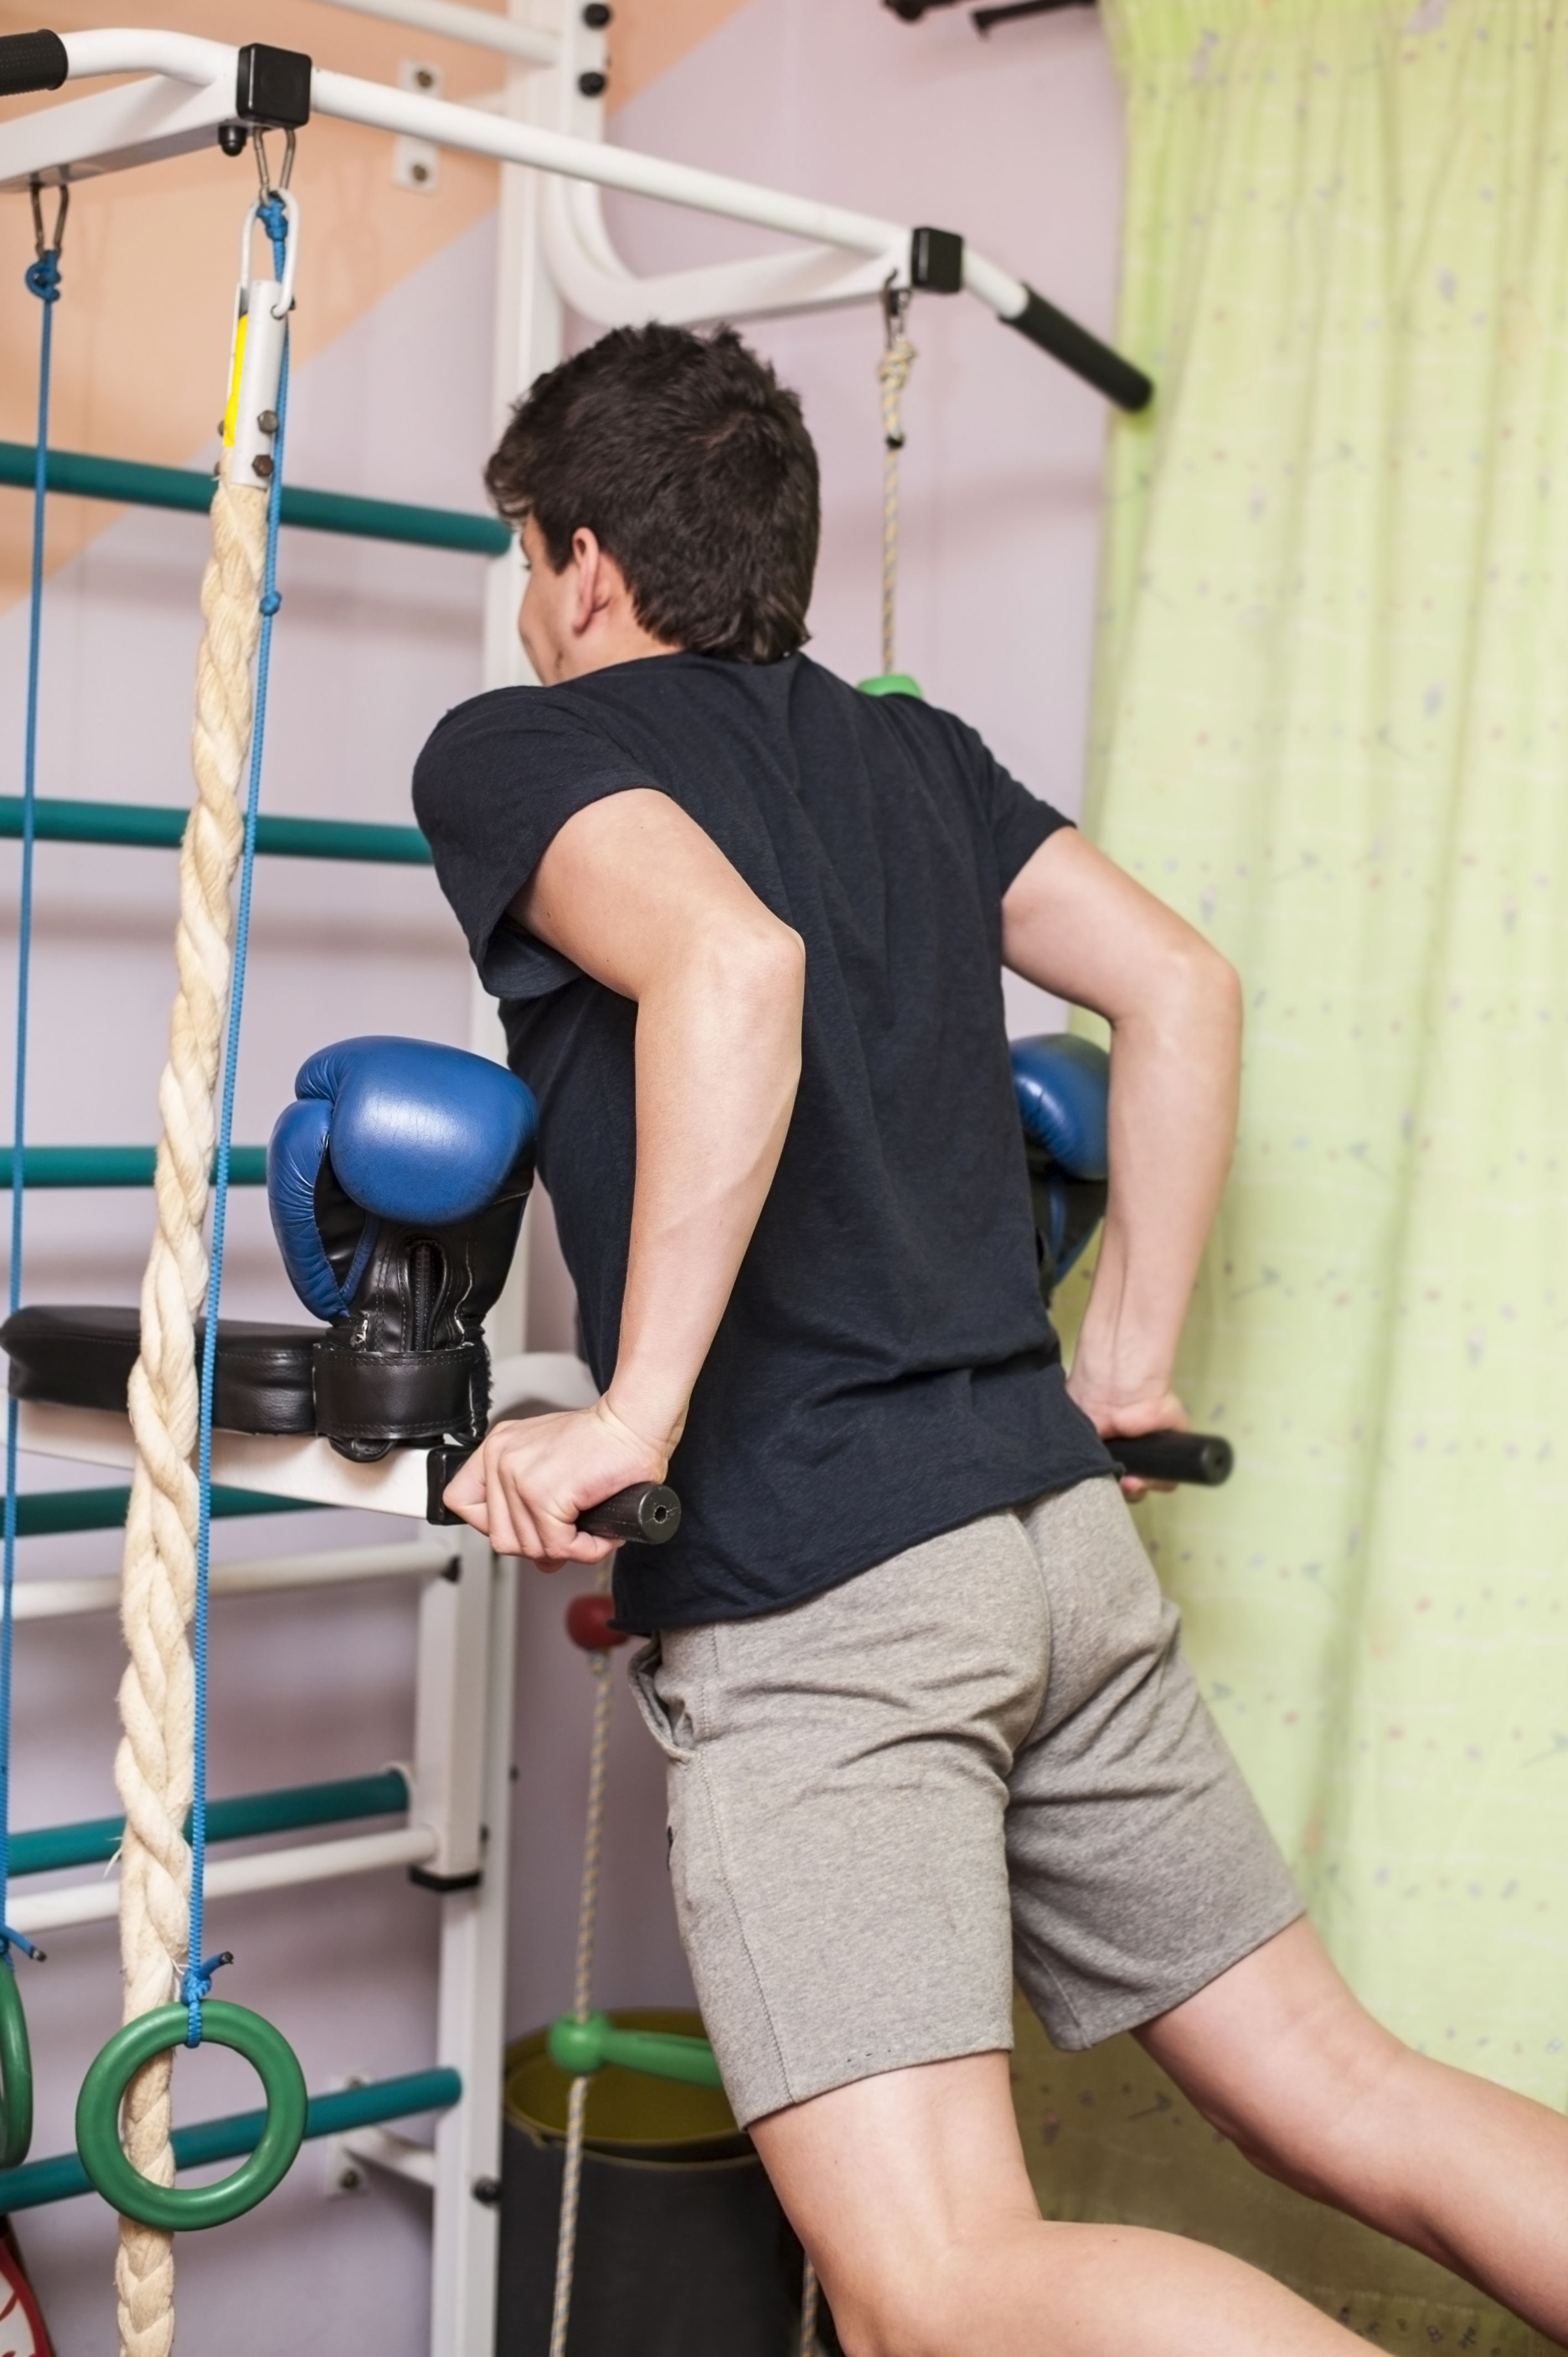
Home Workout Equipment for the Upper Body: Pull Up Bars and Dip Bars

Working out at home can save you a lot of time and money. It is difficult to commit to constant visits to the gym at times. Work, school, and parenting can all limit your exercise time. When you have equipment at home, you can easily sneak in a short workout between your daily activities. Pull up bars, and dip bars are great assets to add to your workout routine. Furthermore , they can be used in many living environments. They are small enough for use in an apartment, as well. You can build up strength in several upper body muscles making it easier to reach your workout goals. No gym membership necessary.

You can workout most of your major muscle groups at home without equipment and only your bodyweight. However, working out your back without any equipment can be challenging. This is where pull bars and dip bars come in handy. Although it is a piece of equipment, you will still be using only your bodyweight for resistance.

Convenience

When you have limited time or are on a budget, you must get creative with your workout routine. You can easily install most pull-up bars in a doorway. Others are portable and work in various outdoor areas, such as the park. If you travel for work, you can take your pull-up or dip bar with you for a workout on the go. Lastly, just in case your are shy,  a pull-up bar lets you get your upper body strength training done in the privacy of your own home, as well.

Varieties

There are some excellent new versions of the pull-up and dip bar. You can opt for the traditional one to put in your doorway or try out the new portable styles. If you have the space for larger equipment, you can choose a pull-up and dip station. To use the doorway pull-up bar, you need a sturdy door frame. Check to make sure nothing is loose; otherwise the weight can cause you to fall. You can hurt yourself and damage the door frame. So check for

Freestanding pull-up and dip bars are large pieces of metal equipment that simply sit on the floor in your home. These work well if you are building a large home gym for daily workouts. These usually have adjustable bars, making it easy to get a targeted and comfortable workout.

Portable pull-up and dip bars are perfect for individuals on the go. You can attach them to trees or poles outside. You can work out at home or add strength training to your outings. Fit your strength training into a family day at the park or pack your bar for a business trip. This ensures that you never miss a chance to work on your goals.

Your Body is Your Weight

Dips and pull-ups help you use your own body weight to get in shape. This means you need less equipment to get the same results. If you are not ready to spend a lot of money on equipment, a pull-up and dip bar is a great starter piece. It also takes time to build up your strength, making these bars a long-lasting part of your workout routine.

Getting Started

Many people shy away from bringing home workout equipment because they are not sure how to use it. You do not have to depend on a gym to get healthy. It can help to join a gym short term or take a few sessions with a personal trainer, however. This gives you a chance to learn how to use your equipment safely and efficiently. There are many helpful guides online to help you learn about the use of a pull-up bar, as well. Pull-ups and dips fall into the category of weight training. Most beginners add this to their exercise schedule two or three days per week. It is important to learn how to position your body for a proper pull-up or dip. You may not be able to do full exercises at first. Focus on using your arms and upper body muscles, only. Refrain from jumping up to the bar. You can use these beginner moves as you learn and build strength.

•​Lowering your Body- it can be easier to lower your body than to lift it. You need a stable object to stand on so you can get in the proper position to practice this move. Do not use chairs or stools that can fall out from under you, only proper workout equipment. It is also best to have an experienced person nearby to spot you. Get to a height where your chin is above the bar and make sure you can hold on well. Your spotter can then move the object away and you can slowly lower yourself down to the floor.

•​Dead Hangs- Stand on a stable object for this one, as well. For dead hangs, you only need to raise yourself up where hands reach the bar. Face your palms away from your face and hold on to the pull-up bar. You can then pull your body up only an inch. Be sure that your elbows move out to the side when you do this. Bend your knees so you are no longer supported by your workout bench and hang there until you feel you can’t hold on anymore. This helps build strength to later do full pull-ups

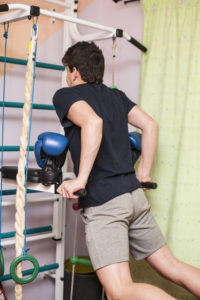
•​Bench Knee Dips- You can start dips on a workout bench to build up your strength before you use the dip bars. Stand in front of the bench and place your hands on the bench behind you. Get your posture correct before you begin. Bend your and shoulders are back. Dip down until your elbows reach a 90-degree angle and rise back up.

Safety

At the gym, you have many professionals around to help if you have problems. You may also learn many safety techniques while learning about your new gym. At home, it is important to learn how to stay safe with each new piece of equipment. There are things to keep in mind when you start using pull-up bars and dip bars.

•​Never stand on chairs, boxes or other unstable items

•​Make sure to install the equipment properly and check for stability

•​Learn about proper techniques. Hiring a private trainer while you learn is the safest option. You can take a few lessons at the gym before using the equipment at home, as well.

•​Read the instructions and safety warnings thoroughly.

•​Do not overdo your workouts or try something you are not ready for.

Muscle Groups

You are sure to build an impressive upper body if you commit to a pull-up bar and dip routine. Pull-ups are one of the best ways to build up your latissimus dorsi. You can also expect to gain strength in your deltoid, trapezius, and pectoral muscles. Your triceps and biceps also show more definition when you work with a pull-up or dip bar. These exercises work some muscles in your upper body more than others. There are over 20 different muscle groups that benefit from this strength workout.

It is important to have a diversified workout schedule with proper equipment. A pull-up bar or dip bar is the best way to work out the entire upper body with minimal equipment. You can find different types of bars to fit your home and lifestyle. Like weights, pull-up and dip bars build up your strength over time. Instead of increasing the weight you are lifting, do more repetitions of the same exercises. Start out with beginner moves to build up enough strength to do full pull-ups or dips. Enjoy a workout at home or on the go with a quality pull-up bar.

Slide And Glide With Exercise Sliders

Everyone loves a nice slider; medium, maybe medium-rare depending on personal preference. However, there is another kind of slider used for exercise, which if used correctly can get your body looking right. These exercise sliders also known as gliding disc are often used for core exercises, and while it is beneficial for the core that isn’t all it is good for. There are plenty of exercises that can be used to strengthen not only your core but your upper and lower body as well. We will discuss these different options as well as where to get them and which one to purchase. If you use these tips correctly and consistently, you’ll be able to slide right into great shape in no time.

Where to get them?

You can get gliding disc at any normal retail store such as Walmart, Academy or Target(basically anywhere with a sports equipment section). However, I prefer to get mine from Amazon; as do I everything else. On Amazon there is quite a large selection to choose from depending on which brand you prefer and they are all more or less of the same quality. It is all left up to choice, but have no fear. No matter which brand you choose it is very inexpensive. They all range between about $9-13, but that summer body will be priceless.

Which kind should I get?

One thing I would keep in mind when purchasing sliders is the texture of the surface that you plan on using them on. For this reason I would suggest that you get the dual sided gliding disc, so that you can have a little range as to where you can perform your exercises. The smooth side would be used for carpet and rubber; while the foam side can be used for hardwood, laminate, or tiles. The foam side is also better concrete, because it gives extra grip while exercising. Now, I have seen some people use other household products to do some of the same exercises that you can do with the gliding disc. Some people use DVD cases and frisbees for the carpet; and dish towels, paper plates and swifter dusters for tile. These are all cost efficient ways to get the job done, but be careful when trying them.

Storage and Portability

The beauty of the gliding disc is that it literally takes up little to no space. So if you don’t want your home clustered with all kinds of workout gear they are perfect for you. They are also extremely portable. They vary from about 7 to 9 inches, which is ver easy to cary around. You can bring them outside, to the gym or even while traveling.

What kind of exercises can I do with them?

Right now you may be thinking that with the gliding disc being such a small item, it couldn’t possibly have very many exercises associated with it. However, that’s where you are wrong! The gliding disc can be used for a variety of workouts that range from upper body to lower body and of course with plenty of core in between.

Lower Body

1. Single Leg Bear

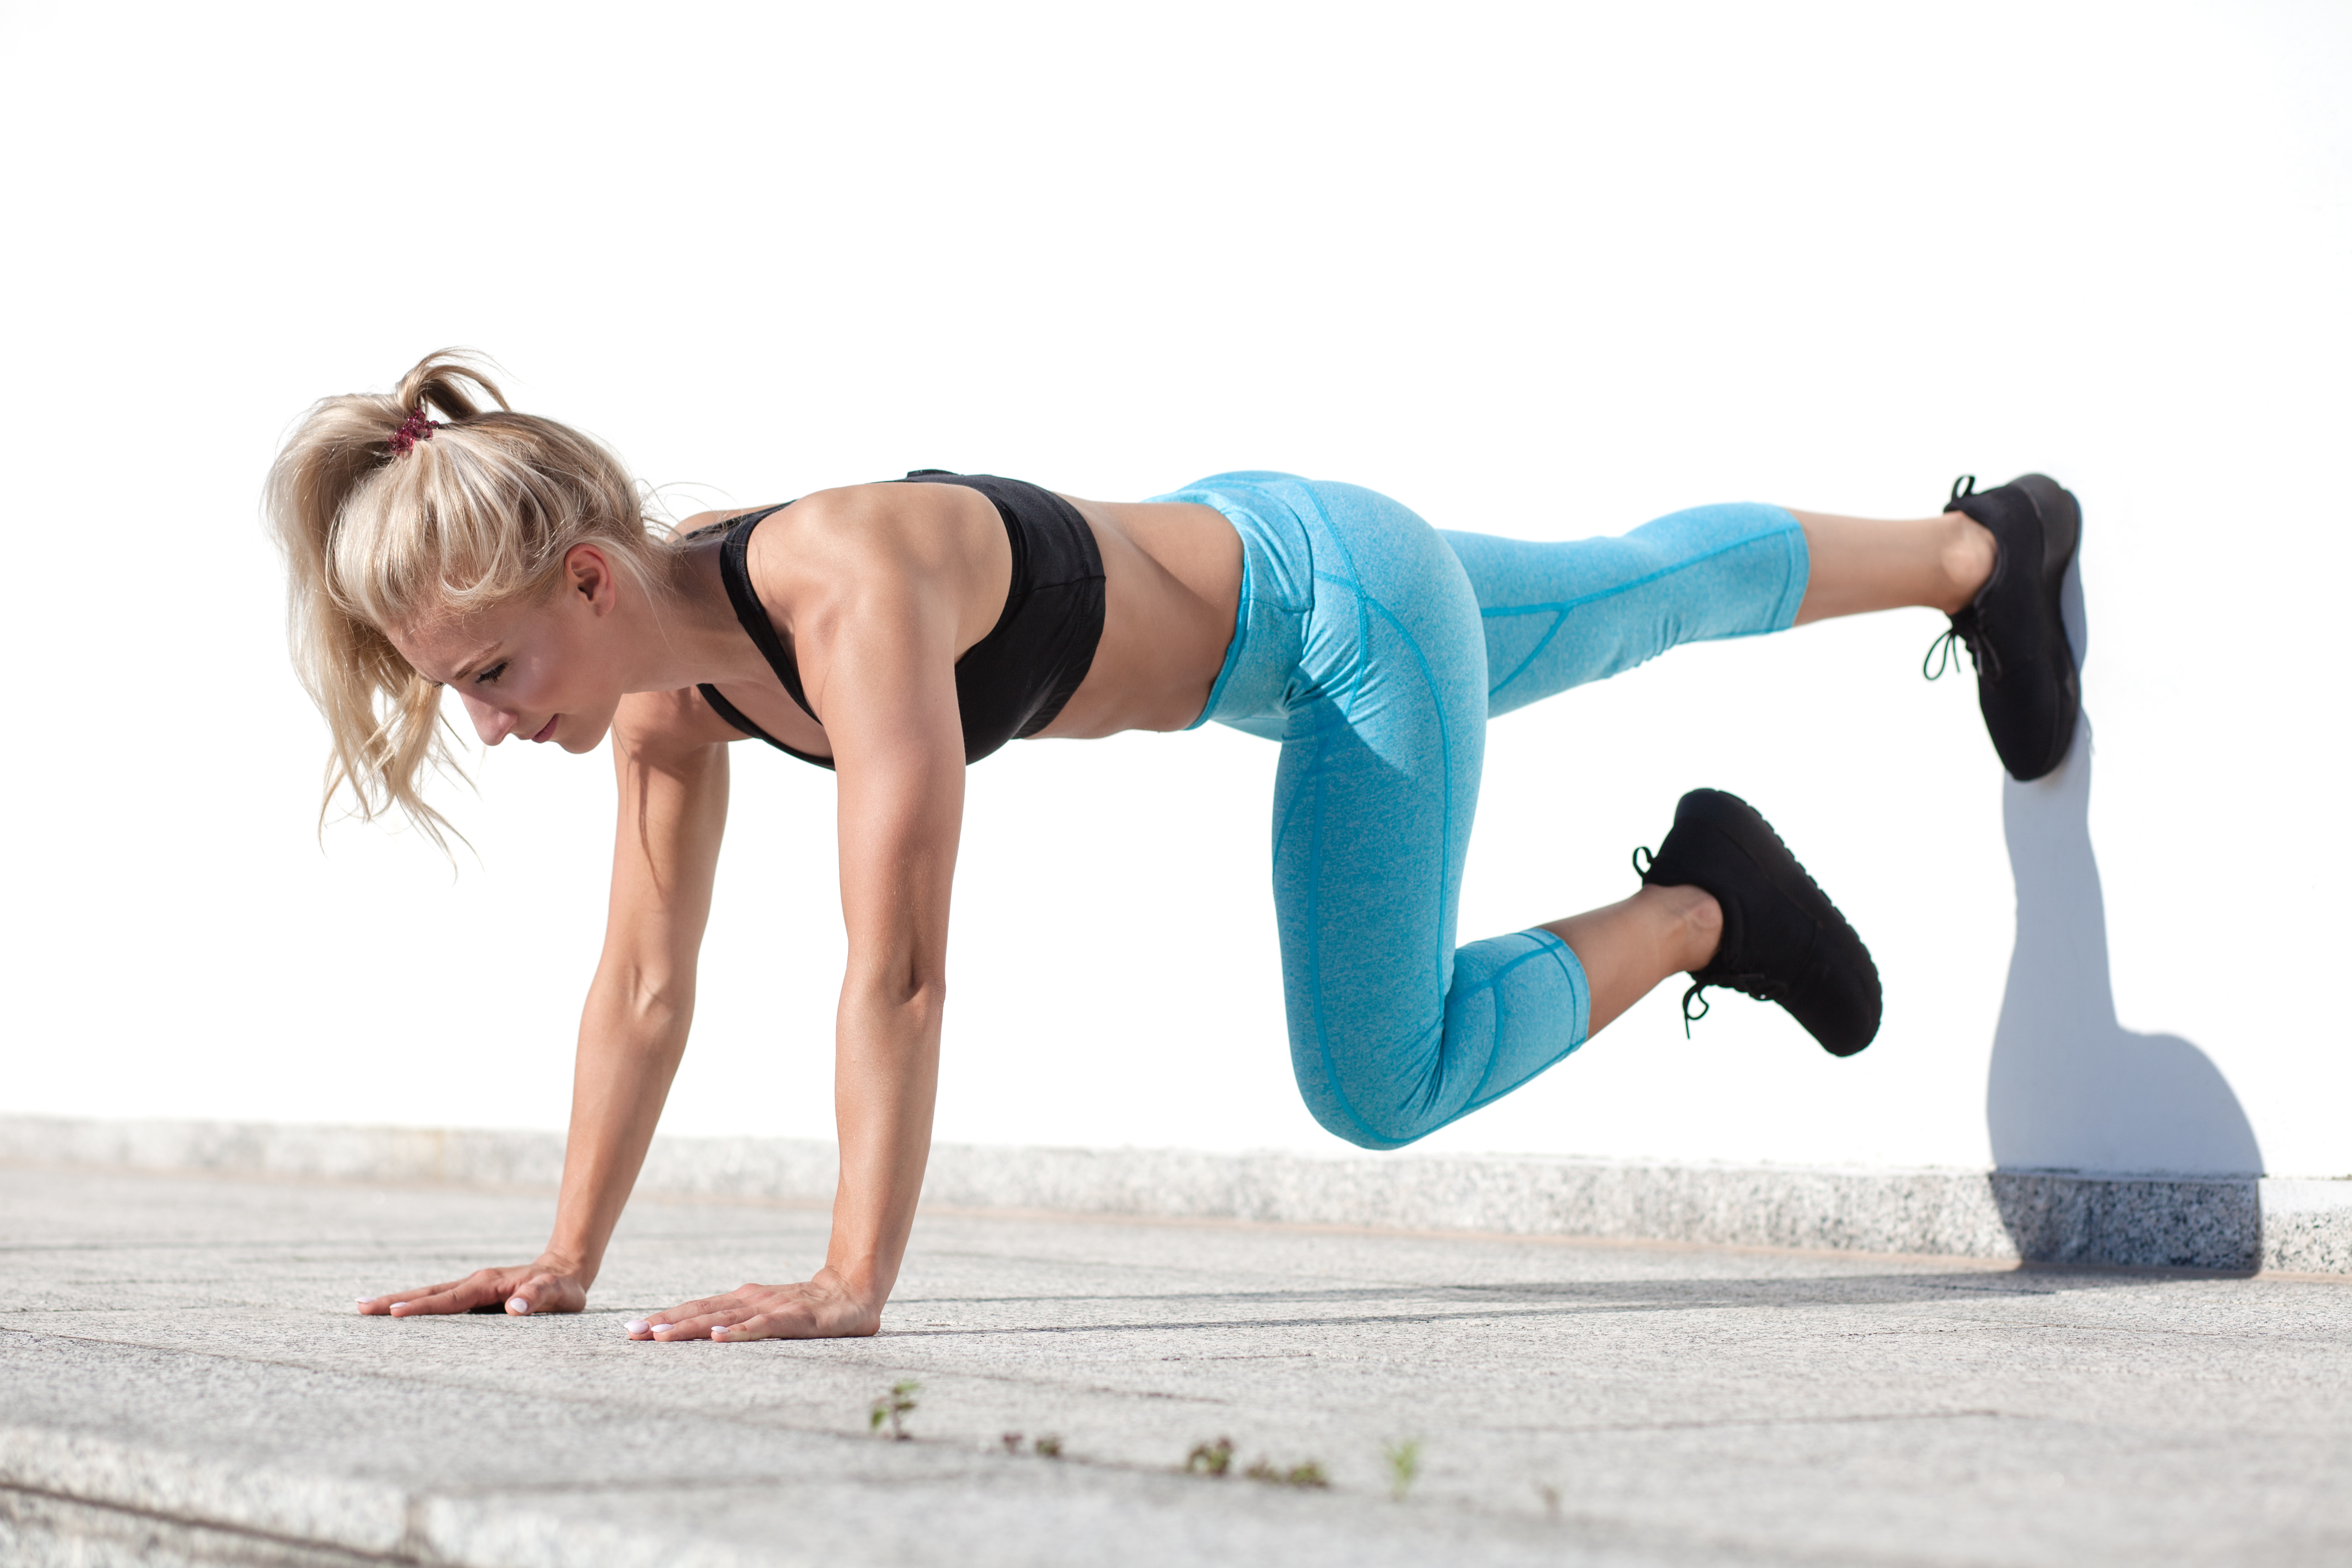
When using the sliders it is a good idea to have a workout may, or rug close by, in order to ease some of the pressure on your body parts when on the harder surfaces. In this exercise you will start in the plank position. Choose which leg you want to begin with and cross the other leg over it, while your feet are on one of the sliders. Keep your arms straight and go back and forth between extending and contracting your legs. This will work out your quads(Quadriceps femoris) expenentiolly. If you want to take it up a notch then raise the other leg up and continue to leave it risen while doing the set.

2. Plank Mountain Climbers

For this exercise you can get back in your upward plank position, this time with each of your feet on top of an individual slider. Make sure your mid section is not dipping and is nice and straight. Then pull one knee forward towards your chest. Extend that leg back and then bring the other knee forward. Keep doing this one by one, going as fast as you’d like. This exercise is not only great for working out your legs, but your obliques as well.

3. Squat Skate

In this exercise you will start standing with both feet on an individual slider. Then get in a low squat position. One leg at a time push your leg to the side while dipping low during the extension. Go back and forth and feel the burn. You can also step this exercise up a notch by going out to the side and then the back.

Mid Body (Core)

1. Bear Pose Circles

Let’s work our way up to the mid section also known as the core. For this exercise you will start in bear pose or tabletop position with one foot on each slider. Then lift your knees up off of the ground and hover them there. You will probably find this challenging as is. Then you move your legs around in small circles for as long as you can take it.

2. Bridge Lift Slide

In this exercise start on your back with your knees up and feet flat on top of the sliders. Lie your arms next to your body and then lift your hips up like a bridge. Lower and then extend your legs out; bring your legs back in and then lift your hips again. Keep repeating this and you’ll get a great core workout.

Upper Body

1. Chaturanga Push-Ups

This is where you may want a workout mat or a rug to take some of the pressure off of your knees. To begin this exercise you want to start with your knees and ankles down against the floor. Put your hands on the sliders and slightly raise your ankles. Then you lower down with your elbows on your side at about a 90 degree angle. Extend your left arm out and then back. Then your right arm out and then back. Raise back up until your arms are straight and this is one rep. Repeat these steps for as many reps as you’d like. This exercise is perfect for working out your triceps as well as your core.

2. Push-up into Seesaw

In this exercise you start with your feet on top of individual sliders, preferably with a mat in front of you. Push your legs back and then do a push-up. Then put your forearms down; rock back and pull forward  twice. Then come back and do another push-up and that makes one rep. Lather, rinse, repeat and you’ll get a great upper body workout going.

These are just a few of the exercises that you are capable of doing on the gliding disc. If you are interested in additional workouts that can be done with the gliding disc, check out youtube. It is filled with all kinds of different techniques with different difficulty levels. By the end of these workouts you will truly be able to put the ass in aesthetics. These sliders will get your mid body to a nice medium-well.


Off the Wall Workouts You Can Do Anywhere

wal workouts

To many people the hardest part of the workout is showing up. Maybe you don’t have a gym nearby and lack the time to drive to one. Perhaps you can’t afford a gym membership(they can get pretty pricey). If you don’t want a gym membership or lack proper workout equipment at your home; you can still get and stay in great shape. The exercises that we will be explaining, do not require anything you don’t already have. Just blood, sweat, tears and a wall. If you don’t have a wall find a tree, a fence or something. Just make sure its sturdy and then make it happen. Just start out with a few jumping jacks or jog in place to get your blood flowing and we got you from there. These exercises require no equipment, but can be enhanced with the right equipment. Now without further ado, it is time to show you how to exercise from wall to wall, Chris Brown style.

Wall Plank

1. There are several different ways to do planks in general and a couple of those ways involve a wall. The first of these methods that we will be discussing is called the rotational wall plank. In order to do this plank you must first stand in front of the wall with your feet about shoulder length apart. Then lean against the wall on your forearms and make sure your body is straight. Now, rotate to the to the right with your left forearm still up against the wall; remaining in perfect position the entire time. Then come back to the front and switch arms rotating to the left, with your right forearm on the wall. Be sure to keep your core strong during all of this and it will improve exponentially. This form of plank is perfect for beginners, and will help you master more difficult methods in the future.

2. To do the second method of wall planks you will need to get on your hands and knees with the wall behind your feet. Stretch your arms out and then place them slightly in front of your shoulders. After that place your right foot on the wall, followed by your left foot. Then make sure you are completely straight and parallel to the floor. Now depending on your stamina hold that position for about 45 seconds to 1 minute. Finally, after the time is up; slowly decrease one leg onto the ground and then the other. This plank will workout your abs, back and arms; as well as improve your overall flexibility and posture.

Wall Push-Ups

1. There are a few different methods to do wall push-ups. Depending on your level of expertise, some may prove more difficult than others. In order to execute the first method, stand facing the wall at a distance to where you are able to fully extend your arms in front of you. Align your arms with your shoulders and keep your feet slightly apart. Also, keep your head in a straight forward position and bend your elbows to bring your chest as close to the wall as possible without touching it. Push back until you are in your starting position, and then you have done one rep. This exercise will benefit your chest and triceps.

2. The next form of the wall push up is a bit more difficult, but more similar to a standard push-up. Start in a kneeling position, with the wall behind your feet. Slowly place your right foot on to the wall and then your left. After that slowly extend to where you have no bending of the hips or knees. Align your head with your spine and make sure your feet are close together against the wall, but not quite touching. Now, while maintaining a straight body; do a downward phase(like a normal push-up) and then an upward phase. This may be difficult to do at first, but start with lower reps and you will get the hang of it. This exercise works out your arms, chest, shoulders and core.

3. The final form of the wall push up that we will be discussing is the most difficult of all. For this method, you need to get into a handstand position, with the back of your feet against the wall. this alone can be difficult for most. Then you simply pump up and down, while maintaining that position. This method does require a certain amount of balance, but if mastered it will benefit your triceps, shoulders and chest.

Wall Squats

1. For this exercise you need to find a nice and sturdy wall and put your back up against it(who hasn’t had their back against the wall at some point). Go down to about a 90 degree angle, so that your knees are out and your back is straight. Squeeze your inner thigh in slightly, and hold this position for about 30 seconds to 1 minute. This exercise works out your gluts, hips, legs and thighs.

2. The second method to do a wall squat, is more of a traditional squat, which makes it a bit more difficult. Face the wall and stand about a foot away, then you need to raise your arms up(put’em up). Make sure that your feet are slightly wider than hip-width and your toes are faced outward. Now, lower your hips down to where they are about parallel to the ground. Try not to allow yourself to move forward while lowering. Make sure that you maintain your back, chest and head positions; and extend your hips and knees by pushing your feet into the floor.  Keep going until you reach your starting position and then you have achieved a rep. If possible, place a ball of some sort behind you. It doesn’t need to be a workout ball; it is just to help you reference how far down you are squatting, without breaking position. Once mastered this exercise is great for your abs, butt, hips, legs, calves, shins and thighs.

Abductor Lifts

To do the abductor lift, you must stand with one of your shoulders towards the wall. Let’s start with your right. Then extend your arm out and place it against the wall. Now, lift up your right leg, putting all of the weight on your left leg. After that take the right leg and lift it across the front of your body past your left leg. Slowly bring your leg back to the beginning position and there you have a rep. After you have completed your desired reputations on that side, turn to where your left shoulder is beside the wall and repeat the steps. This exercise is primarily to improve abductor strength as well as your core.

Glut Bridges

For this exercise you may want to grab a mat or a soft towel because you will be on your back. Lie with your feet facing the wall and then lift them up and put them flat on the wall. You legs should be at about a 90 degree angle. Now, push your feet against the wall, while simultaneously lifting your pelvis. Keep your head, shoulders and arms on the ground. Hold for 5 to 10 seconds and then decrease. Do this for as many reps as you feel comfortable. If you want to step this exercise up a notch then lift one leg straight into the air while you do your reps. This exercise great for improving your gluts, abs and your hamstrings.

Isometric Single-leg Wall Lean

Starting parallel to a wall lift the hip closes to the wall, to where the knee is bent at a 90 degree angle. Press the foot that is on the floor down and while pushing the bent leg into the wall. Hold this position for about 1 minute at a time. This exercise will work out the pelvis as well as the gluteus medius.

Wall Mountain Climbers

The beauty of this exercise is that it can be as intense as you want it to be simply by adjusting your speed and height. However, it a pretty tiring exercise and you can hurt yourself easily. Now, start in a kneeling position with the wall behind you. Then you want to raise up on your toes and get into an inner thigh lift position with your butt pointed up towards the ceiling. Next you need to extend your legs back one at a time to where you are nearly fully extended straight. You want to be diagonally off the wall. After that you come back down one leg at a time and come back to your original position. Trust me it’s more difficult than it sounds. However, this exercise is extremely efficient. It works out the triceps, deltoids, abs, back, quads, hamstrings and gluts. All that from incorporating one exercise that you don’t even need to leave your home to do.

Exercising does not have to be a big inconvenience. As long as you set aside the time, you can make it work with the bare minimum. This is a good variety of exercises that should target most areas of your body. So there you have it; a routine you can follow with no equipment. Try not to damage your walls in the process, but I am confident that you will find a way.


​​ Taking Time Off from Working Out: How Long Is Too Long?

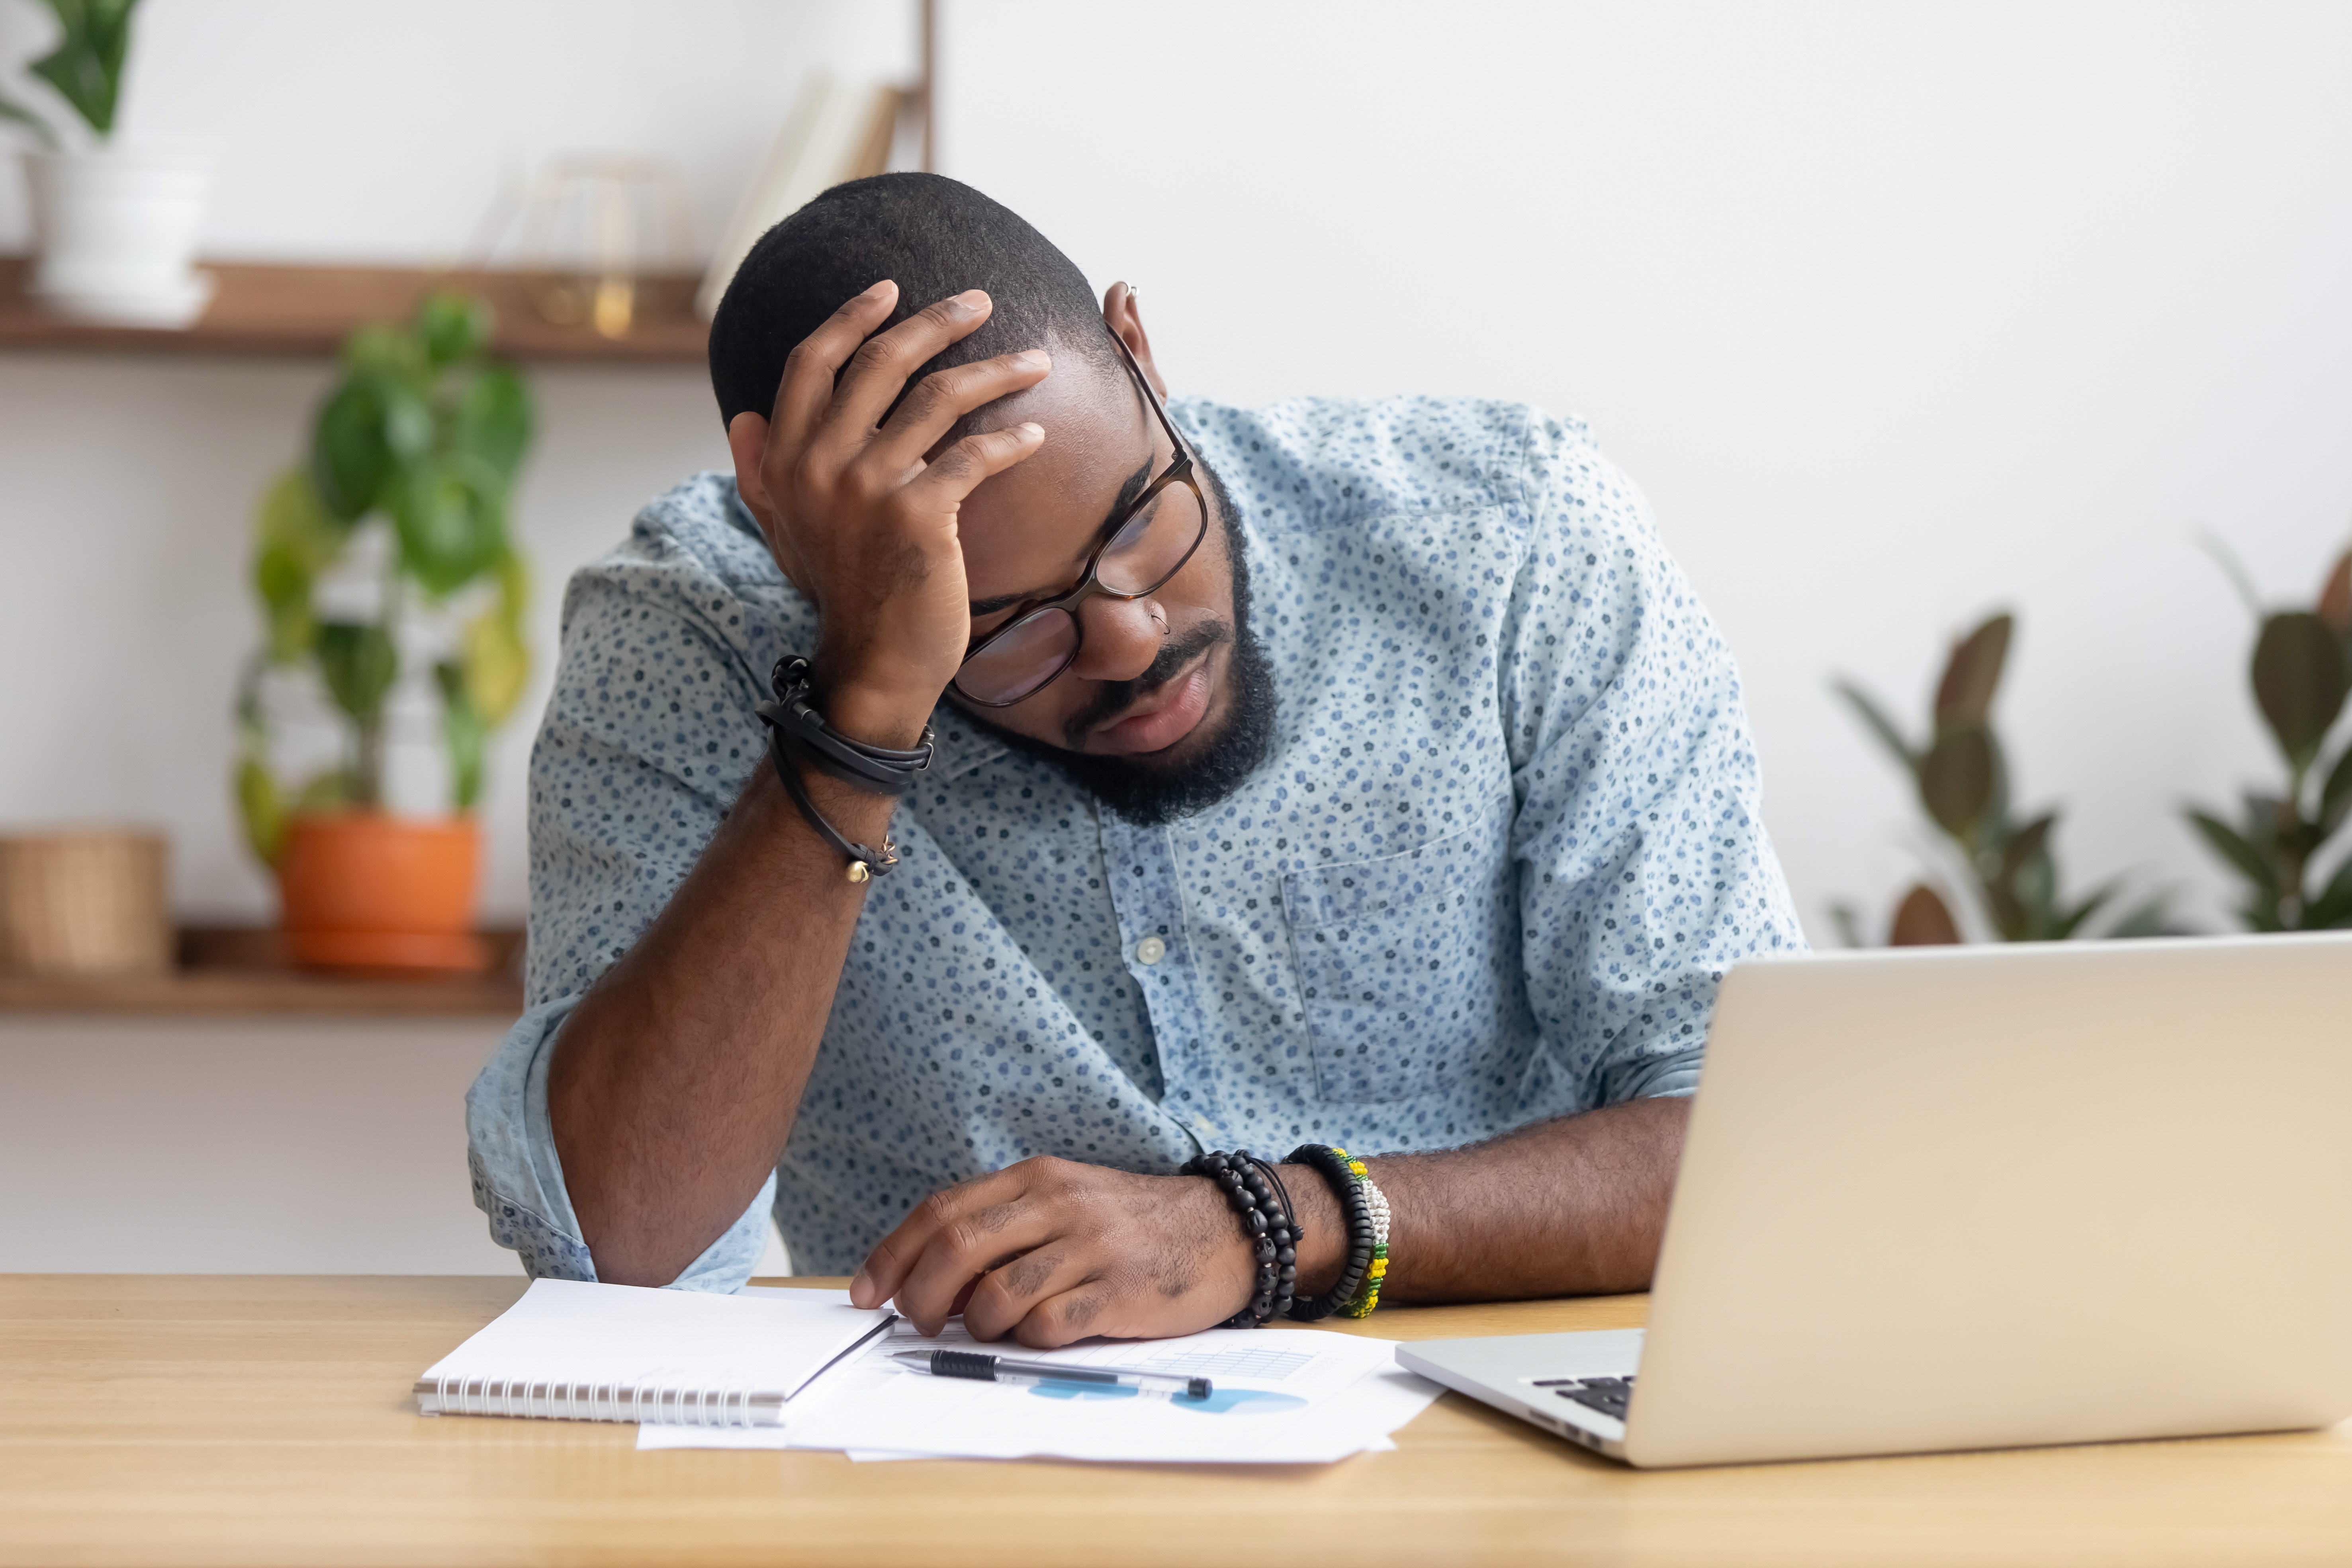
taking time off from working outTaking Time Off from Working Out and Not Worrying About Losing Fitness

You can’t be wish washy with your fitness goals. If you want to lose weight or improve your your health you have to be consistent. You will not see results if you skip too many days a week or weeks.

As important as it is to be regular with your exercise, however, it’s also essential that you take a break sometimes.

You may need a break because you are exhausted, you injured yourself  or because you just don’t have the time to work out, or simply because you’re bored with with your work out. Besides, life happens and you have to take a break weather you like it or not?

You could also need a break because you need to go on vacation, or sick. What many people don’t realize, however, is that they also need to take a break when they have been overtraining. Pushing yourself too hard with high-intensity exercise can cause you to develop depression, exhaustion and lose performance in your workouts.

Taking a break may be the solution to a variety of problems. There’s probably just one thing that concerns you — how long will it be before you start getting out of shape?

You don’t have to worry about taking a break

Many people are surprised to learn that taking as long as a week off from working out doesn’t usually ruin the gains that they’ve made. It’s a fact that many serious athletes routinely take a week off once every three months or so.

Consider what marathon runners do. They usually plan their training in such a way that they hit their training peak two weeks before an event. At that point, they begin tapering off their workouts, and exercising less and less each day until the day of the event. This way, they can be sure that they are well-rested and full of energy for the race.

It’s important to understand that it takes far more than a week to undo the physical fitness that you have worked so hard for. But not that far. If you are tired and sore, you shouldn’t worry about taking time off.

How long does it take to lose your edge?

Whether you need to take a break because you have other commitments, or simply need to rest, how long will it be before your body begins to go downhill? Here are some basic numbers to work with:

•​You lose about ten percent of your aerobic fitness after three weeks of inactivity.

•​You come close to losing most of your fitness after eight weeks of inactivity.

•​If you’re highly fit, you will experience a faster drop-off in fitness level than someone who is less fit.

•​Your muscular strength stays with you far longer than your aerobic fitness.

These numbers are only rough guides to go by. The number of days of rest that you should take depends on what your body communicates to you. You need to look for signs that you’re overtraining or are just tired.

When you’re on your break, you can still be active, but in different ways. If you’ve always run to train, you can try playing a game of tennis on your break, or go swimming instead.

You need to be aware that and if you plan to take a week off, you can be sore once you restart your workouts. How your body responds depends on how long you’ve rested, on how hard you work out, and on your genetics.

How do you know that you are ready for a break?

When your body and mind need a break, you can usually tell by looking for a few signs.

•​You always feel exhausted.

•​Your muscles are constantly sore.

•​You’ve begun dreading going to the gym each day.

•​You’ve stopped making progress.

•​You’ve begun to have trouble with your motivation.

When you give yourself the break that you need, you can return to your workouts with far more strength and enthusiasm.

You need to remember that when you take break, you don’t have to be inactive. You can use the time that you have to try a long walk, a yoga class, or some quiet gardening activity.

Getting your body back to its old fitness level

If you only take a week off, you will usually lose none of your fitness. When you return to your workouts, you can pick up where you left off. If you take a longer break and lose some of your fitness, however, it’s important that you are gradual reintroducing your body to exercise. It’s important to watch out for muscle soreness, and not push yourself too hard the first few weeks. Here are tips:

•​Start with simple workouts: You can essentially restart your old routine, but take up shorter distances, lighter weights or lower levels of intensity.

•​Give it time: If you’ve lost a little bit of your fitness, you should expect it to take three weeks to return to your old level of fitness.

•​Give yourself more rest: If you always rested two days a week before, you should consider giving yourself four days off each week in the beginning upon returning to your workouts. Your muscles will need the time to recover.

When you gradually raise the intensity of your workouts over a period of weeks, you give your body all the time that it needs to adjust to working out again.

Taking breaks can be just as important as working out. You don’t need to get worked up about losing your fitness. Usually, it’s only a matter of days before you get back to where you were, only with more energy and enthusiasm.

​Page 1 of 1