Slide And Glide With Exercise Sliders

Everyone loves a nice slider; medium, maybe medium-rare depending on personal preference. However, there is another kind of slider used for exercise, which if used correctly can get your body looking right. These exercise sliders also known as gliding disc are often used for core exercises, and while it is beneficial for the core that isn’t all it is good for. There are plenty of exercises that can be used to strengthen not only your core but your upper and lower body as well. We will discuss these different options as well as where to get them and which one to purchase. If you use these tips correctly and consistently, you’ll be able to slide right into great shape in no time.

Where to get them?

You can get gliding disc at any normal retail store such as Walmart, Academy or Target(basically anywhere with a sports equipment section). However, I prefer to get mine from Amazon; as do I everything else. On Amazon there is quite a large selection to choose from depending on which brand you prefer and they are all more or less of the same quality. It is all left up to choice, but have no fear. No matter which brand you choose it is very inexpensive. They all range between about $9-13, but that summer body will be priceless.

Which kind should I get?

One thing I would keep in mind when purchasing sliders is the texture of the surface that you plan on using them on. For this reason I would suggest that you get the dual sided gliding disc, so that you can have a little range as to where you can perform your exercises. The smooth side would be used for carpet and rubber; while the foam side can be used for hardwood, laminate, or tiles. The foam side is also better concrete, because it gives extra grip while exercising. Now, I have seen some people use other household products to do some of the same exercises that you can do with the gliding disc. Some people use DVD cases and frisbees for the carpet; and dish towels, paper plates and swifter dusters for tile. These are all cost efficient ways to get the job done, but be careful when trying them.

Storage and Portability

The beauty of the gliding disc is that it literally takes up little to no space. So if you don’t want your home clustered with all kinds of workout gear they are perfect for you. They are also extremely portable. They vary from about 7 to 9 inches, which is ver easy to cary around. You can bring them outside, to the gym or even while traveling.

What kind of exercises can I do with them?

Right now you may be thinking that with the gliding disc being such a small item, it couldn’t possibly have very many exercises associated with it. However, that’s where you are wrong! The gliding disc can be used for a variety of workouts that range from upper body to lower body and of course with plenty of core in between.

Lower Body

1. Single Leg Bear

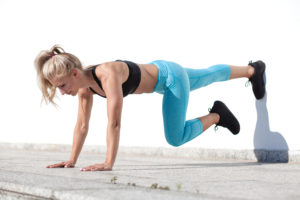
When using the sliders it is a good idea to have a workout may, or rug close by, in order to ease some of the pressure on your body parts when on the harder surfaces. In this exercise you will start in the plank position. Choose which leg you want to begin with and cross the other leg over it, while your feet are on one of the sliders. Keep your arms straight and go back and forth between extending and contracting your legs. This will work out your quads(Quadriceps femoris) expenentiolly. If you want to take it up a notch then raise the other leg up and continue to leave it risen while doing the set.

2. Plank Mountain Climbers

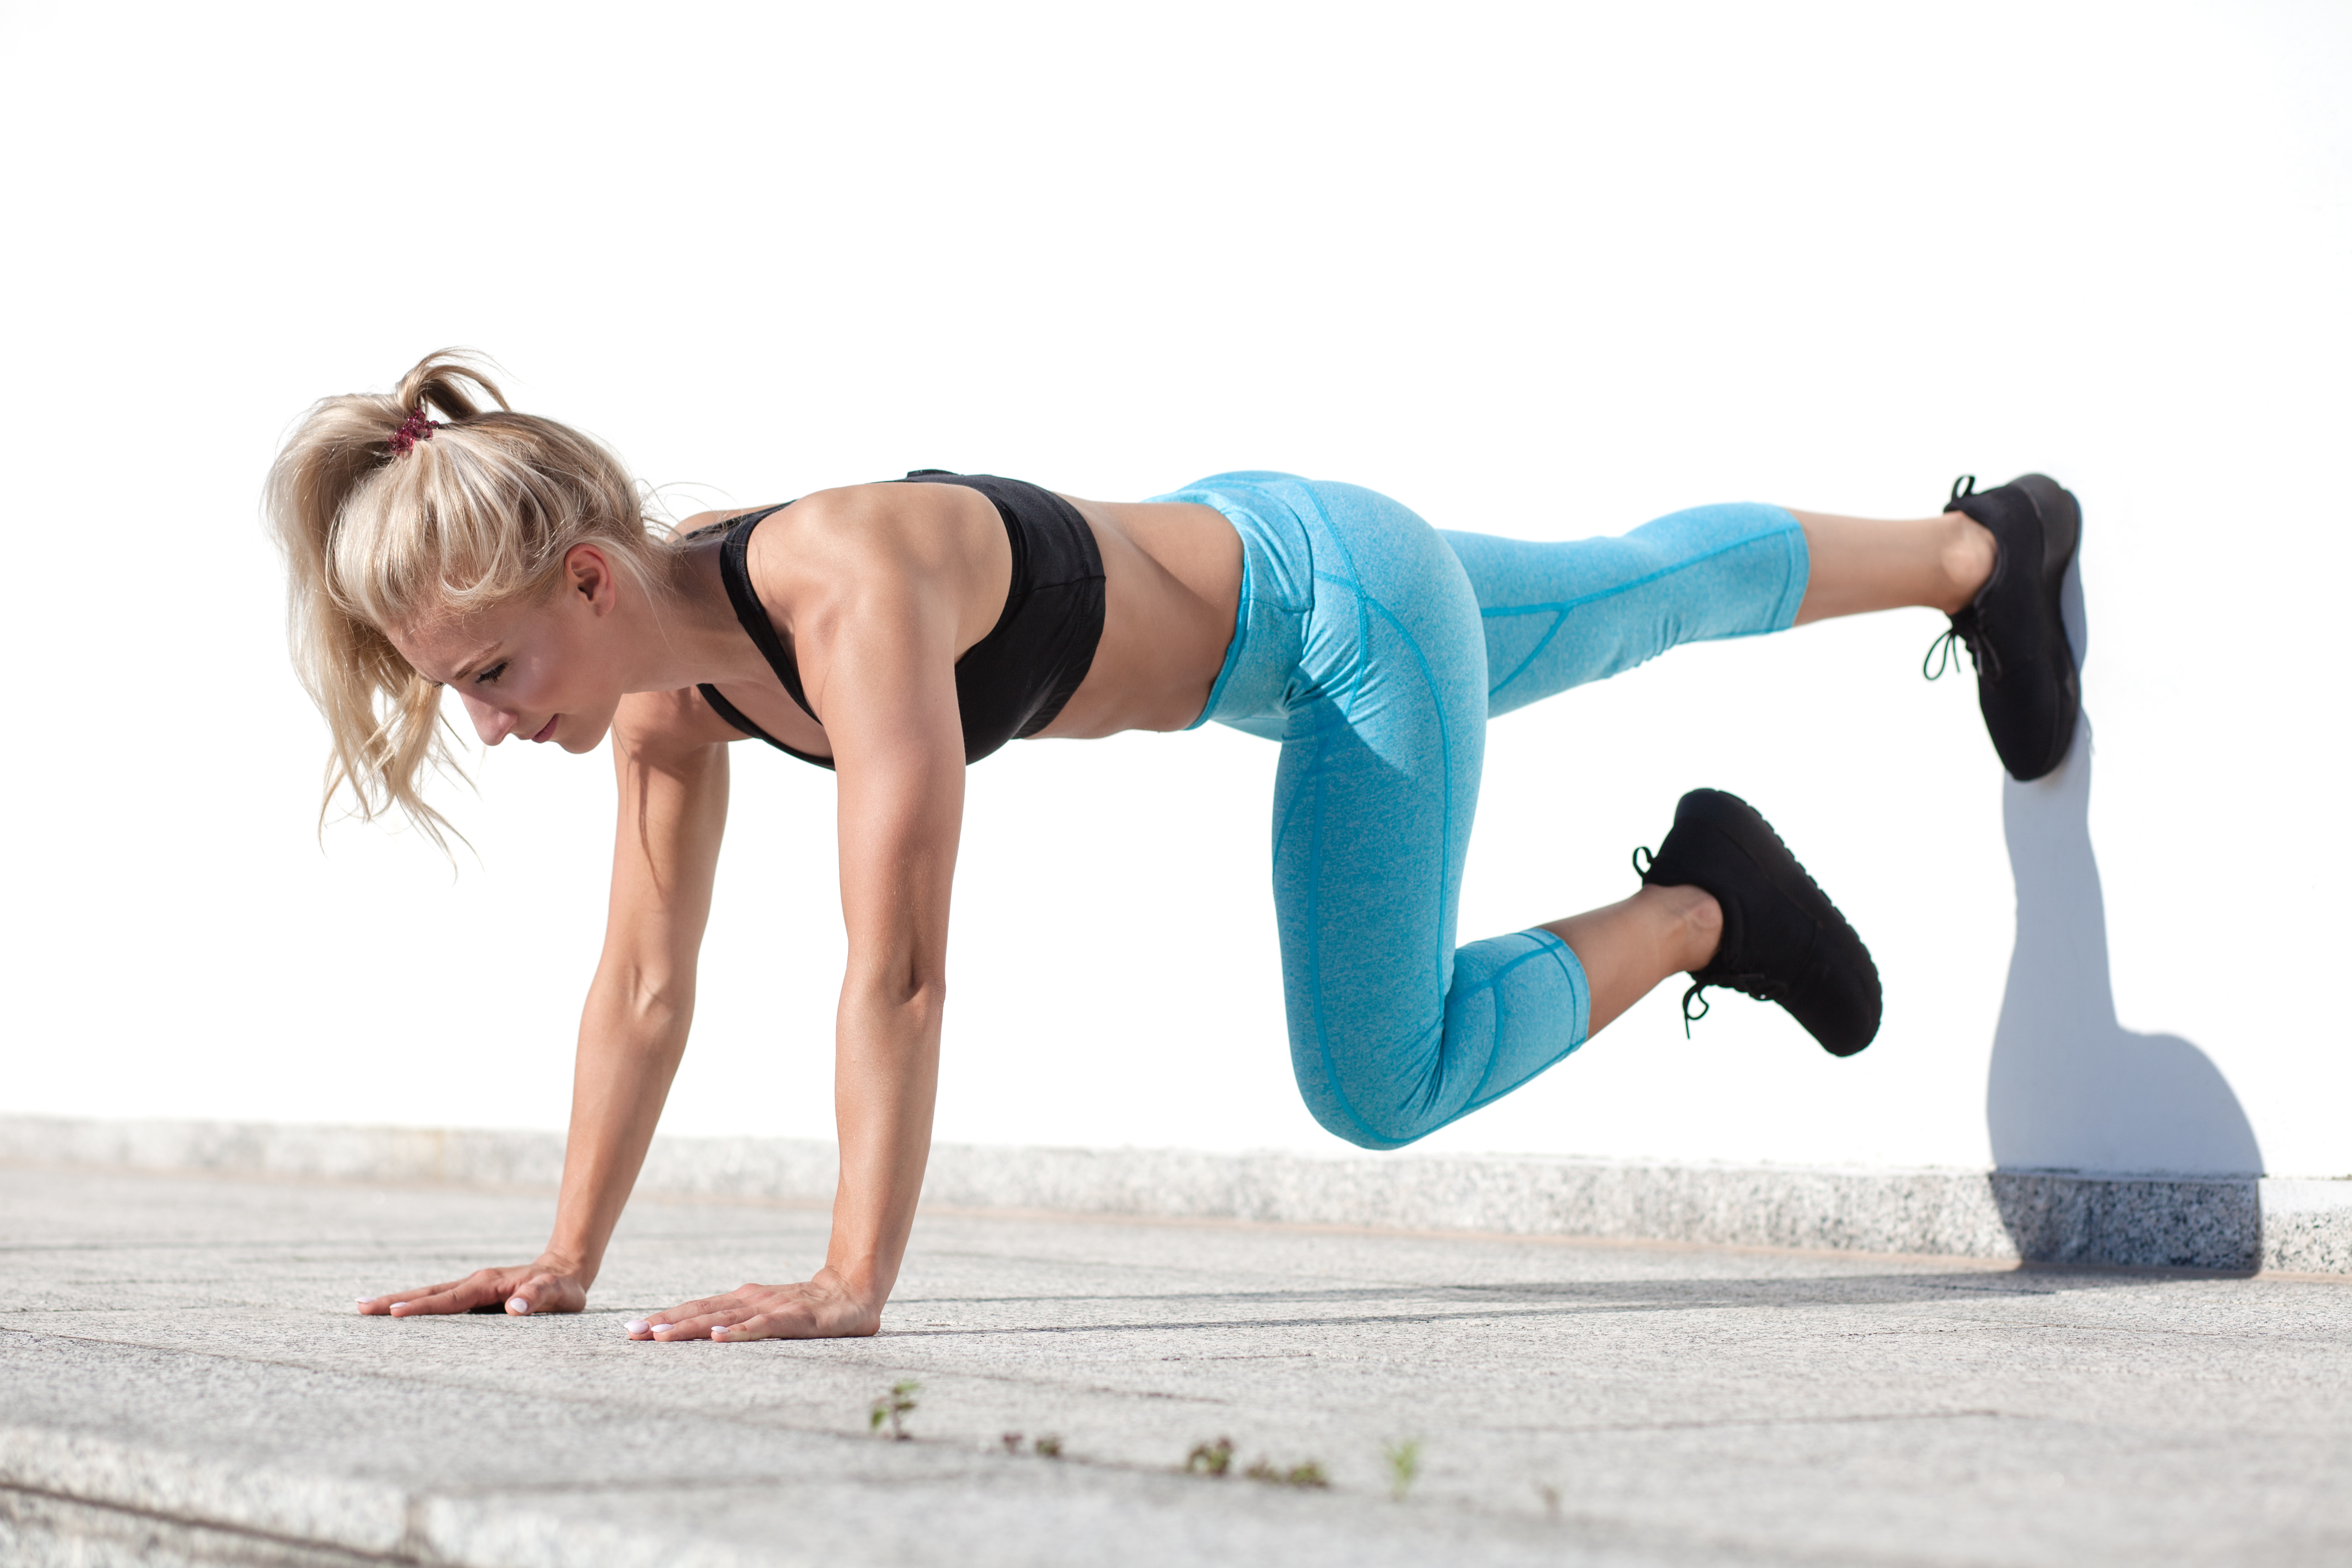
For this exercise you can get back in your upward plank position, this time with each of your feet on top of an individual slider. Make sure your mid section is not dipping and is nice and straight. Then pull one knee forward towards your chest. Extend that leg back and then bring the other knee forward. Keep doing this one by one, going as fast as you’d like. This exercise is not only great for working out your legs, but your obliques as well.

3. Squat Skate

In this exercise you will start standing with both feet on an individual slider. Then get in a low squat position. One leg at a time push your leg to the side while dipping low during the extension. Go back and forth and feel the burn. You can also step this exercise up a notch by going out to the side and then the back.

Mid Body (Core)

1. Bear Pose Circles

Let’s work our way up to the mid section also known as the core. For this exercise you will start in bear pose or tabletop position with one foot on each slider. Then lift your knees up off of the ground and hover them there. You will probably find this challenging as is. Then you move your legs around in small circles for as long as you can take it.

2. Bridge Lift Slide

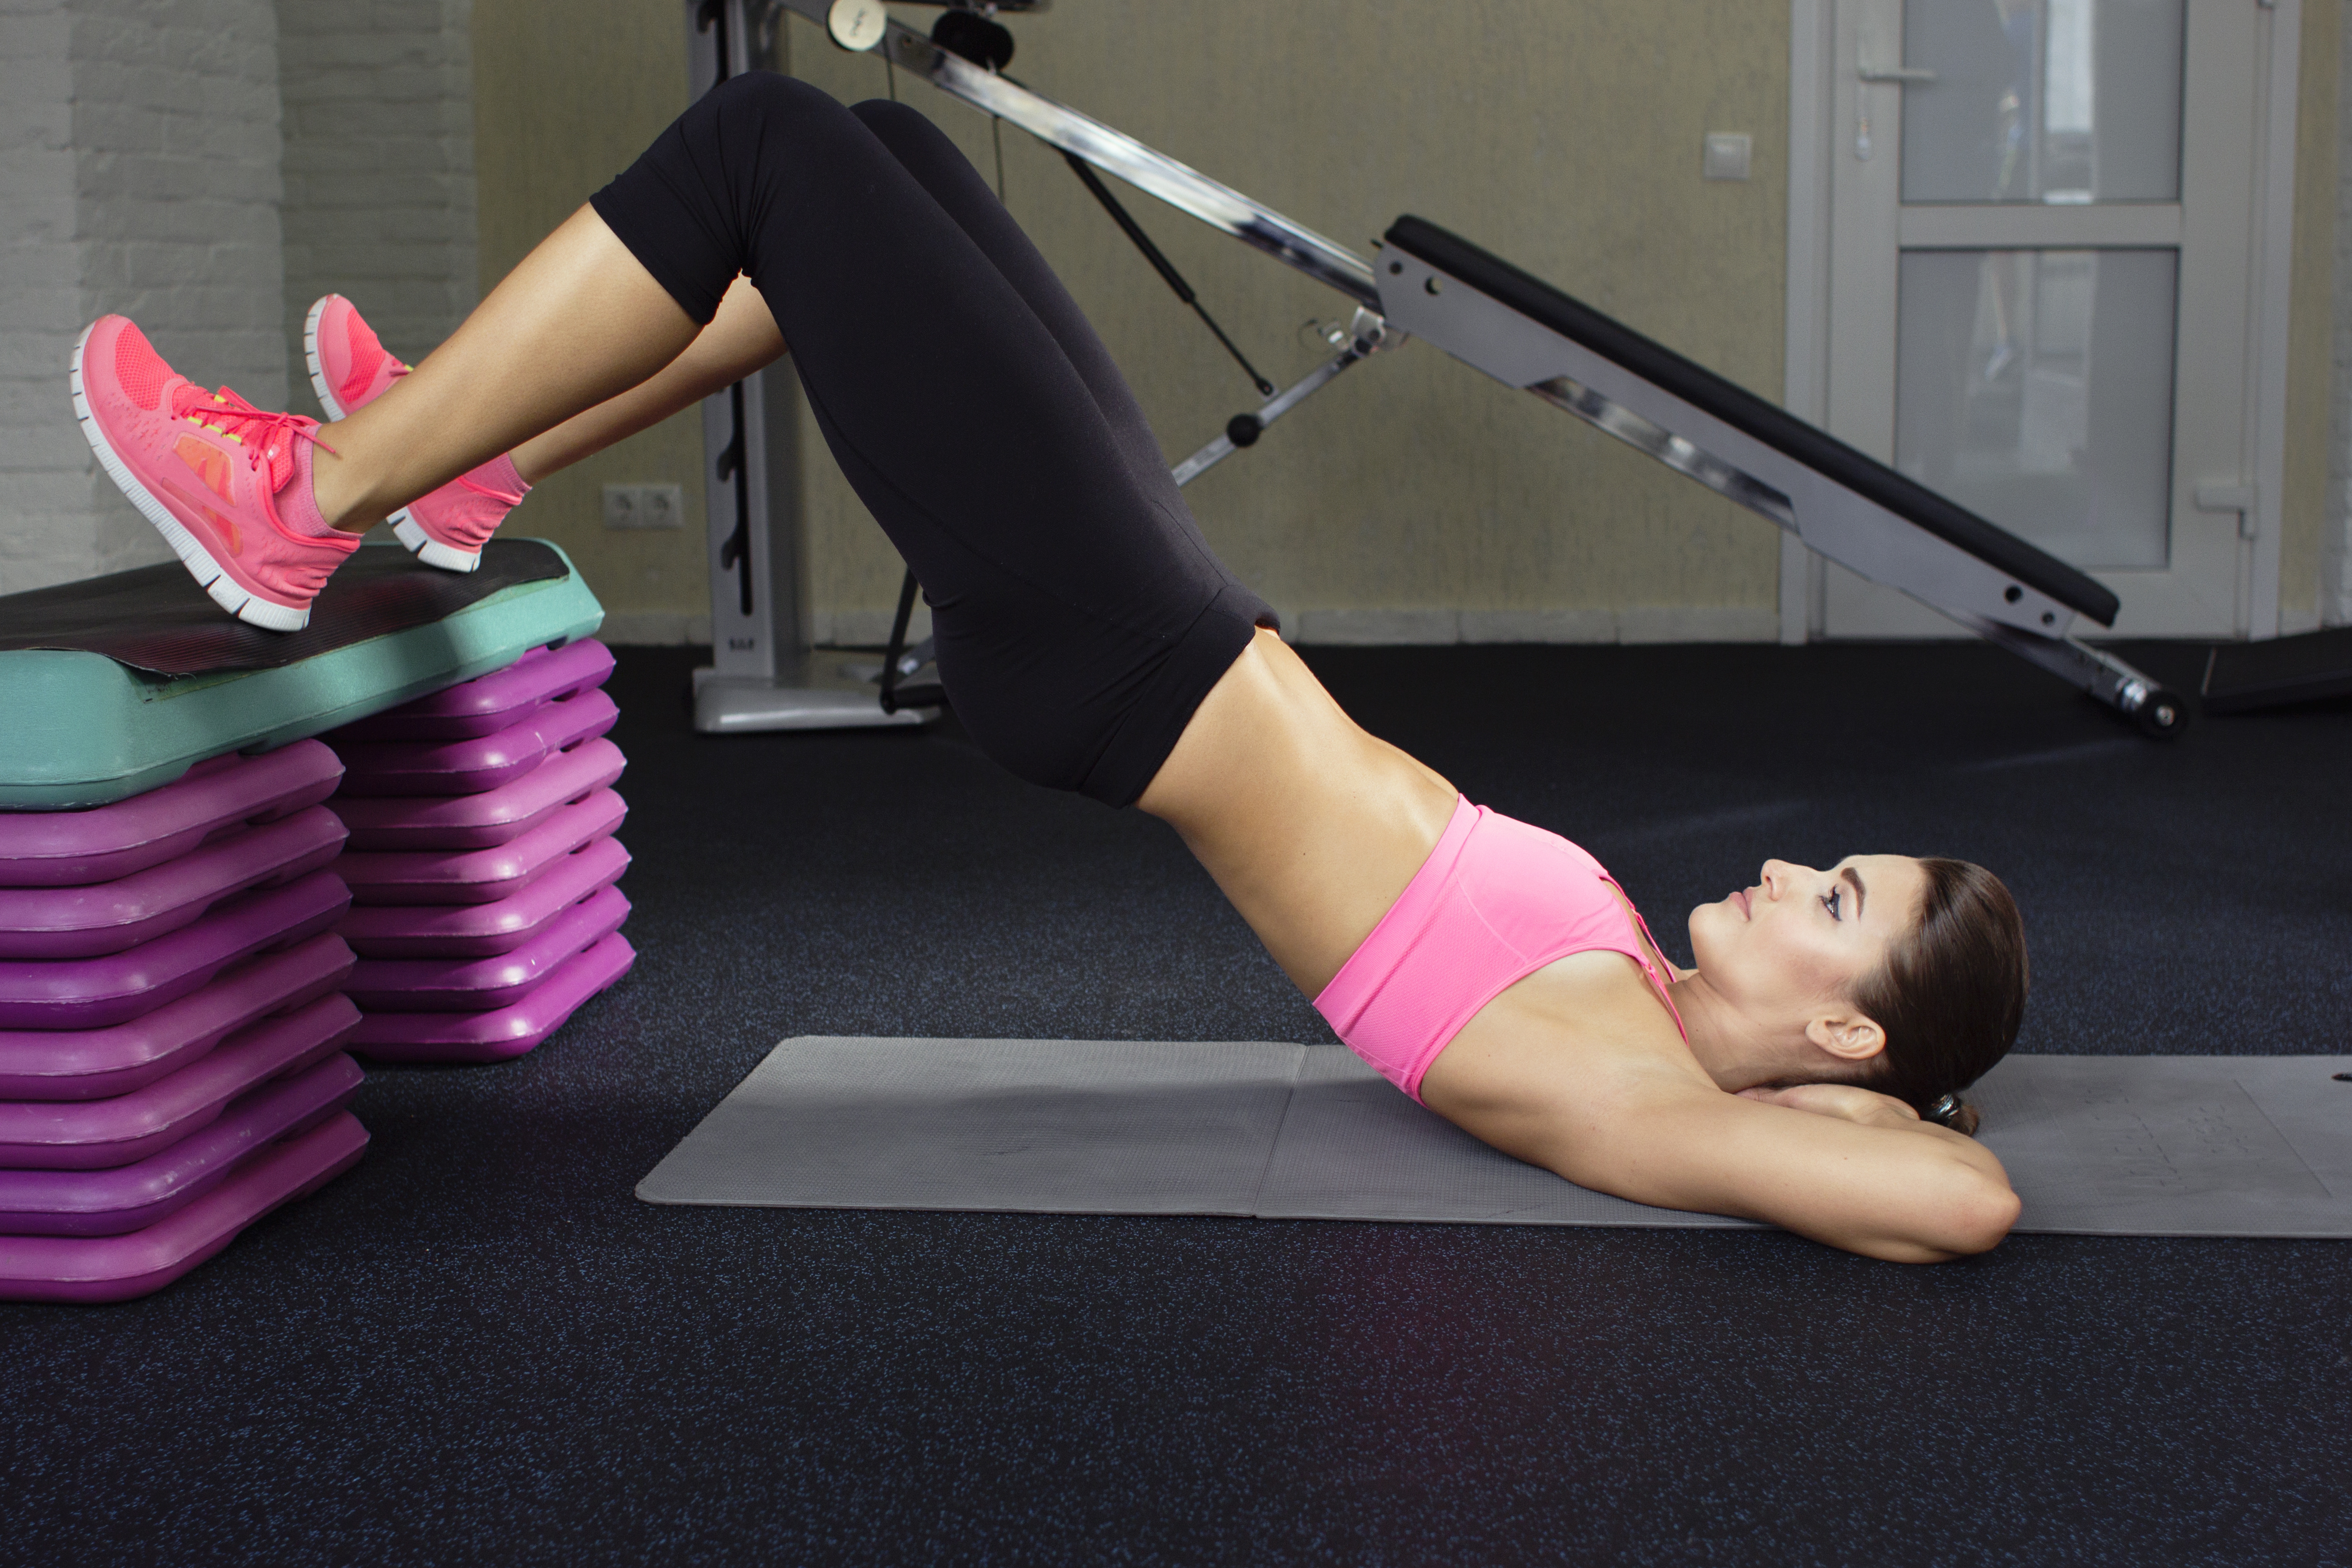
In this exercise start on your back with your knees up and feet flat on top of the sliders. Lie your arms next to your body and then lift your hips up like a bridge. Lower and then extend your legs out; bring your legs back in and then lift your hips again. Keep repeating this and you’ll get a great core workout.

Upper Body

1. Chaturanga Push-Ups

This is where you may want a workout mat or a rug to take some of the pressure off of your knees. To begin this exercise you want to start with your knees and ankles down against the floor. Put your hands on the sliders and slightly raise your ankles. Then you lower down with your elbows on your side at about a 90 degree angle. Extend your left arm out and then back. Then your right arm out and then back. Raise back up until your arms are straight and this is one rep. Repeat these steps for as many reps as you’d like. This exercise is perfect for working out your triceps as well as your core.

2. Push-up into Seesaw

In this exercise you start with your feet on top of individual sliders, preferably with a mat in front of you. Push your legs back and then do a push-up. Then put your forearms down; rock back and pull forward  twice. Then come back and do another push-up and that makes one rep. Lather, rinse, repeat and you’ll get a great upper body workout going.

These are just a few of the exercises that you are capable of doing on the gliding disc. If you are interested in additional workouts that can be done with the gliding disc, check out youtube. It is filled with all kinds of different techniques with different difficulty levels. By the end of these workouts you will truly be able to put the ass in aesthetics. These sliders will get your mid body to a nice medium-well.

 

Are You Unstable? Use a Stability Ball Office Chair for Core Strength


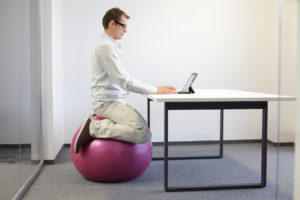
man sitting on stabilit ballUnstable? Somebody Please Call 911 ​

Stability is defined as the quality, state or degree of being stable and able to endure a specific state for a undetermined period of time. This is no different when it comes to the realm of exercise and physical fitness. If you can stabilize your body via a strong core then you will be able to move around freely without risking falls or injuries.  As we age, due to inactivity, muscle atrophy and degeneration we are at risk for falls and injuries. Therefore engaging in more stability and mobility exercises will decrease our chances of mobility related injuries and improve our strength and coordination.

​A lot of people think of stability and balance as the same thing. Although, stability and balance go hand and hand, they are still a bit different. Stability is the ability to control your body position from your head to your toes. Balance is your ability to maintain your center of gravity. However, if you improve your stability your balance will likely improve along with it.

​The point of stability training is to develop postural stability throughout the body without compromising mobility at any point. Joint stability is the ability to maintain or control joint movement and position. So basically, stability is control and if you master control, you will exponentially enhance your movement pattern. Instead of weight you can add a stability ball to your workout to make it harder. Furthermore, according to a study published in the Journal of Strength and Conditioning Research, when placed in the right position , a stability ball activates more abdominal  muscles than a traditional abdominal crunch (Sternlicht, Eric, et al 2007).

There are quite a few ways to improve your stability, but we will be focusing primarily on the stability ball and the stability ball chair.

What is a Stability Ball?

​A stability ball or exercise ball is a ball made of soft elastic that is filled with air. They vary in size from about 35 cm to 75 cm. You should choose from various sizes, depending on your height. You need to get a 45 cm ball if you are between 4 feet and 6 inches and 5 feet tall. Get a 55 cm ball if you are between 5 feet and 5 feet and 6 inches. Choose the 65 cm ball if you are between 5 feet and 6 inches and 6 feet and 2 inches. If you are 6 feet 3 inches and above select the 75 cm ball.

​Since the stability balls are filled with air, they can be easily deflated and inflated again upon need. They normally come with a pump to make this process even more simple. This way they won’t take up any unnecessary space in your home when they are not in use.  The stability ball is extremely sturdy; able to hold up to 2000 pounds.

What is a Stability Ball Chair?

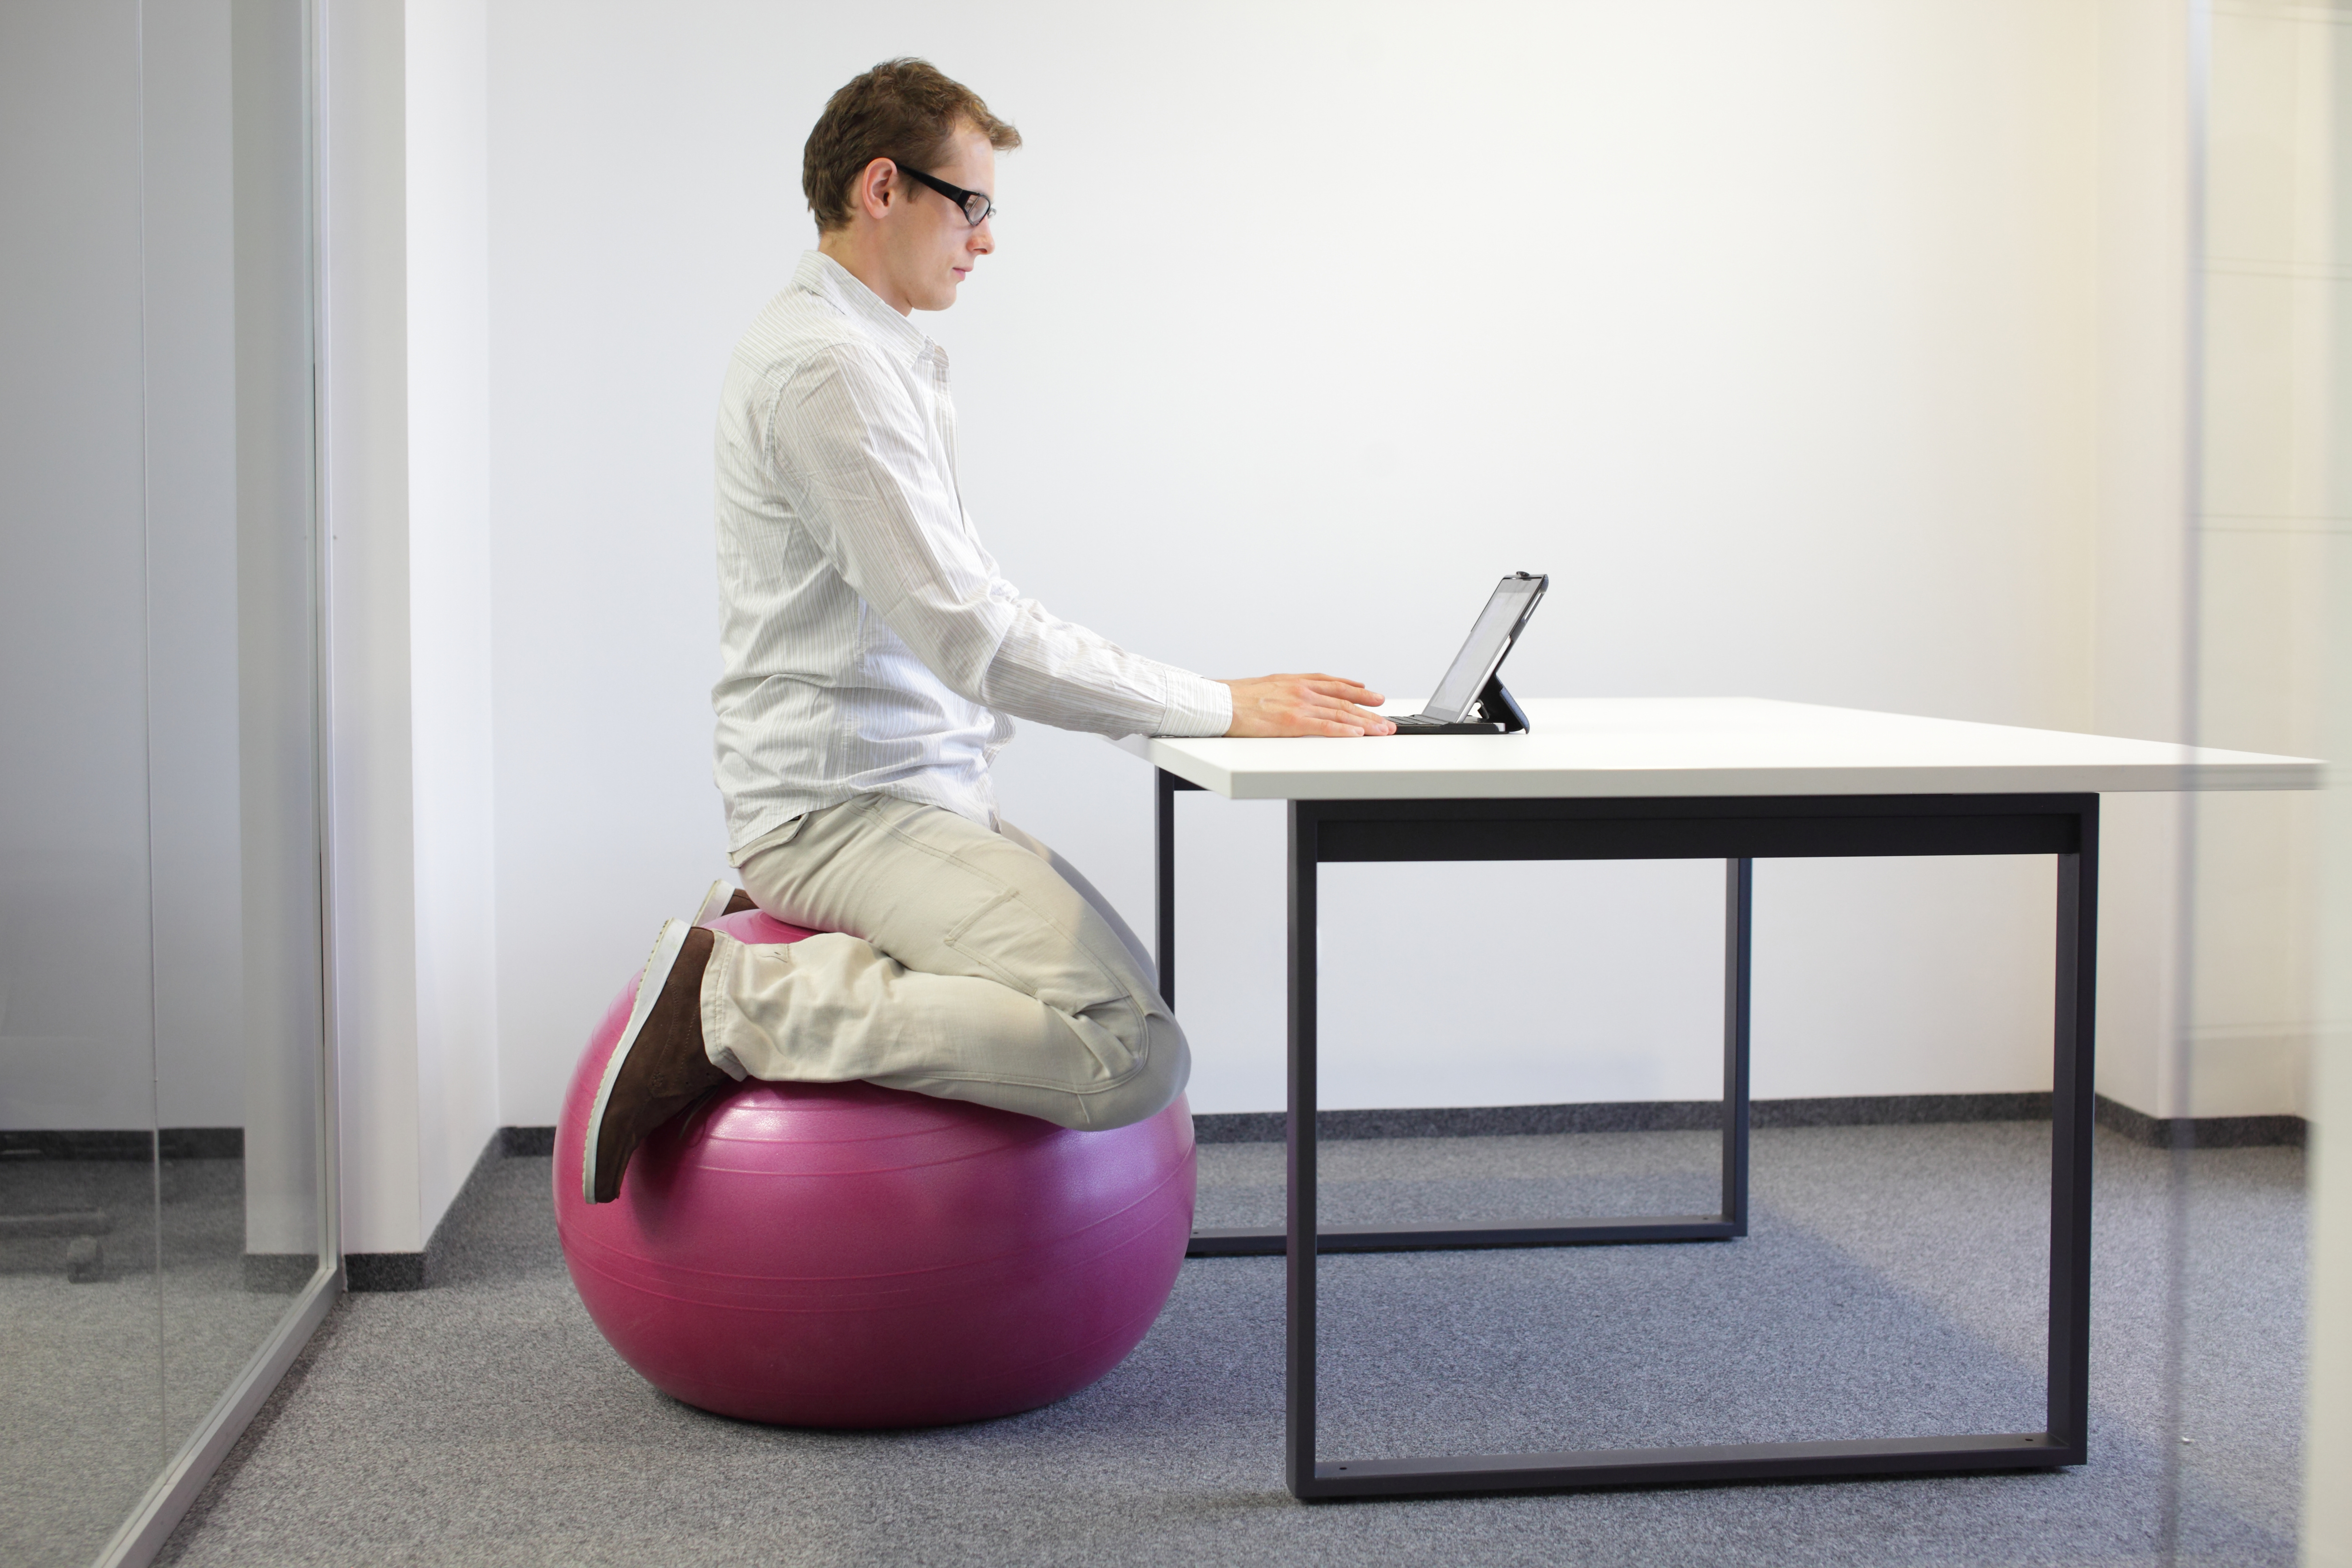
​Depending on your desk size you can replace your office chair for a stability ball. If your desk is between 74 to 76 cm then get a 65 cm ball. Your stability ball should be about 4 inches taller than the chair that you are replacing. Keep in mind that the ball will deflate a bit after you sit on it. According to Harvard Health Publishing sitting on a normal office chair while working burns an average of 106 calories per hour if you weigh 135 pounds, and approximately 156 calories per hour if you weigh 185 pounds. If you were to use a stability ball instead, you would burn between 112 to 165 calories per hour. This is a great way to burn a few extra calories a day on top of your normal work out routines. However, there is a better way.

​The stability ball chair is basically a chair that holds a stability ball. There is a support bar behind you and a ball holder in front of you. This is to keep safe and secure while sitting. It even has gliding wheels at the bottom of it, so that you can be mobile. Just as you would be in your plain old office chair. They are about 2 feet and 6 inches tall and about 20 feet wide.

How to Exercise on the Stability Ball

​Many people believe that stability balls can only be used for balance training or yoga, but that simply is not the case. There are a wide range of exercises that can be done on the stability ball. You can even use them combined with other equipment, such as dumbbells or resistance bands. However, we will be introducing you to a few exercises that you can do anywhere; with only a stability ball.

​1. Stability Ball Push-Up

​To begin this exercise, you need to lie on your stomach over the top of your fully-inflated stability ball, with your feet on the floor hip width apart. Slowly walk yourself backwards until your stomach is directly over the ball. Your entire body, including your legs should be straight, with your arms extended on to the ball. Move your hands a bit to the side of the ball, but still on top. Slowly lower yourself towards the ball, but don’t quite touch it. Then push down on the ball in order to fully extend your arms back into the upward position. That is one rep. Do as many as you feel comfortable doing per set and gradually raise it. If you wish to intensify this exercise; try raising one leg up while doing the reps. This exercise enhances chest and shoulder strength.

​2. Kneeling/Prone ABC’s

​To do the Kneeling ABC’s, kneel behind the stability ball and then lean your body forward to a 45-degree angle. Rest the elbows on top of the ball. Now, keep the ab muscles tight and keep the elbows pushing up from the ball. Move the ball around with the elbows; drawing the letters of the alphabet. Your body should be in a straight line, aside from your knees.

​The Prone ABC’s is pretty much a more challenging version of the previous exercise. To do it you must kneel facing a stability ball and lean your chest forward at a 45-degree angle. Again, rest your elbows on the top of the stability ball. Keeping your abs squeezed tight and your body supported off of the ball, raise your knees off of the ground. Now with your body maintained in its straight position, move the ball around with your elbows; drawing the letters of the alphabet. Both of these exercises are great for building abs of steel.

​3. Stability Ball Hamstring Curl

​Start off on your back, placing the backs of your lower legs on top of the stability ball. Put your feet about hip-width apart with your toes facing the ceiling. Place your extended arms to your side with your palms turned to the ground. Gently press your hips upward by squeezing your gluts. At the same time press the backs of your lower legs down onto the ball. Continue to push upwards until your legs and hips are straight; and torso and legs are aligned. Now raise up even higher to where your knees are pointed towards the ceiling. Your feet should be on top of the ball at this point. Now, slowly lower back down to your starting position and you have one rep. This exercise is great for developing your hip, leg and thigh muscles.

​These are just a few of the possibilities with the stability ball. These exercises should be a great start for mastering it. Now you too can be ballin!

Work Cited

Sternlicht, Eric, et al. “Electromyographic Comparison of a Stability Ball Crunch With a Traditional Crunch.” Journal of Strength and Conditioning Research 21.2 (2007): 506-509. 8 6 2019. <https://works.bepress.com/stuart_rugg/1>.


I’m Stepping out Hotter This Year: Step Workout Hacks to Get You in Shape Anywhere

staircase workoutMost people avoid the steps by any means. They will use the elevator, escalator or put a mini fridge in their bedroom. Stairs are everywhere, yet not many use them as a means to get and stay in shape. The only time most people work out on a staircase is when they are running late. For every casual step taken on a staircase you burn about 0.17 calories. This means depending on the number of steps in a flight of stairs you can burn several calories without even noticing it. If you can burn calories by merely walking up a flight of stairs, imagine the possibilities of what else can be done with them. We will be introducing you to a few of these possibilities to get you started. These are great for vacations, or any time that you do not have access to any equipment or a gym. They are best done in combination with each other for a well-rounded workout. So, get to a flight of stairs! If you don’t have one inside of your home, then find a nearby outdoor staircase. If you live in apartments, then head to the stair well.
Jogging Up and Down

We will start off with the simplest of the exercises. Jogging up and down is exactly as it sounds. You will be jogging up and down the flight of stairs. Depending on your stamina level you can start out walking instead of jogging. This is pretty much a basic cardio exercise, and I would use it as a nice warm up. Start off with 30 seconds and increase over time.

Stair Box Jumps

To begin this exercise stand facing the staircase, with your feet hip-width apart. Keep your arms by your side and without arching your lower back jump onto the first step. You want to land on your mid foot and keep your core muscles engaged. Now, maintain your balance and hop backwards, with your feet still aligned with your hips. Once you hit the ground, don’t hesitate and jump back onto the stair. If you want to step it up a notch jump onto the second step instead of the first. You can either do this exercise in sets or time yourself for 30 seconds or more. This exercise is beneficial to your butt, hips, legs, calves, shins and thighs.

Reverse Lunges

For this exercise, begin on the bottom step. Make sure your feet are about hip-width apart and then step back with your left leg. When the foot hits the ground, lean forward into your right hip in order to get your left knee to the floor. Your body should be straight up the entire time. Then you want to raise back up and bring your left leg back up to the step. Once back in your original position, do the same thing with your right leg. Now you have achieved one rep. I recommend doing this exercise in sets, so monitor how many you are capable of doing. You can add weights of some sort to intensify this workout. This exercise is beneficial to your butt, hips, legs and thighs.

Toe Taps

For this exercise in front of the stairs. Now place one foot on top of the bottom step, with your toe pointing downward. Now, switch feet quickly tapping one foot after the other on top of the step. Try pulling your arms behind you as you switch foots to intensify your workout. This exercise is best done with a timer. I recommend intervals of 30 seconds starting off and working your way up. This is a full body work out and magnificent cardio.

In and Out Abs

For this exercise, start off seated upright on the bottom step with your legs bent in front of you. Now lean back a bit and lift your legs up off of the ground. Keep your arms behind you while holding second step for balance. Then pump your legs in and out, while keeping your legs together. Each time you push out get your feet as close as possible to the ground without touching it. Exhale when your knees come towards your chest and inhale when your legs go down. I recommend doing this exercise for either 30 second intervals or 20 reps. This exercise is beneficial to your abs, lower back, hip flexors and quads.

Triceps Dips

To do this exercise sit on the bottom step and place your palms at the corner of the step, with your fingers pointing down. Start off with bent knees if you are just beginning and then advance to keeping your legs straight out. Lift your hips off of the step and then dip your body towards the ground, but don’t quite touch it. You want your elbows to be at about a 90-degree angle. After that extend your arms back to their normal position and then you have one rep. I recommend doing this exercise in sets of about 20. This exercise is primarily beneficial to your triceps.

Push-Ups

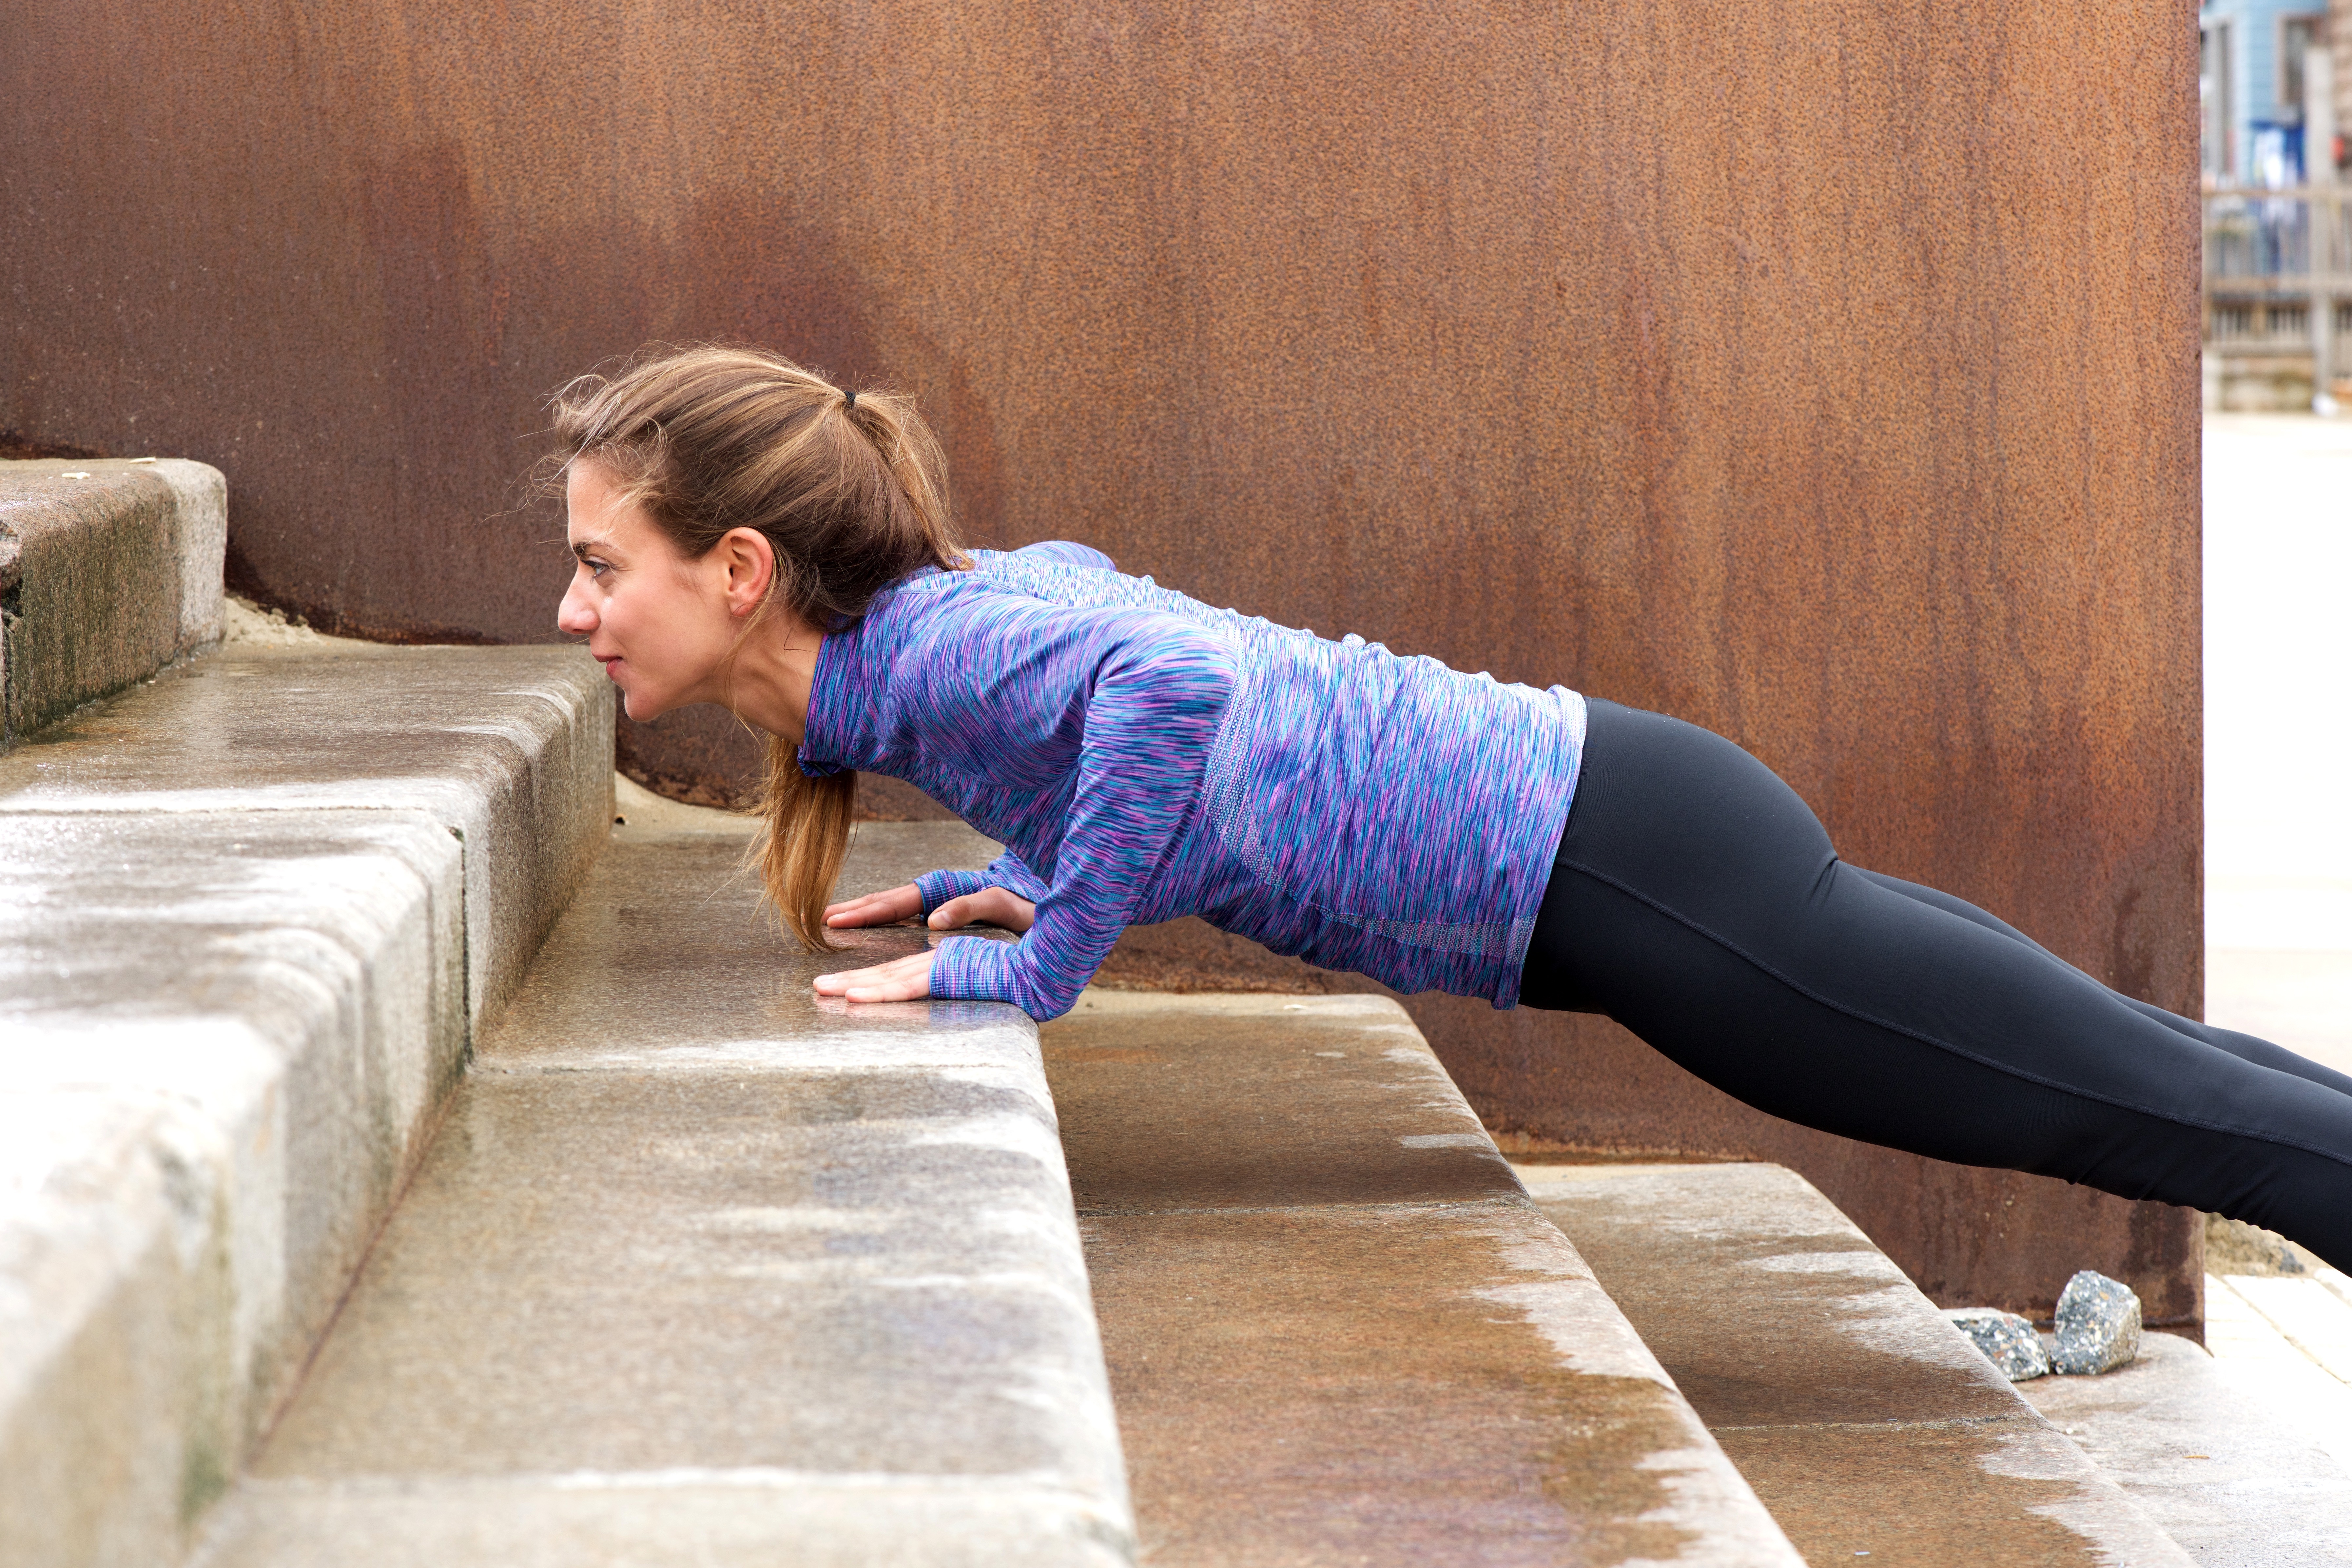
To do this exercise, use the first step to place your arms on top of and enter an inclined plank position. Extend your legs out behind you or kneel if you are a beginner. Then simply do a push-up. This exercise is best done in reps. There is also another kind of push-up that you can do with the stairs. For this one, place your feet on the bottom step and get into a plank position with your hands on the ground. This is version is much more difficult than the previous kind. If you still want to step it up, place your feet on the second step. This exercise will benefit your arms, chest and shoulders.

Mountain Climbers

To do this exercise, start with kneeling in front of the staircase. Position your knees and feet, hip-width apart. Now, place your palms on the bottom step. After that extend both of your legs out behind you into a high plank position. Finally, bring your left knee up to your chest and as you are extending it back; bring your right knee up to your chest. I recommend doing this for intervals of 30 seconds. This exercise benefits nearly your entire body, but specifically targets your butt, hips, legs and thighs.

Exercise can be done anywhere. You have to think outside the box and become creative. Look for opportunities to get a few sets and reps in. You will be amazed of all the possibilities.  Using the step or staircase is one of many ways to get the job done. These methods will be very useful on your journey to physical fitness and good health. Just keep on moving one step at a time.

Off the Wall Workouts You Can Do Anywhere

wal workouts

To many people the hardest part of the workout is showing up. Maybe you don’t have a gym nearby and lack the time to drive to one. Perhaps you can’t afford a gym membership(they can get pretty pricey). If you don’t want a gym membership or lack proper workout equipment at your home; you can still get and stay in great shape. The exercises that we will be explaining, do not require anything you don’t already have. Just blood, sweat, tears and a wall. If you don’t have a wall find a tree, a fence or something. Just make sure its sturdy and then make it happen. Just start out with a few jumping jacks or jog in place to get your blood flowing and we got you from there. These exercises require no equipment, but can be enhanced with the right equipment. Now without further ado, it is time to show you how to exercise from wall to wall, Chris Brown style.

Wall Plank

1. There are several different ways to do planks in general and a couple of those ways involve a wall. The first of these methods that we will be discussing is called the rotational wall plank. In order to do this plank you must first stand in front of the wall with your feet about shoulder length apart. Then lean against the wall on your forearms and make sure your body is straight. Now, rotate to the to the right with your left forearm still up against the wall; remaining in perfect position the entire time. Then come back to the front and switch arms rotating to the left, with your right forearm on the wall. Be sure to keep your core strong during all of this and it will improve exponentially. This form of plank is perfect for beginners, and will help you master more difficult methods in the future.

2. To do the second method of wall planks you will need to get on your hands and knees with the wall behind your feet. Stretch your arms out and then place them slightly in front of your shoulders. After that place your right foot on the wall, followed by your left foot. Then make sure you are completely straight and parallel to the floor. Now depending on your stamina hold that position for about 45 seconds to 1 minute. Finally, after the time is up; slowly decrease one leg onto the ground and then the other. This plank will workout your abs, back and arms; as well as improve your overall flexibility and posture.

Wall Push-Ups

1. There are a few different methods to do wall push-ups. Depending on your level of expertise, some may prove more difficult than others. In order to execute the first method, stand facing the wall at a distance to where you are able to fully extend your arms in front of you. Align your arms with your shoulders and keep your feet slightly apart. Also, keep your head in a straight forward position and bend your elbows to bring your chest as close to the wall as possible without touching it. Push back until you are in your starting position, and then you have done one rep. This exercise will benefit your chest and triceps.

2. The next form of the wall push up is a bit more difficult, but more similar to a standard push-up. Start in a kneeling position, with the wall behind your feet. Slowly place your right foot on to the wall and then your left. After that slowly extend to where you have no bending of the hips or knees. Align your head with your spine and make sure your feet are close together against the wall, but not quite touching. Now, while maintaining a straight body; do a downward phase(like a normal push-up) and then an upward phase. This may be difficult to do at first, but start with lower reps and you will get the hang of it. This exercise works out your arms, chest, shoulders and core.

3. The final form of the wall push up that we will be discussing is the most difficult of all. For this method, you need to get into a handstand position, with the back of your feet against the wall. this alone can be difficult for most. Then you simply pump up and down, while maintaining that position. This method does require a certain amount of balance, but if mastered it will benefit your triceps, shoulders and chest.

Wall Squats

1. For this exercise you need to find a nice and sturdy wall and put your back up against it(who hasn’t had their back against the wall at some point). Go down to about a 90 degree angle, so that your knees are out and your back is straight. Squeeze your inner thigh in slightly, and hold this position for about 30 seconds to 1 minute. This exercise works out your gluts, hips, legs and thighs.

2. The second method to do a wall squat, is more of a traditional squat, which makes it a bit more difficult. Face the wall and stand about a foot away, then you need to raise your arms up(put’em up). Make sure that your feet are slightly wider than hip-width and your toes are faced outward. Now, lower your hips down to where they are about parallel to the ground. Try not to allow yourself to move forward while lowering. Make sure that you maintain your back, chest and head positions; and extend your hips and knees by pushing your feet into the floor.  Keep going until you reach your starting position and then you have achieved a rep. If possible, place a ball of some sort behind you. It doesn’t need to be a workout ball; it is just to help you reference how far down you are squatting, without breaking position. Once mastered this exercise is great for your abs, butt, hips, legs, calves, shins and thighs.

Abductor Lifts

To do the abductor lift, you must stand with one of your shoulders towards the wall. Let’s start with your right. Then extend your arm out and place it against the wall. Now, lift up your right leg, putting all of the weight on your left leg. After that take the right leg and lift it across the front of your body past your left leg. Slowly bring your leg back to the beginning position and there you have a rep. After you have completed your desired reputations on that side, turn to where your left shoulder is beside the wall and repeat the steps. This exercise is primarily to improve abductor strength as well as your core.

Glut Bridges

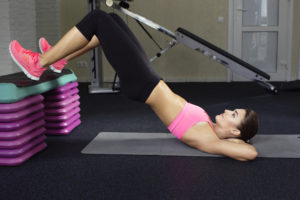
For this exercise you may want to grab a mat or a soft towel because you will be on your back. Lie with your feet facing the wall and then lift them up and put them flat on the wall. You legs should be at about a 90 degree angle. Now, push your feet against the wall, while simultaneously lifting your pelvis. Keep your head, shoulders and arms on the ground. Hold for 5 to 10 seconds and then decrease. Do this for as many reps as you feel comfortable. If you want to step this exercise up a notch then lift one leg straight into the air while you do your reps. This exercise great for improving your gluts, abs and your hamstrings.

Isometric Single-leg Wall Lean

Starting parallel to a wall lift the hip closes to the wall, to where the knee is bent at a 90 degree angle. Press the foot that is on the floor down and while pushing the bent leg into the wall. Hold this position for about 1 minute at a time. This exercise will work out the pelvis as well as the gluteus medius.

Wall Mountain Climbers

The beauty of this exercise is that it can be as intense as you want it to be simply by adjusting your speed and height. However, it a pretty tiring exercise and you can hurt yourself easily. Now, start in a kneeling position with the wall behind you. Then you want to raise up on your toes and get into an inner thigh lift position with your butt pointed up towards the ceiling. Next you need to extend your legs back one at a time to where you are nearly fully extended straight. You want to be diagonally off the wall. After that you come back down one leg at a time and come back to your original position. Trust me it’s more difficult than it sounds. However, this exercise is extremely efficient. It works out the triceps, deltoids, abs, back, quads, hamstrings and gluts. All that from incorporating one exercise that you don’t even need to leave your home to do.

Exercising does not have to be a big inconvenience. As long as you set aside the time, you can make it work with the bare minimum. This is a good variety of exercises that should target most areas of your body. So there you have it; a routine you can follow with no equipment. Try not to damage your walls in the process, but I am confident that you will find a way.


​​ Taking Time Off from Working Out: How Long Is Too Long?

taking time off from working outTaking Time Off from Working Out and Not Worrying About Losing Fitness
You can’t be wish washy with your fitness goals. If you want to lose weight or improve your your health you have to be consistent. You will not see results if you skip too many days a week or weeks.

As important as it is to be regular with your exercise, however, it’s also essential that you take a break sometimes.

You may need a break because you are exhausted, you injured yourself  or because you just don’t have the time to work out, or simply because you’re bored with with your work out. Besides, life happens and you have to take a break weather you like it or not?

You could also need a break because you need to go on vacation, or sick. What many people don’t realize, however, is that they also need to take a break when they have been overtraining. Pushing yourself too hard with high-intensity exercise can cause you to develop depression, exhaustion and lose performance in your workouts.

Taking a break may be the solution to a variety of problems. There’s probably just one thing that concerns you — how long will it be before you start getting out of shape?

You don’t have to worry about taking a break

Many people are surprised to learn that taking as long as a week off from working out doesn’t usually ruin the gains that they’ve made. It’s a fact that many serious athletes routinely take a week off once every three months or so.

Consider what marathon runners do. They usually plan their training in such a way that they hit their training peak two weeks before an event. At that point, they begin tapering off their workouts, and exercising less and less each day until the day of the event. This way, they can be sure that they are well-rested and full of energy for the race.

It’s important to understand that it takes far more than a week to undo the physical fitness that you have worked so hard for. But not that far. If you are tired and sore, you shouldn’t worry about taking time off.

How long does it take to lose your edge?

Whether you need to take a break because you have other commitments, or simply need to rest, how long will it be before your body begins to go downhill? Here are some basic numbers to work with:

•​You lose about ten percent of your aerobic fitness after three weeks of inactivity.

•​You come close to losing most of your fitness after eight weeks of inactivity.

•​If you’re highly fit, you will experience a faster drop-off in fitness level than someone who is less fit.

•​Your muscular strength stays with you far longer than your aerobic fitness.

These numbers are only rough guides to go by. The number of days of rest that you should take depends on what your body communicates to you. You need to look for signs that you’re overtraining or are just tired.

When you’re on your break, you can still be active, but in different ways. If you’ve always run to train, you can try playing a game of tennis on your break, or go swimming instead.

You need to be aware that and if you plan to take a week off, you can be sore once you restart your workouts. How your body responds depends on how long you’ve rested, on how hard you work out, and on your genetics.

How do you know that you are ready for a break?

When your body and mind need a break, you can usually tell by looking for a few signs.

•​You always feel exhausted.

•​Your muscles are constantly sore.

•​You’ve begun dreading going to the gym each day.

•​You’ve stopped making progress.

•​You’ve begun to have trouble with your motivation.

When you give yourself the break that you need, you can return to your workouts with far more strength and enthusiasm.

You need to remember that when you take break, you don’t have to be inactive. You can use the time that you have to try a long walk, a yoga class, or some quiet gardening activity.

Getting your body back to its old fitness level

If you only take a week off, you will usually lose none of your fitness. When you return to your workouts, you can pick up where you left off. If you take a longer break and lose some of your fitness, however, it’s important that you are gradual reintroducing your body to exercise. It’s important to watch out for muscle soreness, and not push yourself too hard the first few weeks. Here are tips:

•​Start with simple workouts: You can essentially restart your old routine, but take up shorter distances, lighter weights or lower levels of intensity.

•​Give it time: If you’ve lost a little bit of your fitness, you should expect it to take three weeks to return to your old level of fitness.

•​Give yourself more rest: If you always rested two days a week before, you should consider giving yourself four days off each week in the beginning upon returning to your workouts. Your muscles will need the time to recover.

When you gradually raise the intensity of your workouts over a period of weeks, you give your body all the time that it needs to adjust to working out again.

Taking breaks can be just as important as working out. You don’t need to get worked up about losing your fitness. Usually, it’s only a matter of days before you get back to where you were, only with more energy and enthusiasm.

​Page 1 of 1

​​ The Benefits of Step Platform Workouts


The Benefits of Step Platform Workouts

Step up your work out with a step platform. Step platforms are a great way to add extra movement to a traditional aerobic workout. They can be used for aerobic and strength training which is great. Its a no brainer  to use and you can make up your own routine. All you have to do is step on and off the platform. That’s it.

You can adjust the height to fit your experience level. This allows for a lot of changes as you get stronger. You can make your regular workout more intense or take a specific class geared towards learning step routines. This is also a great activity for those with limited time, as it accomplishes both cardio and strength training at the same time. It works numerous muscles, and there are many different sequences to keep you interested. When you add your favorite music to the workout, step workouts are even more fun. Learn more about this popular exercise technique.

Cardio

During your first step platform session, you might focus more on coordination than speed. Once you adjust to the rhythm, however, it is easy to increase your heart rate. Think about how you feel after running up a flight of stairs. Step platforms are a safer way to experience the benefits of going up and down stairs. Step platforms are often implemented into an aerobic routine to get your whole body moving quickly. Steps are short and repetitive so you can learn fast and increase your speed.

Strength

Weights help with strength by allowing you to zero in on a specific muscle group. You may be trying to build strength in your arms or legs, for example. A good step platform workout can also assist you with this. The repeated movements intensify and extend the time spent on the muscles involved. This is a workout plan you can use for a long time, as well. Once a routine becomes too easy, you can adjust the height or add weights to become even stronger.

Impact

The impact of this form of exercise can be changed to fit your needs, as well. Take a low-impact step class or learn to adjust the workout while in any class. If you would like to endure less impact on your joints, you can do the moves slower, for example. Do one step when the instructor calls for two. This gives you time to step softly and remain cautious about your body alignment. You can put unnecessary strain on your joints and spine when you do the exercises incorrectly. The platform should stay on the lowest height, and you need to limit the speed.

If you are ready to move on to a high-impact routine, enroll in an advanced step class. This helps you learn how to do the exercises correctly and safely. High impact step workouts involve higher platforms, weights in your hands, and faster steps. There may also be more difficult and varied movements for your legs and arms, requiring good coordination.

Adjustable

Most gyms offer extensions to raise the height of step platforms. Most people start on the lowest one while they learn the basics. You may also need to adjust these for your height. Individuals with longer legs may find more comfort with a taller platform.

Different Sizes

The basic step platform is 28.5″ x 14.5″ x 4″. There are also some shorter in length. The four-inch height changes, depending on the number of risers you use. These securely lock into the base of the platform and increase the height by two inches each. The maximum height used by advanced individuals is 10 inches. You can achieve excellent cardio and strength training even at the four-inch height, however.

Basic Step Moves

•Step up step down- This move simply involves stepping up on the platform with one foot and stepping back down on the ground. This is also called a “basic step.”

•Step and kick- Step up on the platform with one foot and kick the leg out in a variety of directions. You can step forward and kick your leg out behind you or kick to the front. Finally, you can step on either side of the platform and kick your leg out to the side. There is also a move called the Charleston kick where you kick to the front with a bent knee on the kicking leg.

•Side to side- Step up on one end of the platform and bring your second food to meet the other. Then step off to the side of the platform and back up with both feet meeting again. You then return to where you started on the floor and step to the opposite side.

•Step and touch- This involves stepping up onto the platform and bringing your feet together, then stepping back down or to a different part of the platform. Feet meet and touch as you move to different places on the platform and floor

•V step- You step up on the platform with one foot on one side then step all the way to the other side of the platform with the second foot. This forms a “V” with your legs; then you step back down with both feet.

•Rocking horse- You must shift your center of balance for this move. Step diagonally on either end of the platform and lift your other leg out behind you with your knee bent. You then put the lifted leg back on the floor and lift your front leg up, bending the knee towards your chest.

Muscles Involved

You can decide how much of your body you use during your step workout. Your abs get a good workout because you must keep your core steady to keep your balance. The calves and gluteal muscles are easily engaged in all levels of step workouts. You can add arms to the mix, however, by using hand weights during the workouts.

How to Make Harder

The main way to make a step workout harder is to raise the height of the platform. At the beginning of class, get your platform and preferred number of risers. If you are a beginner, start with the lowest one until you feel coordinated. You can then begin adding risers, working your way up to eight or ten inches. You can also increase the speed of your steps and add weights to make it more intense.

Weight

Platform workouts are incredibly versatile. You can adjust your routine to match your ability or mood. You can alternate between high and low impact throughout the week. If you feel motivated to raise the difficulty even more, wear ankle weights.

Best Music

Music for a step platform class needs to have a steady beat to help you do the same steps over and over. This helps build muscle memory, making it easier to stay on task each time you take a class. An upbeat song with a few changes in speed is also helpful. You can cool down and catch your breath when the slow parts come on. The main focus of step platform exercise is to keep moving, however.

Other uses for Platform

Weight Training- Use the platform to add difficulty to your weight training. You do the step workout with weights in your hands or use the platform to achieve different positions. You can also use the platform as a bench to lean back on while lifting large dumbbells.

Balance- When you work regularly with a step platform, your balance begins to improve. This happens when your core becomes stronger. You can work on balance by doing specialized exercises on your platform. These may involve raising your free leg in different directions. Slow step routines are used to help the elderly regain or maintain good balance, at times.

Other Exercises- You can use the platform for many strength exercise poses. You can place your feet on it with your hands on the ground for an intense push-up, for example. Individuals and professionals also use platforms to intensify yoga routines, for stretching, and for planks.

A step platform helps add variety to your workout. They are also easy to use at home, along with instructional videos. This is a great beginner piece of equipment that adjusts as you improve and gain strength, as well. Enjoy a full-body workout in your home or at the gym with a step platform.

3 Amazing Effects of Exercise to Cardiovascular Health

According to the World Health Organization (WHO), cardiovascular diseases (CVDs) are the primary causes of death around the globe, comprising 31% of all deaths in 2015. In fact, there are 17.7 million cases of death due to CVDs.

Aside from inheriting these CVDs, leading a sedentary life is one of the most notorious reasons why people develop such illnesses. Whilst the possibility of which can be minimised by stopping risky habits such as tobacco use and alcohol abuse, starting anew is a great option and it comes in the form of exercise. Check out how exercise affects cardiovascular health:

Strengthens Your Heart

Whether you are a gym rat or simply a holistically-healthy person, you want to make sure that every part of your body is well taken care of. Workouts help you tone targeted muscles. Keep in mind that your heart is a muscle and turning to cardio exercises can help improve your cardiovascular health.

Doing cardio workouts is extremely simple as you can do it without any equipment and they can be incorporated into your daily routine. During your commute to or from work, why not brisk walk a few kilometres? Perhaps you want to take the stairs rather than the elevator. You can also use a bicycle on your way to work instead of taking the bus or driving your car. These activities elevate your heart rate, causing it to pump more blood throughout your system. This makes your heart and circulatory system stronger and more efficient.

Lowers Blood Pressure

In a 2017 report, Blood Pressure UK revealed that 1.1 billion people around the world suffer from high blood pressure. With hypertension being a leading cause of heart diseases and stroke, this number is alarming. If you already suffer from this illness, one good way to lower your blood pressure is to exercise regularly.

With a stronger cardiovascular system through cardio training, your heart works less to pump blood; relieving the force your arteries endure. The less effort your heart has to use when pumping, the lower your systolic and diastolic pressure will be.

Improves Blood Circulation

Your body depends on circulation for oxygen consumption, blood cell transport and overall transfer of essential nutrients, particles and fluids. Without a strong heart, your system will fail to supply your body with everything it needs to function properly and healthily. It can also have a reduced capacity to remove carbon dioxide and toxins from your blood. Exercising can facilitate a more efficient cellular respiration, sustaining your body with the elements required for day-to-day living. Here are a few amazing ways exercise improve your life:

  • Enhanced quality of sleep
  • Healthier mind and body
  • More energy during the day
  • Lessened chances of obesity and other serious illnesses

Never neglect your heart’s health. There is nothing better than knowing that your habits are geared towards leading a happier and longer life. By incorporating cardio exercising into your daily grind, you can lead a healthier lifestyle and minimise risks of cardiovascular diseases.

http://www.who.int/news-room/fact-sheets/detail/cardiovascular-diseases-(cvds)

https://www.webmd.com/fitness-exercise/guide/exercise-healthy-heart#1

http://www.heart.org/en/health-topics/high-blood-pressure/changes-you-can-make-to-manage-high-blood-pressure/getting-active-to-control-high-blood-pressure

https://www.mayoclinic.org/diseases-conditions/high-blood-pressure/in-depth/high-blood-pressure/art-20045206

https://livehealthy.chron.com/regular-exercise-promote-good-circulation-7547.html

How to Workout While You Watch TV

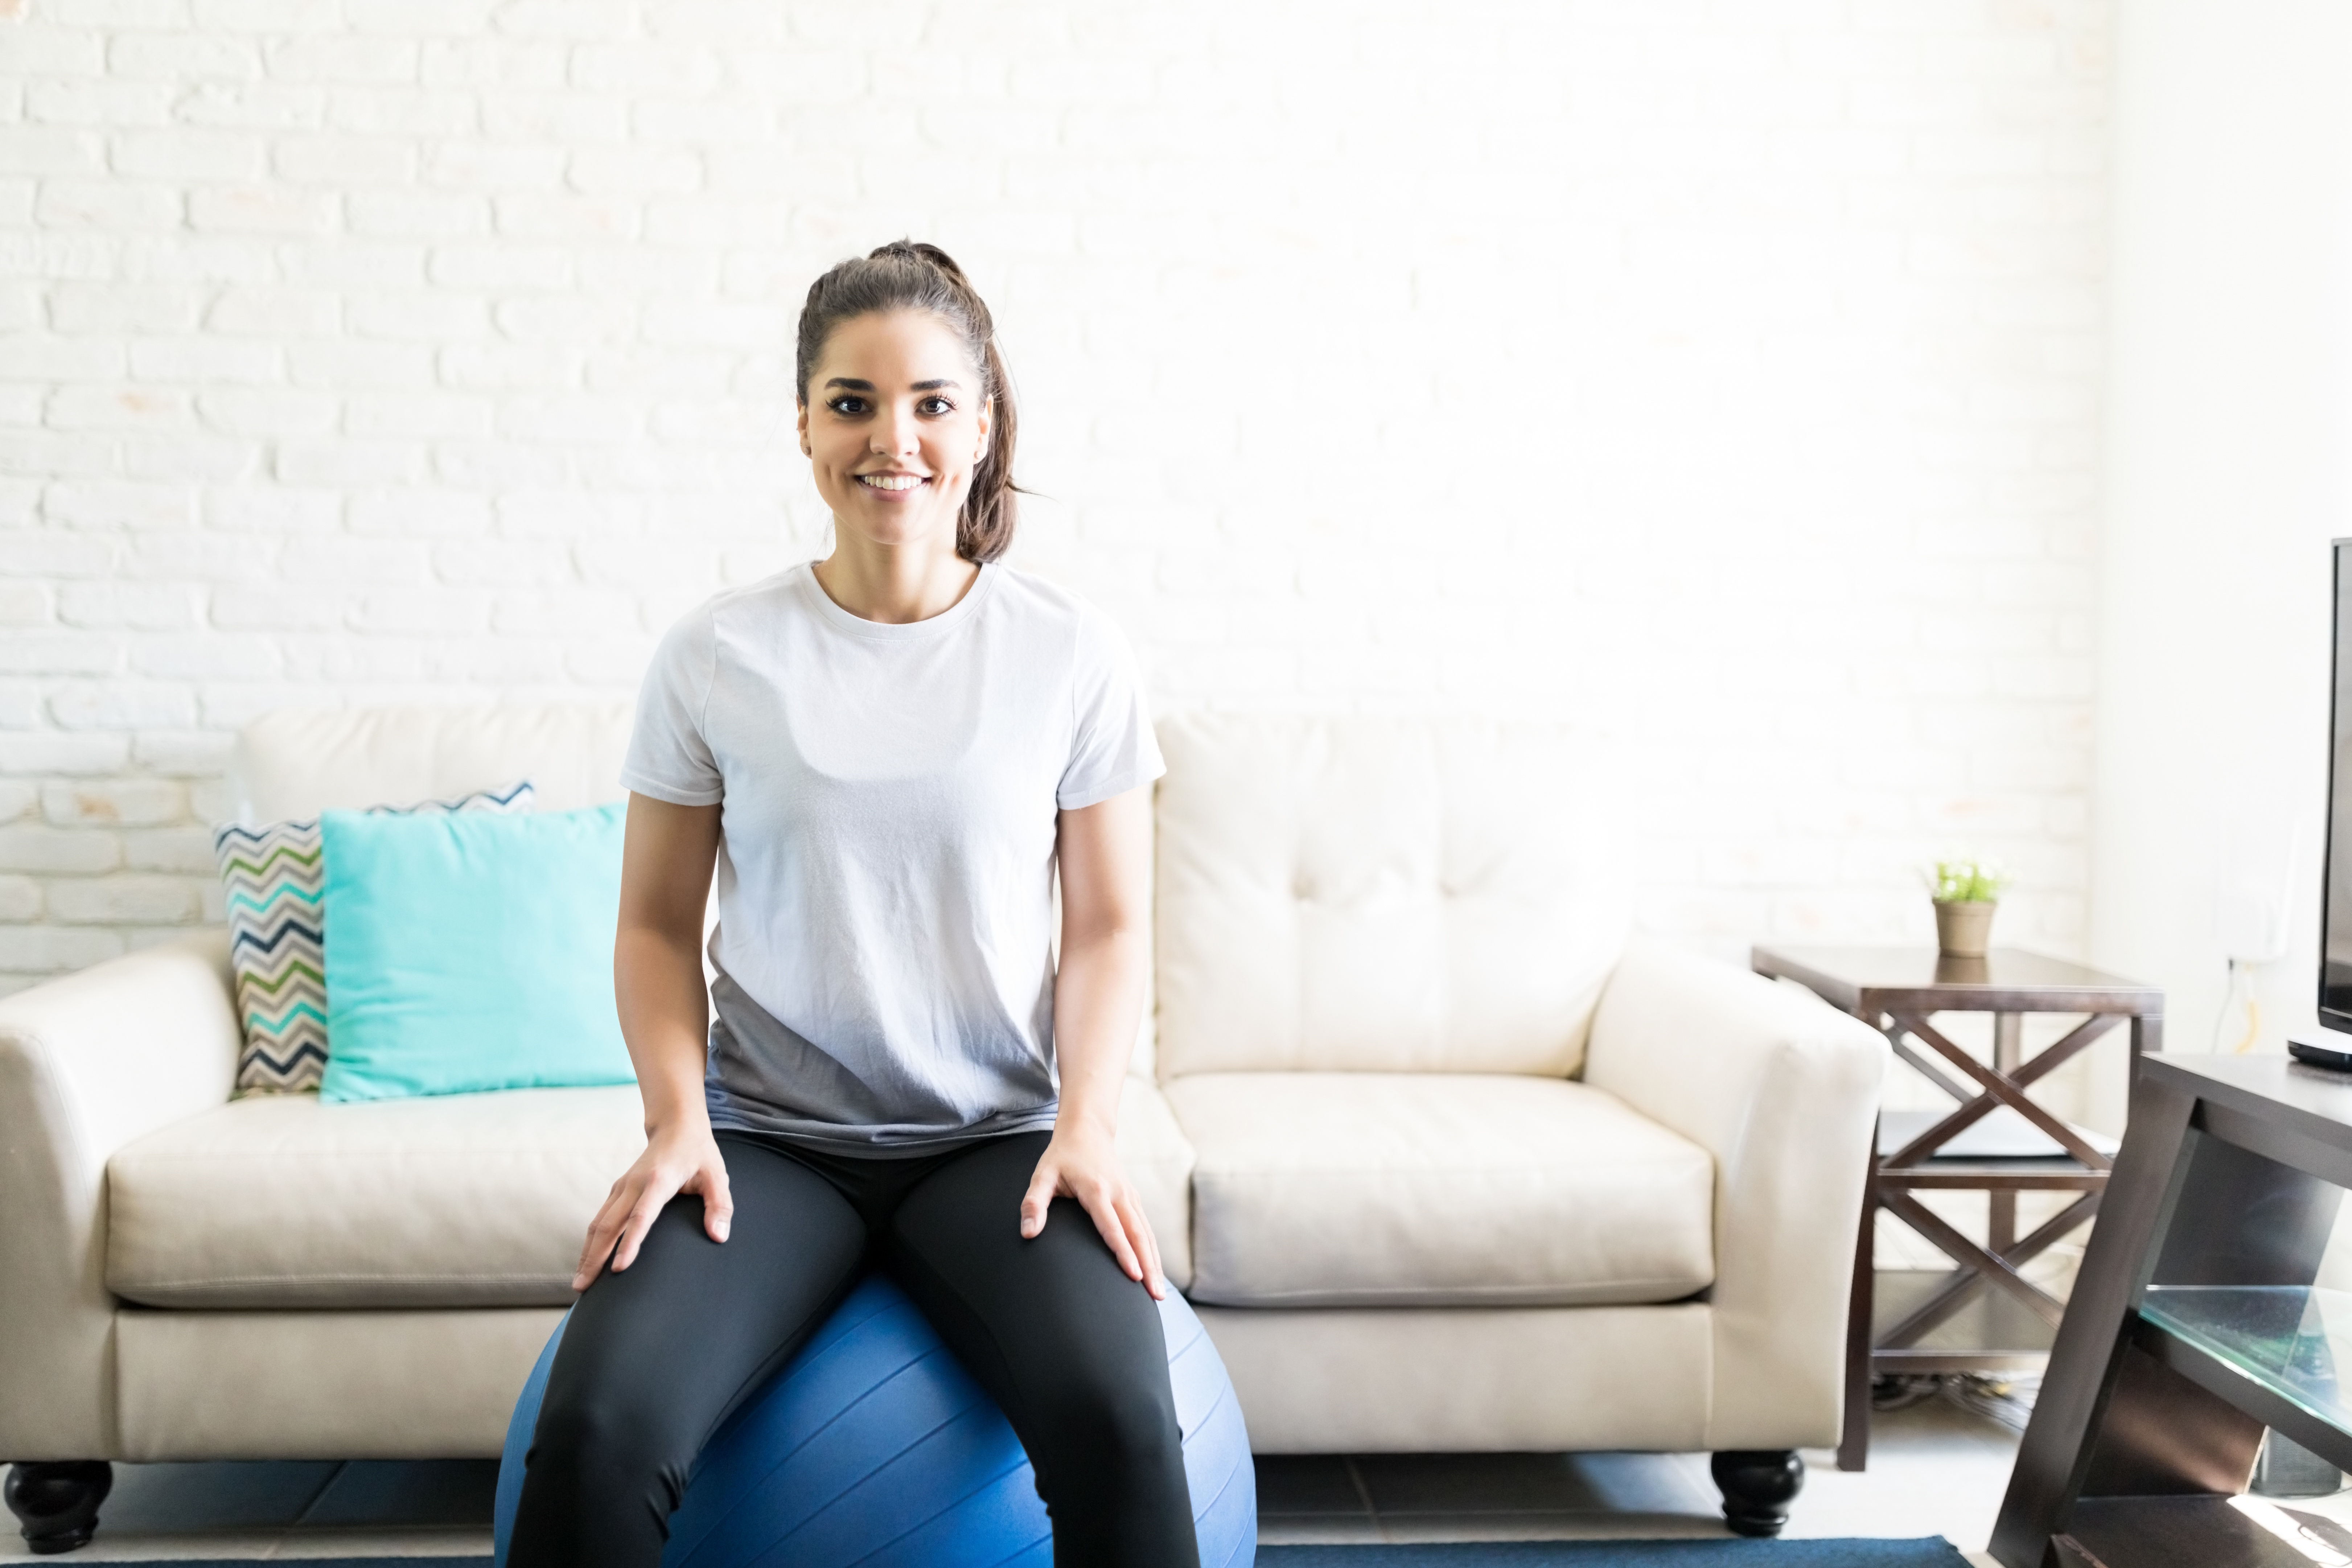
Portrait of smiling young woman sitting on a swiss ball for exercising in her living room

9 Ways You Can Get Fit While You Watch TV

A study from the University of Queensland in Australia has just been able to put a number on how harmful watching TV can be. According to the study, every hour watching TV sitting down or lying down cuts your life expectancy by more than 20 minutes.

While cutting down on your television watching habit can help, it may not be practical to suggest that you should stop watching television altogether. Instead, you can try to turn TV time into time that you get some exercise on the side.

Turn Commercial Breaks Into Exercise Time

Commercial breaks don’t have to be times that you gorge on snacks until your show comes back on. You can use the few minutes that you have at each break, instead, to jog in place, to skip rope, to do a few push-ups, or to climb up and down a flight of stairs. If you’re watching television on a streaming service, you won’t have any commercial breaks, but you can pause the show once every 10 minutes.

Try Circuit Training

You don’t necessarily need to wait until a commercial break comes up. You can get some exercise in while a show is on, as well. Circuit training can be a lot of fun when you’re watching a show. All you need to do is to put all the equipment that you need together; skip rope, kettle bell, dumbbell and so on, and switch from one exercise form to another once every 2 minutes. You can finish a few complete circuits of all the exercises that you have in mind by the time your show ends.

Exercise Your Core

If you’re getting a workout in front of the TV, lunges and squats can be the perfect kind of exercise to try. Not only do they help you strengthen your core and your lower body, they are easy to do while you keep an eye on the TV. When you perform these moves, you get to work out your behind and your thighs, all while helping build a better sense of balance.

Try Hula-Hooping

A hula hoop can be great exercise for television time. You don’t have to concentrate on hula-hooping too much as you do it, and you can still burn off 10 calories for every minute that you gyrate. Hula-hooping can help you work out your waist and build better abs.

Practice Yoga

Yoga is one of the best exercise forms for television watching. It’s quiet enough to let you concentrate on your TV show, while you burn calories. While you may not get all the benefits that you would if you focused on your form, you’d still benefit.

Buy Home Gym Equipment

A treadmill, a stair-stepper, or an exercise bike can be great investments if you want to get some exercise in as you watch television. When you don’t feel like going to the gym, you can turn on the TV and hop on one of these machines. These exercises are routine enough to not require concentration, leaving you free to enjoy your show.

Try To Lift Weights

Lifting weights can help you burn calories quickly, lose a few pounds and build strength. When you train with weights, you lower your risk of injury, as well. Lifting weights can be a convenient form of exercise to try in front of the TV. It would be good idea to include two weight training sessions a week in your routine.

Watch TV While You Balance Yourself On a Stability Ball

If you feel don’t feel like getting any real exercise when you watch TV, simply sitting on an inflatable stability ball, rather than on the couch, can help. You’ll have to keep adjusting your position to keep yourself upright, giving yourself a valuable workout in the process.

Be Restless

From swinging your legs to restlessly moving back and forth as you sit, there are a number of repetitive movements that you can make to while away the time, and get some exercise in. Fidgeting can help improve your rate of calorie burn.

Finally, you need to be sure that you don’t dip into a bag of snacks the entire time that you’re exercising in front of the TV. You wouldn’t want to do anything to cancel out the benefits of your TV exercise routine.

Watching television doesn’t have to be a sedentary activity. It can be a time that you get a lot of exercise, and enjoy yourself as you do it. All you need to do is to resolve to work out every minute that you watch your favorite show.

What Are Causes of A Sedentary Lifestyle?

Factors that Affect Physical Activity

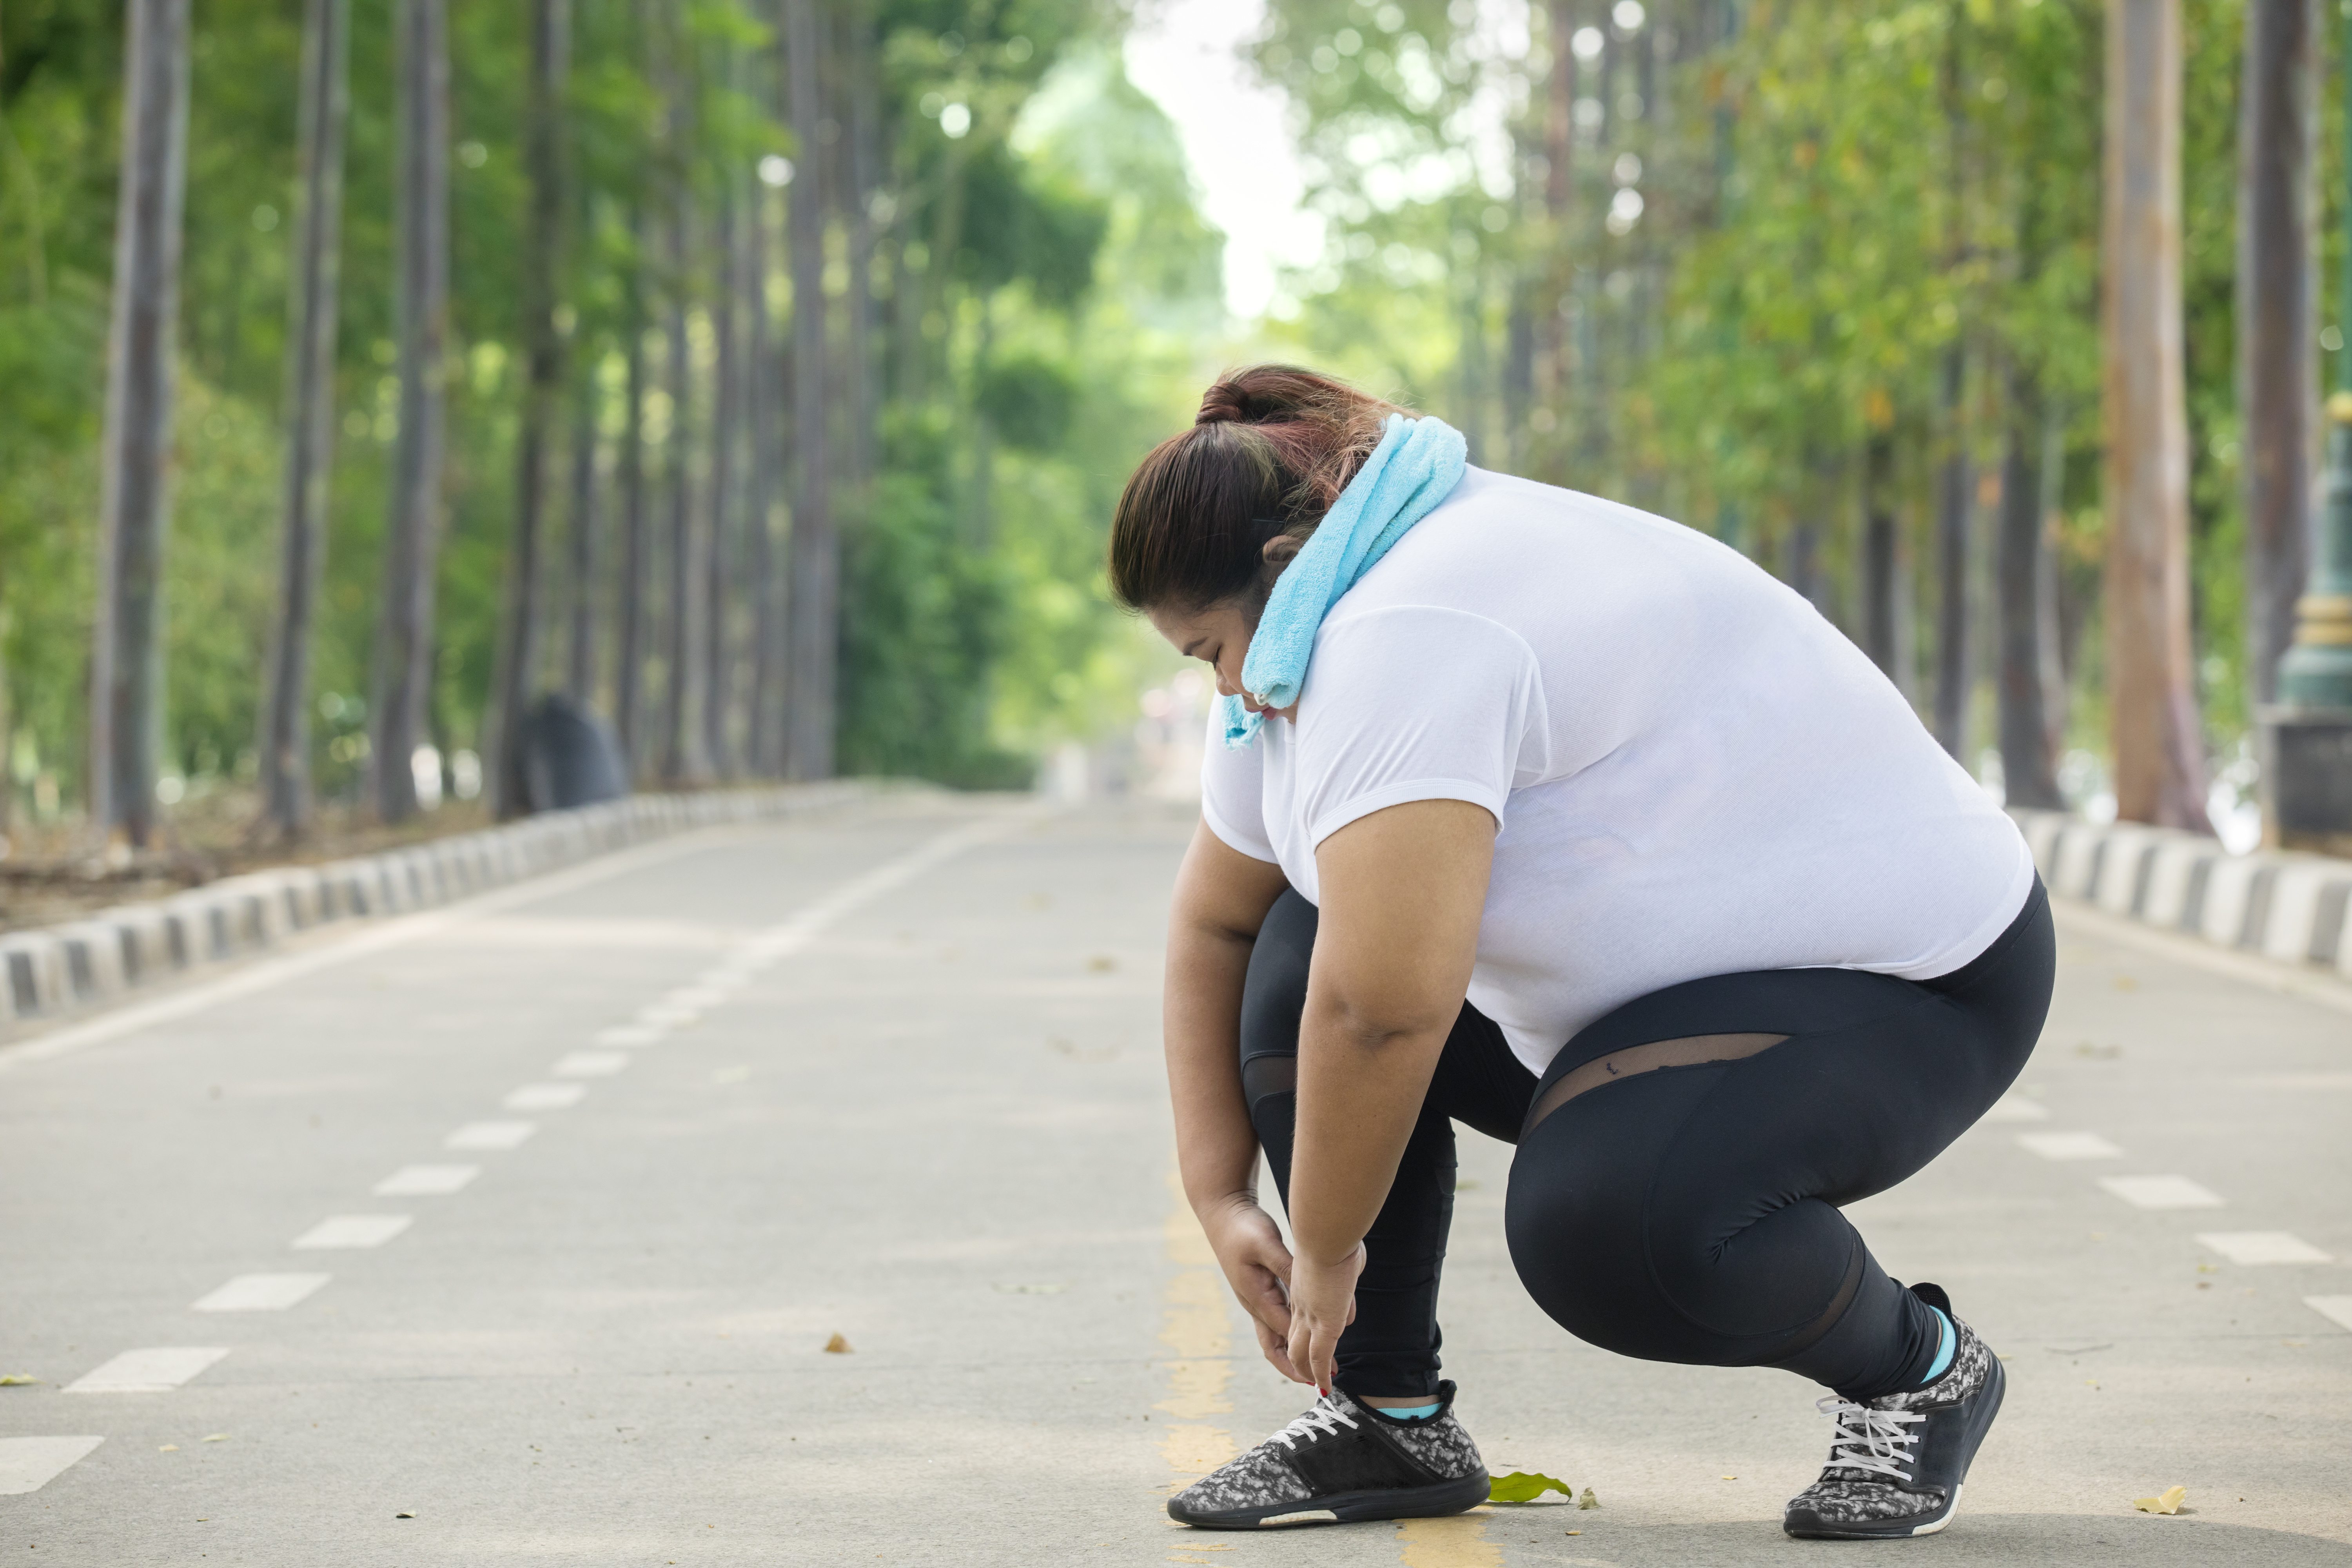
Your physical ability changes throughout your life span.  It is easy to see that children have endless energy and keep going like the energizer bunny. Although times have changed and we know have electronic devices, most children still prefer to play outdoors with their friends. However, this behavior starts to change when they become teenagers. Unless they are involved in sports they become sedentary into their adult years.

As we  get older, different factors begin to dictate our ability to stay active.  With proper planning,  we can often remedy the complications that interfere our physical activity. Individuals with chronic issues, however, must find ways to stay active  that fits within their limits.

Factors that affect physical activity or working out can be real or perceived. Studies shows that weather, cost,environment, health and social factors can cause a person to be sedentary and they are least likely to enjoy physical activity. Furthermore, people who enjoy being physical active are more physically active (Solomon et al,  2003).  Nonetheless, if you really want to improve you health and well being you will find a way to get moving. Can you relate to any of the below factors that might be preventing from being more active?

Social

Social factors affect physical activity more than you think. There is a lot of pressure to look a certain way, especially when wearing workout clothes. Many people prefer to work out in a private area. The social atmosphere at the gym can limit the freedom with individuals that are shy or self-conscious. Women may have a difficult time working out in front of men. It can help to have classes or weight rooms for women only.

Group exercise classes can also be intimidating. There are many different levels of students in these classes. Some individuals may be nervous because they do not know how to do the exercises. It can be helpful to remember that everyone in the class was a beginner at one time. The veteran students may be helpful when you have questions or need help with new moves.

There are many other social aspects of life that can get in the way of physical activity, as well. When your friends go out for drinks after work, it can be difficult to commit to working out instead. Plus you will be tempted to eat the bar food at happy hour.   A healthy lifestyle takes a lot of self-control and discipline. But the journey is yours only and can be very lonely. Just keep your eyes on the prize.

Environmental

The environment you live in can easily affect your physical activity capabilities.  Certain environment is not conducive to working out because the ambiance is not right. Instead of seeing people biking, jogging or roller blading, you are surrounded by people hanging out. The last thing you feel like doing is working out.  Your mood often determine your action.  In addition, a stressful home can drain a lot of your energy. You may be both mentally and physically exhausted from the chaos around you.

You can start to get this under control by setting boundaries and a schedule for the entire household. Kids can contribute to high stress levels if there are not clear rules. Even a cluttered home can make you feel too stressed out to exercise. Trying to keep a messy house in order can takes up a lot of time.  A little organization can give you great peace of mind.

Depending on where you live, the outdoors can be an issue. Mild, comfortable temperatures make it much easier to get out the door and be active. Extreme heat can leave you exhausted and out of breath with minimal activity. Cold and snow can also leave you unmotivated to leave the house. If you live somewhere with very hot or cold temperatures, consider purchasing some versatile workout equipment for the house.

Is it possible to workout at home. This could be in your living room, garage or backyard. You do not need expensive gadgets  to get a good workout. A collection of weights, a jump-rope, and a yoga mat are great accessories. Resistance bands and an exercise ball can also help while you follow along with your favorite workout videos.

Do you feel safe walking in your neighborhood or at the park?  Besides criminals you might also have to worry about stray dogs. If it unsafe then you can always watch indoor walking videos or walk with a group.

Psychological

There a many psychological barriers to getting healthy, as well. If you suffer from depression or anxiety, you may have a hard time leaving the house. It is good make a workout schedule and try to stick to it. A workout buddy can also help you remain accountable and talk you through the rough days. Many people do not realize that mental disorders can cause severe fatigue and even physical pain. Exercising can relieve these symptoms, however.

It is common to feel overwhelmed when you must lose a lot of weight or are new to exercising. You may not see a lot of progress right away. It is best to lose weight slowly with a combination of healthy meals and exercise. It may takes 6 months to see a big difference. You can overcome this obstacle by focusing on how you feel instead of how you look. You may quickly notice an increased energy level, better sleep, and improved mental health.

Health

Do you have any health conditions such as arthritis that makes it difficult to be active?  Hormone disorders, such as thyroid disease, may contribute to excessive weight gain. Even if you have health problems there is still hope. When health issues are involved, a holistic approach is necessary. A combination of medical care, nutrition and limited exercises can help you get healthy again. Physical therapy is a common activity that doctors prescribe to help people overcome injuries, as well. Experienced therapists can help you learn the proper exercises that lead to healing.

Psychosocial

Of all your close friend and relatives, are you the only one that is on a path to better health. If so you, then you are on your own and have to stay laser focus on your goals. Social Media is fill with groups that you can possibly participate in. These will be people of like mind and similar goals. Therefore,  you will also be able to get tips and tricks of how to stay on track. Since your friends and family are not interested in your journey, then you will have to seek support from others that have similar interests.

Physical activity is not always easy but it is necessary for good health.  Sometimes we procrastinate and want to wait until all the stars line up in perfect order prior to starting. Unfortunately , there is no perfect time but why not now? What’s stopping you from being more active?

Work Cited

Salmon, J., Owen, N., Crawford, D., Bauman, A., & Sallis, J. F. (2003). Physical activity and sedentary behavior: A population-based study of barriers, enjoyment, and preference. Health Psychology, 22(2), 178-188

Does Jumping Rope Count as Cardio or Strength Training?

[embedyt] https://www.youtube.com/watch?v=Td5g-aYOoWQ[/embedyt]

Does Jumping Rope Count as Cardio or Strenght Training?

For most people, jumping rope also know as skipping , evokes tender images of childhood games. However, jumping rope can also be used by people of all ages to get and stay in shape. If you don’t believe this, then consider that boxers, some of the toughest athletes on planet earth, consistently include jumping ropes in their routines as a way to develop speed, improve leg coordination, burn calories, and even gain strength.

Are you ready to get in shape in a fun and unconventional way? Then keep reading below to find out everything you need to know about skipping rope.

Benefits of Jumping Rope

Jumping ropes are cheap and easy to carry around. For less than $20 you can use this light piece of equipment to work out wherever you want, whether you’re at work, on a family trip, or watching TV in the middle of your living room. We could go on and on about the benefits of jumping rope, but, for the sake of brevity, we’ll focus on just two: cardio and strength.

Cardio Benefits

According to Peter Schulman, MD and associate professor at the University of Connecticut, skipping rope is a complete exercise which burns a lot of calories in a short time. Plus, compared to jogging, jumping rope is considered a low-impact activity because your feet are never too far from the ground. This helps to keep direct stress on your hips, knees, and ankles to a minimum, making it an excellent way to supplement your running routine.

Strength Benefits

While there isn’t enough evidence to believe that jumping rope can help you gain muscle, there’s plenty of anecdotal evidence to suggest that skipping rope is a good way to keep muscle. According to Brandon Epstein, from the Jump Rope Dudes, regularly skipping rope has helped many members of his community to maintain muscle, especially if they’re using a heavy rope. The benefits are also proportional to the way you work out, because the heavier the rope and the faster you spin it the more your muscles will be engaged to resist the torque of the rope.

Muscles Used When Jumping Rope

Do not underestimate the power of a jump rope.  skipping rope is a complete workout which engages all of your body, although some muscles are more engaged than others. Obviously, your lower body plays the biggest role in pushing you off the ground, with the muscles in your calves, quadriceps, and hamstrings exerting the most energy. Skipping rope also works your glutes, as these are used to stabilize the body and absorb some of the shock of the landing.

Jumping up and down activates both your core muscles, especially your abdominals, and the latissimus dorsi muscles. These two muscle groups are responsible for keeping a good posture, that’s why it’s important that you pull your scapula together to make the most benefits out of it.

Since most people associate jumping rope with leg work, they forget that the upper body is the one who’s controlling the rope. Anybody who’s skipped a rope before has probably felt the burn in the arms after swinging the rope for a few minutes. Jumping rope requires the use of the pectoral muscles to stabilize your upper body while your shoulders, biceps, triceps, and forearms turn the rope over your head. These muscles are engaged even more when you do advance tricks such as the criss cross.

Don’t forget to stretch your lower body, especially your calf, after warming up the muscles.

Types of jumping ropes

These days you can find all kinds of jumping ropes going from the ones you used when you were a kid to cheap fabric types for the budget-conscious, abrasion-resistant ropes for outdoor use, light ropes for speed work, or heavy ropes to strengthen the muscles. Some of the most commonly used jumping ropes include:

1. Fabric jump ropes

Cheap and easy to make, these are the ones most people played with when they were children. Most are made using low-quality materials, like plastic handles and fabric or nylon rope, so they’re pretty heavy and slow, especially if they get wet.

2. Beaded Jump Ropes

These colorful ropes are considered to be the best for beginners as the sound they make when they hit the floor can be used to find one’s rhythm and cadence. Besides looking good, the beads help prevent the rope from tangling and increases its resilience, although one disadvantage is that they cause a lot of pain if you hit yourself accidentally.

3. Leather Jump Ropes

Their ability to improve leg coordination has made leather ropes a favorite among boxers as great as Muhammad Ali and Mike Tyson. The drawback of these ropes is that, being made of organic material, they aren’t resistant to moisture. Plus, they hit like a whip, so try wearing jeans when you use them.

4. Plastic or PVC Jump Ropes

Plastic ropes are cheap and easy to find, though the weight and thickness of the table makes them pretty slow. Still, they’re a good way to get started since, besides being cheap, they last a while and are perfect for outdoor use.

5. Speed Jump Ropes

Made out of thin vinyl, these ropes are extremely light and fragile. Being so light means they can be used to make an impressive amount of turns per minute (as much as 5 to 6 times per second) and complex maneuvers like crossing moves and multiple unders. So, if you really want to work on your cardio, these are the ropes for you. The downside is that you can only use them indoors and they’re prone to tangling,

6. Steel Cable Jump Ropes

Light and flexible, steel cable ropes are another type of speed ropes, but one which is considerably more durable than vinyl jump ropes. They’re great for advanced athletes who want to do double unders. However, it can be difficult to feel the turn of the rope if the cable is too thin, so it’s better to practice with a 4 mm cable.

7. Weighted Jump Ropes

These are usually made by adding weights to the handles, although they can also be made using a thicker cable. They are expensive and not friendly to beginners. However, they are excellent for building speed, strength, and endurance at the same time, so definitely try using them once you’ve mastered more basic ropes.

Speed vs Weighted Ropes

When choosing jump ropes, it’s important to keep in mind what are your fitness goals. Do you want to lose weight, maintain your muscle mass, or increase your cardio? Different ropes will have different results in your body, so it’s important that you choose accordingly to see the best results.

Both speed and heavy ropes work can improve cardio, but only speed ropes are able to turn quickly enough to really push your heart to the limit. Weighted ropes, on the other hand, will help you build muscle resistance and also work your cardio.

To sum it up, both have their benefits and disadvantages. However, if you can, the best solution would be to combine them in your workout routine so you can get the best of both.

Basic Jumping Rope Technique

There are two basic techniques to skip rope: the bounce step and the alternate-foot step. Both of these are really easy to learn but represent the building block from which you can start learning more flashy movements like double unders. When skipping rope, always remember to keep an upright posture and look in front of you to avoid losing your balance.

1. The Bounce Step

With your feet together, jump just high enough to let the rope past under your feet. Push with the balls of your feet while keeping your knees slightly bent. Land lightly on the balls of your feet and jump back immediately without letting your heels touch the floor.

2. The Alternate Foot Step

As the name implies, this technique involves alternating feet with each jump. The movement used requires greater involvement of the legs, as you must raise your non-jumping foot at least an inch from the jumping surface — sort of like a jogging motion, but raising your feet instead of kicking it backwards. Make sure you wait until the rope has passed over your head before initiating the next jump.


How To Choose The Right Rope Length

Picking the right length for your jumping rope is critical. Too short and your arms and shoulders will have to make up for it; too long and you’ll be dragging it through the floor. If anything, it’s better to pick a long rope than a short one, as you can always reduce length but you can’t add to it.

To get the perfect length, buy a rope that is about 2-3 feet longer than your height. If your rope is still too long for you, stand in front of a mirror with your jump rope straighten out in one of your hands. Step on it with one foot and keep an eye on the mirror to make sure the handles are even. Both handles should be either below your shoulder line but above your armpit (for beginners), aligned with your armpit (for fitness jumpers), or 1-2 inches below your armpit (for experienced speed jumpers). Now take a mental note of how much length you need to take off.

To shorten your rope you can either tie a knot just below each handle or remove the handle cap and cut out the excess rope. Make sure the knots aren’t in contact with the handles, if you picked the former method, or that you knot or crimp the end of your rope, if you picked the latter.

If you want to get your heart up and tone your lower half jumping rope will be a good choice. Jump ropes are cheap, easy to use , portable. They can be used anywhere including your living room.


References

•WikiHow (2019, April 04) How to Size a Jump Rope

•Livestrong (2019) Different Kinds of Jump Ropes

•Men’s Health (2018, June 11) Can skipping ropes build muscle?

•Human Kinetics (2019) Improve overall conditioning with these basic jump rope techniques

•WebMD (2002) Skipping Rope Does Skip Workout

•Livestrong (2019) Jumping Rope Uses Which Muscles?

•Crossrope (2018, August 17) Learn How to Jump Rope: The Complete Beginner’s Guide to Jump Rope Training

•Velites (2017) Step by Step GUIDE to choose the BEST Jump Rope for you

•Livestrong (2019) Weighted Jump Rope Vs. Speed Rope

•Livestrong (2019) What is the Correct Length for Jump Ropes?

Page 1 of 1