Can Olive Oil Remove Plaque from Arteries?

oilve oil

One cause of a heart attack or stroke is plaque rupture within a blood vessel called an artery. When a plaque ruptures, platelets rush to the scene and clump together to form a blood clot. Once formed, the blood clot blocks blood flow to the heart or brain, leading to a heart attack or stroke respectively.

One way to lower the risk of heart attack and stroke is to keep plaque from accumulating inside arteries and prevent a rupture of any plaque that’s there. Can olive oil do this? Studies show that people who eat a traditional Mediterranean diet have a lower risk of heart attack and stroke, and some health experts believe the abundance of extra-virgin olive oil they eat is a factor. Why olive oil, and can consuming olive oil prevent or remove plaque build-up inside arteries?

What’s Heart-Healthy in Extra Virgin Olive Oil?

It is rich in heart-healthy monounsaturated fats, a type of fat that experts believe is healthier for the heart. What fewer people realize is extra virgin olive oil is also rich in antioxidants, substances that fight free radicals that damage cells and tissues and cause inflammation. Some of the antioxidants in olive oil include tyrosol, hydroxytyrosol, and oleuropein. These antioxidants may play a role in protecting against cardiovascular disease. In fact, there’s some evidence that components in olive oil can remove plaque inside arteries, thereby lowering the risk of stroke and heart attack.

How might olive oil be protective?

Research shows a diet that contains virgin olive oil enhances the activity of HDL-cholesterol, the “good” cholesterol that helps transport cholesterol from arteries back to the liver so it can’t create plaque. Also, based on research, the antioxidants in extra-virgin olive bind to HDL-cholesterol and protect it, so that it’s better able to do its job. That’s a boon for heart health!

In one study, 296 older people at increased risk of heart disease were assigned to eat one of three diets:

  • A Mediterranean diet supplemented with an ounce of extra virgin olive oil weekly
  • A Mediterranean diet supplemented with an ounce of nuts daily
  • A low-fat diet


The study found that subjects who followed the Mediterranean diet had HDL-cholesterol that functioned better to remove plaque, even though their total HDL-cholesterol didn’t go up. Healthier functioning HDL-cholesterol is better able to remove arterial plaque, so less of it builds up and leads to plaque rupture. Whether it can actually reverse already established cardiovascular disease is unclear. It’s more likely that it reduces the build-up of further arterial plaque.


Another way in which extra virgin olive oil may lower the risk of cardiovascular disease is because of its anti-inflammatory effects. In fact, data shows that 3.4 tablespoons of extra virgin olive oil has the anti-inflammatory equivalent of one-tenth of a dose of ibuprofen. Due to its anti-inflammatory benefits, olive oil may lower the risk of other health problems as well, although more research is needed.

Why Extra Virgin Olive Oil is Healthiest?

The antioxidants in olive oil are called phenols and they likely explain many of its health benefits. The quantity of phenols is higher in extra virgin olive oil relative to olive oil since standard olive oil is more refined. Therefore, it’s best to buy unrefined, extra virgin olive oil to maximize its health benefits. Be sure to choose a brand in a dark bottle that blocks light since light can degrade the quality of extra virgin olive oil. Always store olive oil in a cool, dry place.

Do your research before buying. There’s a lot of olive oil fraud out there. Manufacturers dilute genuine extra-virgin olive oil with cheaper oils, like soybean oil, to cut costs. So, you get a less healthy oil that may lack the desired health benefits. The California Olive Oil Council has a certification program that guarantees extra virgin olive oil that contains their seal is legitimate. So, look for a seal of authenticity.

A diet that contains extra virgin olive oil may lower the risk of cardiovascular disease by reigning in inflammation and by improving how HDL-cholesterol functions. Still, research in this area is in its early stages. The best approach is to consume all fats is in moderation, but when you’re choosing a source of fat for cooking or making a salad dressing, olive oil is a heart-healthy option.

References:

Reuters.com. “Researchers find clues to why diet with olive oil is tied lower heart disease risk”

Endocr Metab Immune Disord Drug Targets. 2018;18(1):51-62. doi: 10.2174/1871530317666171116103618.

Arterioscler Thromb Vasc Biol . 2006 May;26(5):995-1001. doi: 10.1161/01.ATV.0000214295.86079.d1. Epub 2006 Feb 16.

Nature. 2005 Sep 1;437(7055):45-6. doi: 10.1038/437045a.


Does Getting Hypertension Earlier in Life Carry More Health Risk?


Has your doctor told you that you have high blood pressure? Take it seriously! Hypertension is a leading cause of cardiovascular disease. Uncontrolled high blood pressure can also damage blood vessels and many organs in the body, including the heart, kidneys, brain, and retinas in the back of the eyes. In 2018, around 500,000 deaths in the U.S.A. were directly or indirectly due to hypertension.

Here’s the surprising part; you can have high blood pressure and not know you have it. That’s because hypertension often causes no symptoms. The guidelines for diagnosing high blood pressure have gotten stricter after research showed that following more rigorous guidelines can lower the rate of death. These days, doctors diagnose hypertension if you consistently have a blood pressure of 130 mm Hg or greater for the systolic, or top number, and 80 mm Hg or greater, for the diastolic, or bottom number.

Why the change in guidelines? Research now suggests that the risk of developing cardiovascular disease in those who have hypertension goes up even before a person meets the threshold for hypertension of 130/80 or greater. In fact, the risk of cardiovascular disease starts to rise at a systolic blood pressure of as low as 115 mg Hg, a blood pressure level that’s considered normal. So, lower blood pressure is better up to a point.

How When You Get High Blood Pressure Affects the Risk of Complications


Untreated high blood pressure is harmful at any age, but does it matter when you get it? Hypertension becomes more common with age, but high blood pressure is also becoming more common in younger age groups due to growing rates of obesity.

Does developing high blood pressure earlier in life, as a young adult, increase the risk of health problems and death more than getting it later?

According to a large study carried out by Chinese researchers, developing hypertension earlier in life carries a greater risk of cardiovascular disease and death than receiving the diagnosis later in life. The study showed people who developed high blood pressure before the age of 45 had double the risk of developing cardiovascular disease compared to those diagnosed after this age. The study also found that for each decade that passed before subjects developed high blood pressure, the lower their risk of cardiovascular disease was.


You might think you can’t control when you get high blood pressure. But even if you have a strong family history of hypertension, research shows that lifestyle changes can delay its onset. The obvious factors that slow the onset of hypertension and help with blood pressure control are aerobic exercise and eating a healthy, unprocessed diet. However, a 2015 study also found that staying a healthy body weight and getting adequate sleep helps slow the onset of hypertension in people with borderline high blood pressure readings. Therefore, it’s important to adopt a heart-healthy lifestyle as early as possible, especially if you’re at high risk of hypertension due to family history.

The Bottom Line

Developing hypertension earlier, before age 45, increases the likelihood of developing cardiovascular disease more than getting it later in life. However, the most important factor is to diagnose and treat it as soon as possible to reduce damage to blood vessels, the heart, and other organs. Also, this study suggests that it’s important to teach healthy lifestyle habits that reduce the risk of hypertension.

Regardless of when you develop hypertension, keep close tabs on your pressures and make the lifestyle changes necessary to keep it under control. If your physician prescribes blood pressure medications, take them too. Even if you need medications, lifestyle factors are important for preventing the complications of high blood pressure such as cardiovascular disease and stroke.

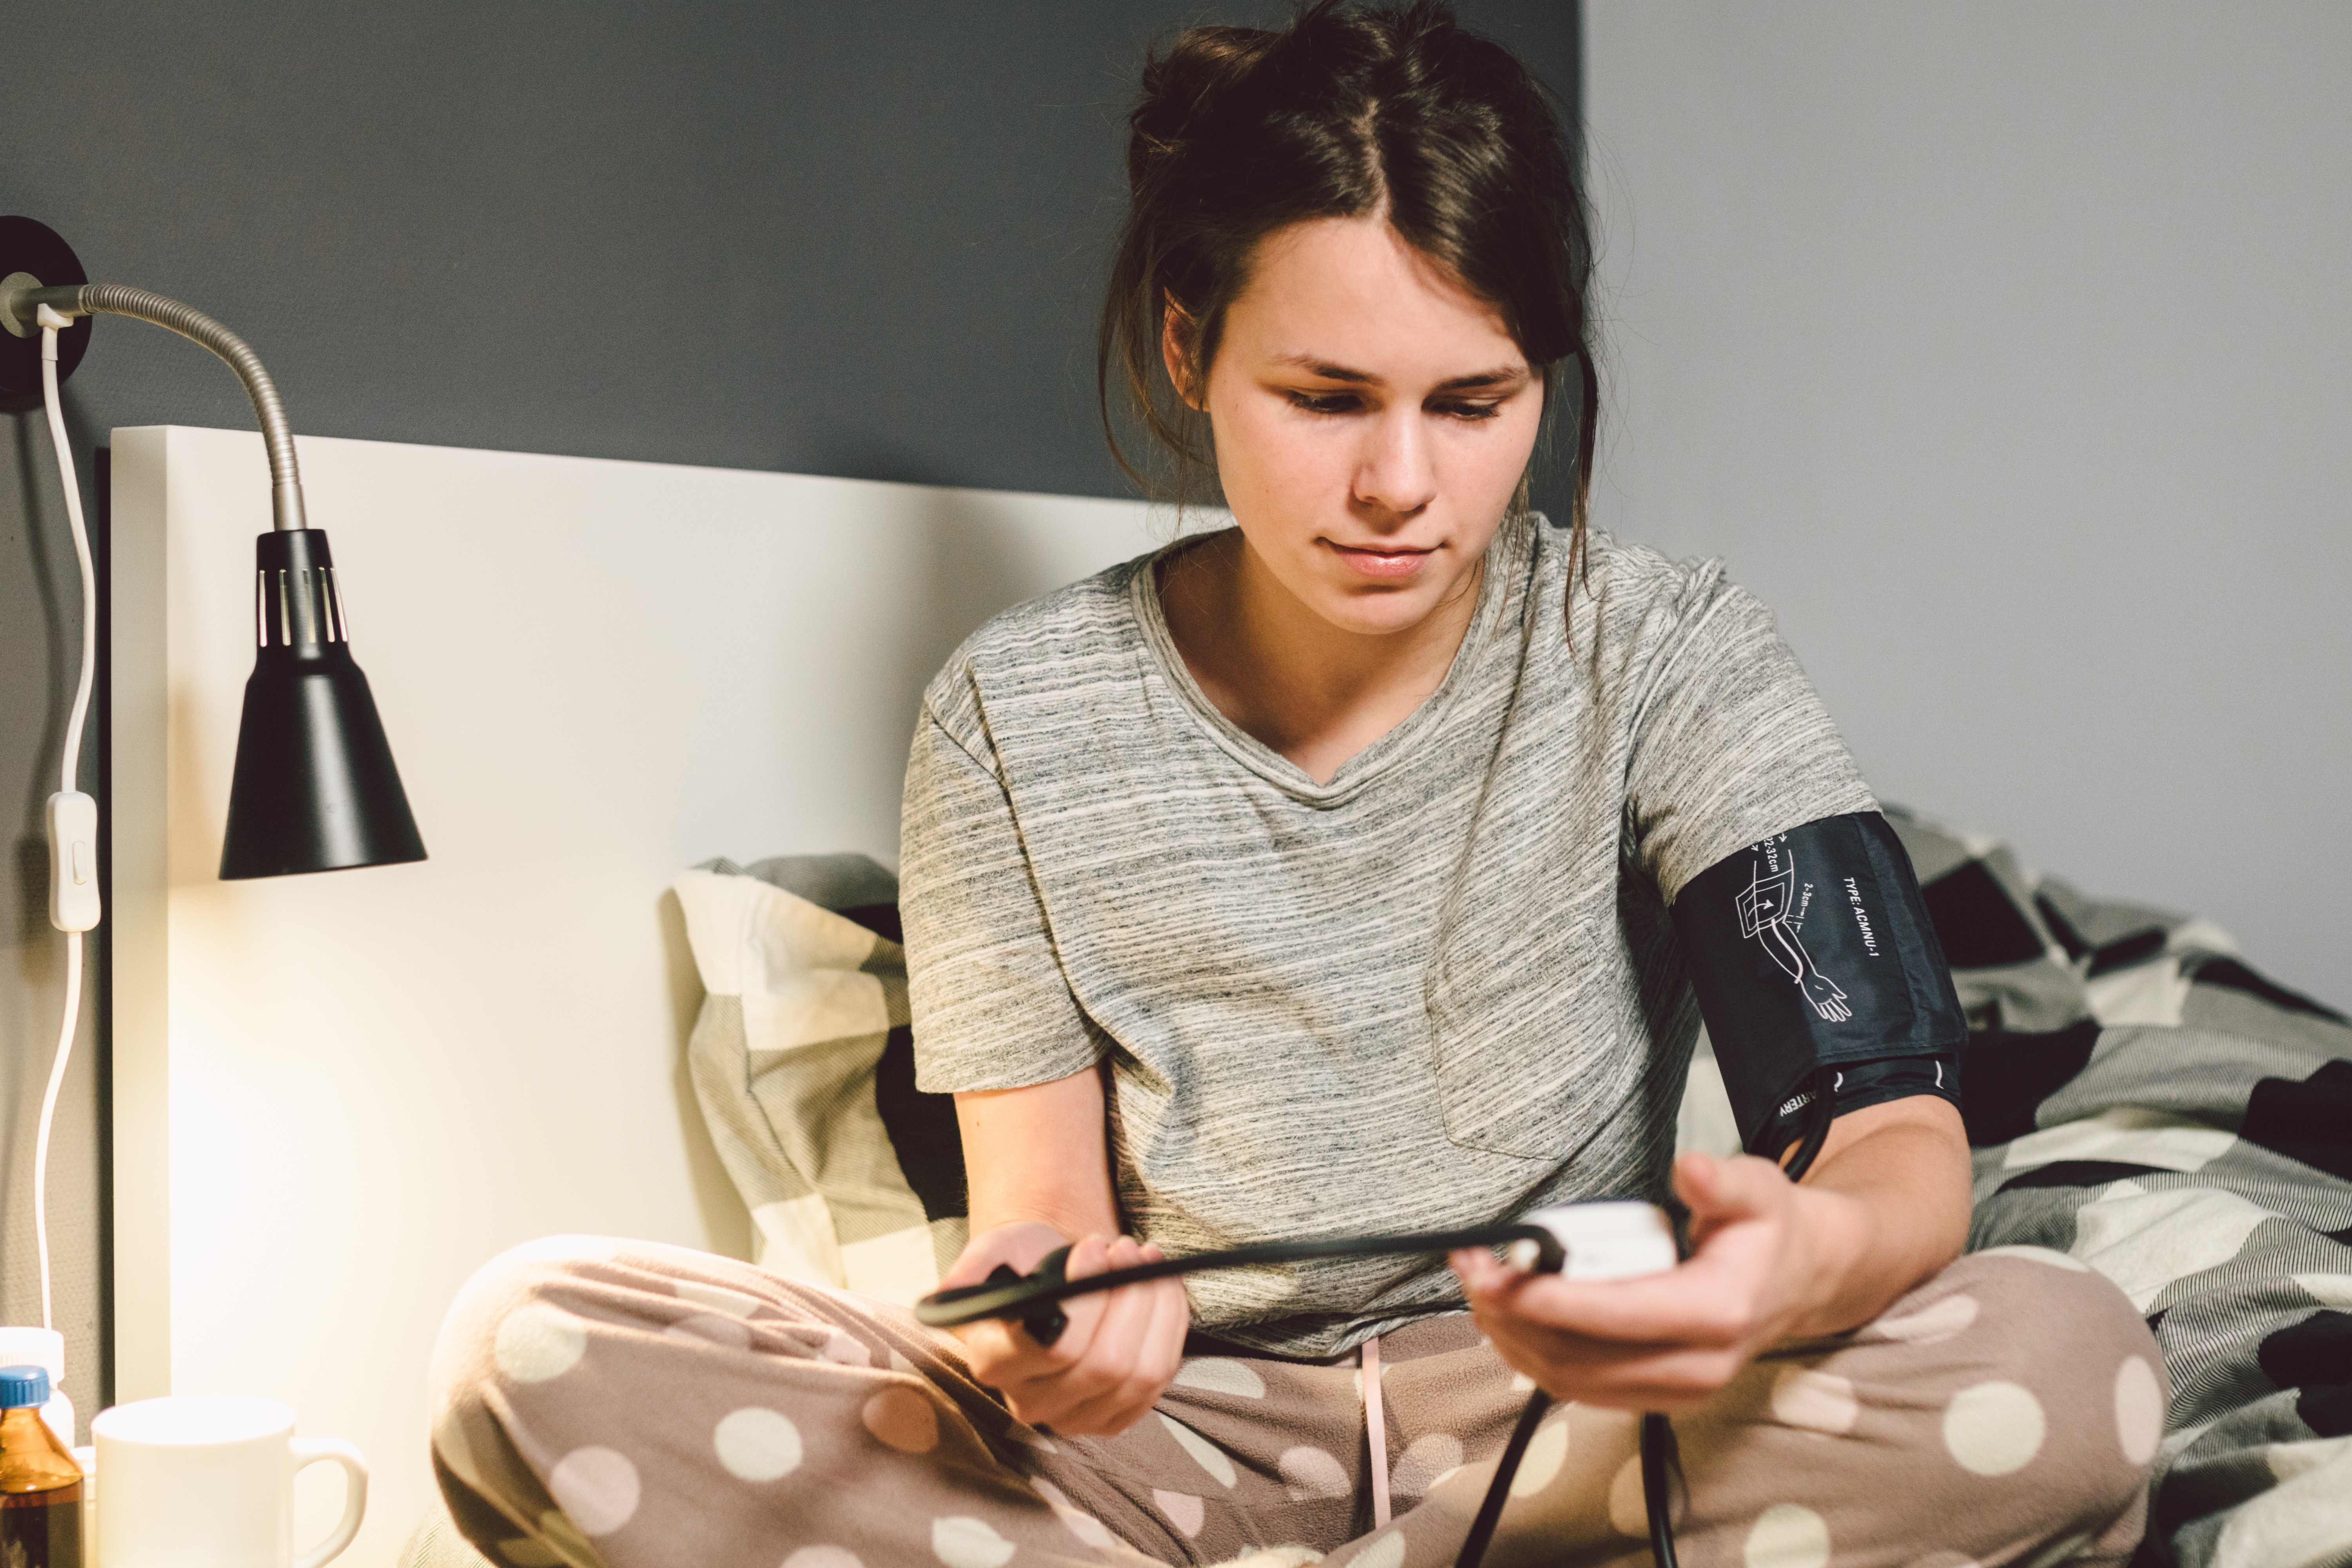
Consider checking your blood pressure at home and keep an accurate record. It’s hard to maintain good control when you only get a reading a few times per year when you see your doctor. Check it several times per day to see how it varies. When you have this information, your doctor can better adjust your medications to keep your pressure under control throughout the day.

Low Blood Pressure Diet Plan: DASH Diet Explain

The Right Fit: 7 Factors That Affects Accurate Blood Pressure Measurement


References:

MayoClinic.org. 2018 Jul 1;107:108-115. doi: 10.1016/j.exger.2018.02.016. Epub 2018 Feb 19.

Int J Med Sci. 2015; 12(7): 605-612.Published online 2015 Jul 16. doi: 10.7150/ijms.12446.

CDC.gov. “Facts About Hypertension”

Medscape.com. “Excess Risks of Hypertension Greatest With Younger Age at Onset”


When Is The Best Time To Walk?


Walking is one of the simplest  way to increase your activity. This is because you don’t need to learn something new or buy special equipment. Most people can find time to walk but if you have all the time in the world you might ask  when is the best time to walk?  Compared to walking at other times during the day, walking in the evening seems to offer the most benefits. Here are a few.

5 Health Benefits of an Evening Walk

What do you do after dinner? Hopefully, you don’t spend most of the time after dinner in front of the television or a computer screen. One after-dinner activity that has positive benefits for your health is taking an evening walk, and there are substantial benefits to doing so. Let’s look at some of the health perks you get from walking after dinner.

Better Blood Glucose Control

Studies show that a walk as short as 10 minutes after meals can improve how cells handle glucose and help with blood sugar management. That’s important whether you’re diabetic or not. A study found that subjects who took a 10-minute walk reduced their average blood sugar level. In fact, 10 minutes after a meal was more effective than a 30-minute walk at other times of the day. Their blood sugar dropped, on average, 12% more during the after-meal walk than at other times. So, take a deep stretch after a meal, lace up your exercise shoes, and take a walk, even if it’s short.

Reduce Exposure to Blue Light and Improve Sleep Quality

Using a device that emits blue light, like a tablet or smartphone, at night can disrupt your circadian rhythms and your natural sleep cycle. In response to blue light exposure, a tiny gland called the pineal gland in the brain produces less of the sleep hormone melatonin. That’s bad for your sleep and your metabolic health. Avoid using devices that emit blue light within two hours of sleep time. Any kind of light in your room at night is detrimental to sleep, so make sure you’re sleeping in complete darkness.

Studies show that walking, even in the evening, improves sleep quality too. You get the most benefit from walking in the morning, but some research shows that evening walks are favorable for sleep too. Plus, being outdoors helps relax your sympathetic nervous system and this makes it easier to fall asleep.

Relieves Stress

Walking outdoors is the ultimate stress reliever. A 2015 study found that nature walks reduce activity in the pre-frontal cortex, a portion of the brain that’s overactive when you ruminate or worry. By dialing back the activity of the pre-frontal cortex, you reduce negative and obsessive thoughts that keep you awake at night. Plus, walking causes changes in levels of brain biochemicals, like serotonin, that affect mood. Depending on the length or intensity of your walk, walking can also boost the release of feel-good chemicals called endorphins that help ease pain and improve mood. Bonus: you can also use walking time to meditate. In fact, some people refer to walking as “meditation in motion.”

Helps Digest the Last Meal of the Day

Exercise can have both positive and negative effects on your digestive tract, depending on the intensity of your movements. Light exercise, such as an after-dinner walk, boosts blood flow throughout your body, including your digestive tract, to aid in digestion. Plus, walking helps push trapped gas through your digestive tract and out of your body. However, more intense exercise, especially exercise that causes your body to bounce, can cause or worsen digestive issues for some people. The key is to keep the intensity light. Don’t speed walk; keep it leisurely.

A Different View of Nature

Walking outdoors in the day exposes your eyes and ears to the sights, sounds, and aroma of nature – trees blowing in the wind, colorful flowers and foilage, and animal life. But there’s still beauty in nature after the sun goes down. You can enjoy looking at the stars and planets overhead and feel how small you are, yet a part of everything that exists. A change in perspective can also inspire new thoughts and stimulate creativity. How often do people stop to glimpse at the stars? Make sure you’re still doing it by stepping outdoors after dinner. It beats watching television!

References:

DiabetesSelfManagement.com. “How to Lower Blood Sugar? Take a 10-Minute Walk After Meals, Study Says”
PsychologyToday.com. “Want to Sleep Better? Go for a Walk”
BadGut.org. “Physical Activity and Digestive Health”
Villoria A et al. Physical Activity and Intestinal Gas Clearance in Patients with Bloating. American Journal of Gastroenterology. 2006;101:2552-7.
Harvard Health Publishing. “Sour mood getting you down? Get back to nature”

Can You Build Muscle by Lifting Light Weights?

If you’ve ever watched powerlifters training, you’ll see they lift heavy weights. In fact, the weights they train with are so heavy they can only do a few repetitions before their muscle fatigue and they have to stop. The method they’re using, heavy weight and low repetitions, works well for maximizing strength gains. That’s because lifting very heavy weights maximally recruits fast-twitch muscle fibers, the fibers best suited for generating force.

Bodybuilders, in contrast, use weights that are a bit lighter and do higher repetitions, usually in the 8 to 10 repetition range, before their muscles fatigue. Research suggests that moderate weight and higher volume is a better formula for muscle hypertrophy or building new muscle. When you build new muscle tissue, your muscles increase in size and look more defined.


Why the discrepancy?

Powerlifters and bodybuilders have different objectives. The former wants to maximize strength gains while bodybuilders focus more on aesthetics, like having good muscle definition. But what if you lift lighter weights, weights that are so light you can do 20 or more repetitions? Older research suggests that lighter weights increase muscle endurance, but can they build muscle size too?

What Study Shows about Muscle Hypertrophy and Lifting Lighter Weights

Researchers at McMaster University put lighter lifting to the test. They divided healthy, experienced weight trainers into two groups. The first group lifted heavy weights, equivalent to 90% of their one-rep max, the maximum amount of weight an individual can lift for one repetition.  One-rep max is a rough measure of a person’s strength. So, these guys were lifting heavy. The second group lifted weights that were 50% of their one-rep max. Because the first group worked with heavier weights, they were limited in the number of repetitions they could do and performed 8 to 12 repetitions. The second group was able to complete 20 to 25 repetitions before fatigue set in.

The exercises they did were compound exercises that worked multiple muscle groups and they did the exercises until their muscles reached failure, the point where they couldn’t complete another repetition using good form. After 12 weeks, researchers compared their muscle gains.

Were there differences in muscle development between the heavy and light lifters? To see, they checked markers of muscle protein synthesis in the blood and did a muscle biopsy to see how their muscles had changed. Despite the differences in the weight they used and the repetitions, both groups gained similar amounts of muscle.

Another study published in the Journal of Applied Physiology came to similar conclusions. In this study, two groups of men did leg exercises using a resistance equivalent to 80% of their one-rep max. Both did 3 sets of leg exercises but one trained to muscle fatigue while the second trained to muscle failure, where it was impossible to complete another repetition. A third group did 3 sets but used a resistance equivalent to 30% of their one-rep max, much lighter and trained to muscle fatigue. The results? All three groups enjoyed similar gains in muscle.

What This Means for Building Muscle?

You can build muscle size lifting weights as long as you lift until your muscles are thoroughly fatigued or close to muscle failure. It’s not a good idea to take every set to complete muscle failure, as this requires more recovery time and places too much stress on your muscles. So, if you don’t enjoy lifting heavy, you can still increase the size of your muscles using lighter weights. The key to success is working the muscles to fatigue. Your muscles should feel spent by the end of each set.

Although lighter lifting works for building muscle size, it’s not as effective for increasing muscle strength. Beyond the early stages of strength building, where you can make gains with lighter weights, you need heavy weights to maximize strength gains but the same isn’t true for muscle hypertrophy. In fact, higher volume and more repetitions, up to a point, is favorable for hypertrophy gains.

Regardless of how much you lift, you have to increase the challenge over time by increasing the resistance once a set becomes easy at the current weight. Another option is to increase the number of reps or do more sets. With this method, you increase total training volume, so your muscles have to work harder There are other ways to increase progressive overload too. Don’t let your training become stagnant.

The Bottom Line

You don’t have to lift heavy to increase muscle size but lifting lighter weights will limit your strength gains. The key to building muscle size with lighter weights is to fatigue your muscles. No cheating!

References:

Eurekalert.org. “Lighter Weight Just as Effective as Heavier Weights to Gain Muscle, Build Strength”

  1. Neurophysiol. 90, 2919-2927 (2003).

Brett Contreras. The Glute Guy. “March Research Round-Up: the Muscle Fiber Types Edition”


How Long Does It Take to See Results When You Start Working Out?


Patience is a virtue for exercise training. Of course, you’d like to see results fast and celebrate those extra inches of body fat melting away. Or you might have a different goal, like the desire to see your biceps or tummy muscles pop. But it won’t happen overnight or without work.

It’s easy to get impatient when you don’t see results right away. It explains why so many folks get discouraged after starting an exercise program and give up before they can enjoy the health and fitness benefits that regular exercise offers.

How Long Does It Take to Get Results from Exercise?

You may not see it, but the results of working out show up the first time you launch into a sweat session. You may not see your waistline shrink or the number on the scale drop, but exercise has substantial benefits for mental and physical health that happen right away.

You may have heard of the “runner’s high,” the feelings of well-being people experience during and after a run. Scientists believe this phenomenon is brought on by the release of endorphins, natural chemicals that have a calming effect on the body and brain. Studies show endorphins bind to opiate receptors in the brain. When endorphins attach to these receptors, it reduces pain and you feel more tranquil. Exercise, particularly an aerobic workout, also triggers changes in other neurotransmitters such as serotonin that elevate mood.

With exercise, change begins sooner than you think. Even after your first workout, you feel a sense of accomplishment, making a workout a good mood elevator and self-esteem booster too. These benefits apply to both aerobic workouts and resistance training. So, you can say that exercise has perks that show up right away.

How Long Until You See Visible Results from Aerobic Exercise?

Even the visible benefits of exercise appear early. You look better after a workout. That’s because increased oxygen delivery to your skin and widening of blood vessels to release heat gives your skin a rosy glow. These are all good things, but what about changes in body weight, heart health, and the way your clothes fit?

How quickly you lose weight from aerobic exercise also depends on your diet. Some people compensate for working out by consuming more calories. In fact, if you don’t watch how you eat, an exercise program can even lead to weight gain. Most fitness instructors point out that weight loss is 80% nutrition and 20% exercise. You must get both sides of the equation right to lose weight.

Exercise can change the way your clothes fit even if you don’t lose weight. If you strength train and do aerobic exercise, you’ll build muscle and lose body fat. Your total body weight may not change because muscle weighs more than fat, but your body will be firmer and tighter so your clothing fits better.

Another reason people do aerobic exercise is to improve their cardiovascular fitness. Studies show you can see a change in your V02max (maximum oxygen consumption) in as little as a month if you’re consistent with your aerobic workouts. V02 max is the best measure of cardiovascular fitness and an increase means your heart and blood vessels have become better at pumping oxygen to tissues and muscle tissue can more efficiently use that oxygen to fuel exercise. However, you can make further gains if you keep training.

How Long It Takes to Get Results from Strength Training

If you strength train, you’ll develop strength before you see an increase in muscle size. You become stronger initially because your brain becomes more efficient at communicating with your muscles and your muscle contractions become more synchronized. Therefore, your muscles have an easier time lifting a heavy weight. It’s not uncommon to experience strength gains in the first few weeks after starting a strength -training routine and for strength gains to accelerate during the first six weeks of training. These gains aren’t due to gain in muscle size, but better communication between your brain and muscles. So, expect to feel stronger before you become bigger.

How about gains in muscle size? The boost in muscle size that comes from strength training is called muscle hypertrophy, and you usually won’t see an increase in muscle size for 6 weeks or longer. If you gradually increase the stimulus on your muscles by using progressive overload (lifting heavier and doing more volume), dedicated bodybuilders can build 2 to 3 pounds of muscle per month. How fast you gain muscle depends on your genetics, diet, training approach, and factors like how much you sleep and manage stress. It all matters.

The Bottom Line

Now you know why patience is important. You’ll get some fitness benefits right away, but to see a measurable difference in muscle size or a drop in body weight takes a little longer. The time to see change differs from individual to individual, so don’t compare your progress with someone else’s; compete only with yourself and you’ll get there.


References:


MedicineNet.com. “Endorphins: Natural Pain and Stress Fighters”

Healthline.com. “Exercise and brain chemistry”

Sci-Fit.net. “Scientific Recommendations for Strength and Hypertrophy Training from 150+ Studies (part 1 of 3)”

Lubbico A, Kravitz L. Muscle hypertrophy: New insights and training recommendations. IDEA Fitness Journal. 2011;2326.

Exercise Physiology: Theory and Application to Fitness and Performance. Powers and Howley. 2012.


5 Reasons to Invest in a Heart Rate Monitor for Exercise

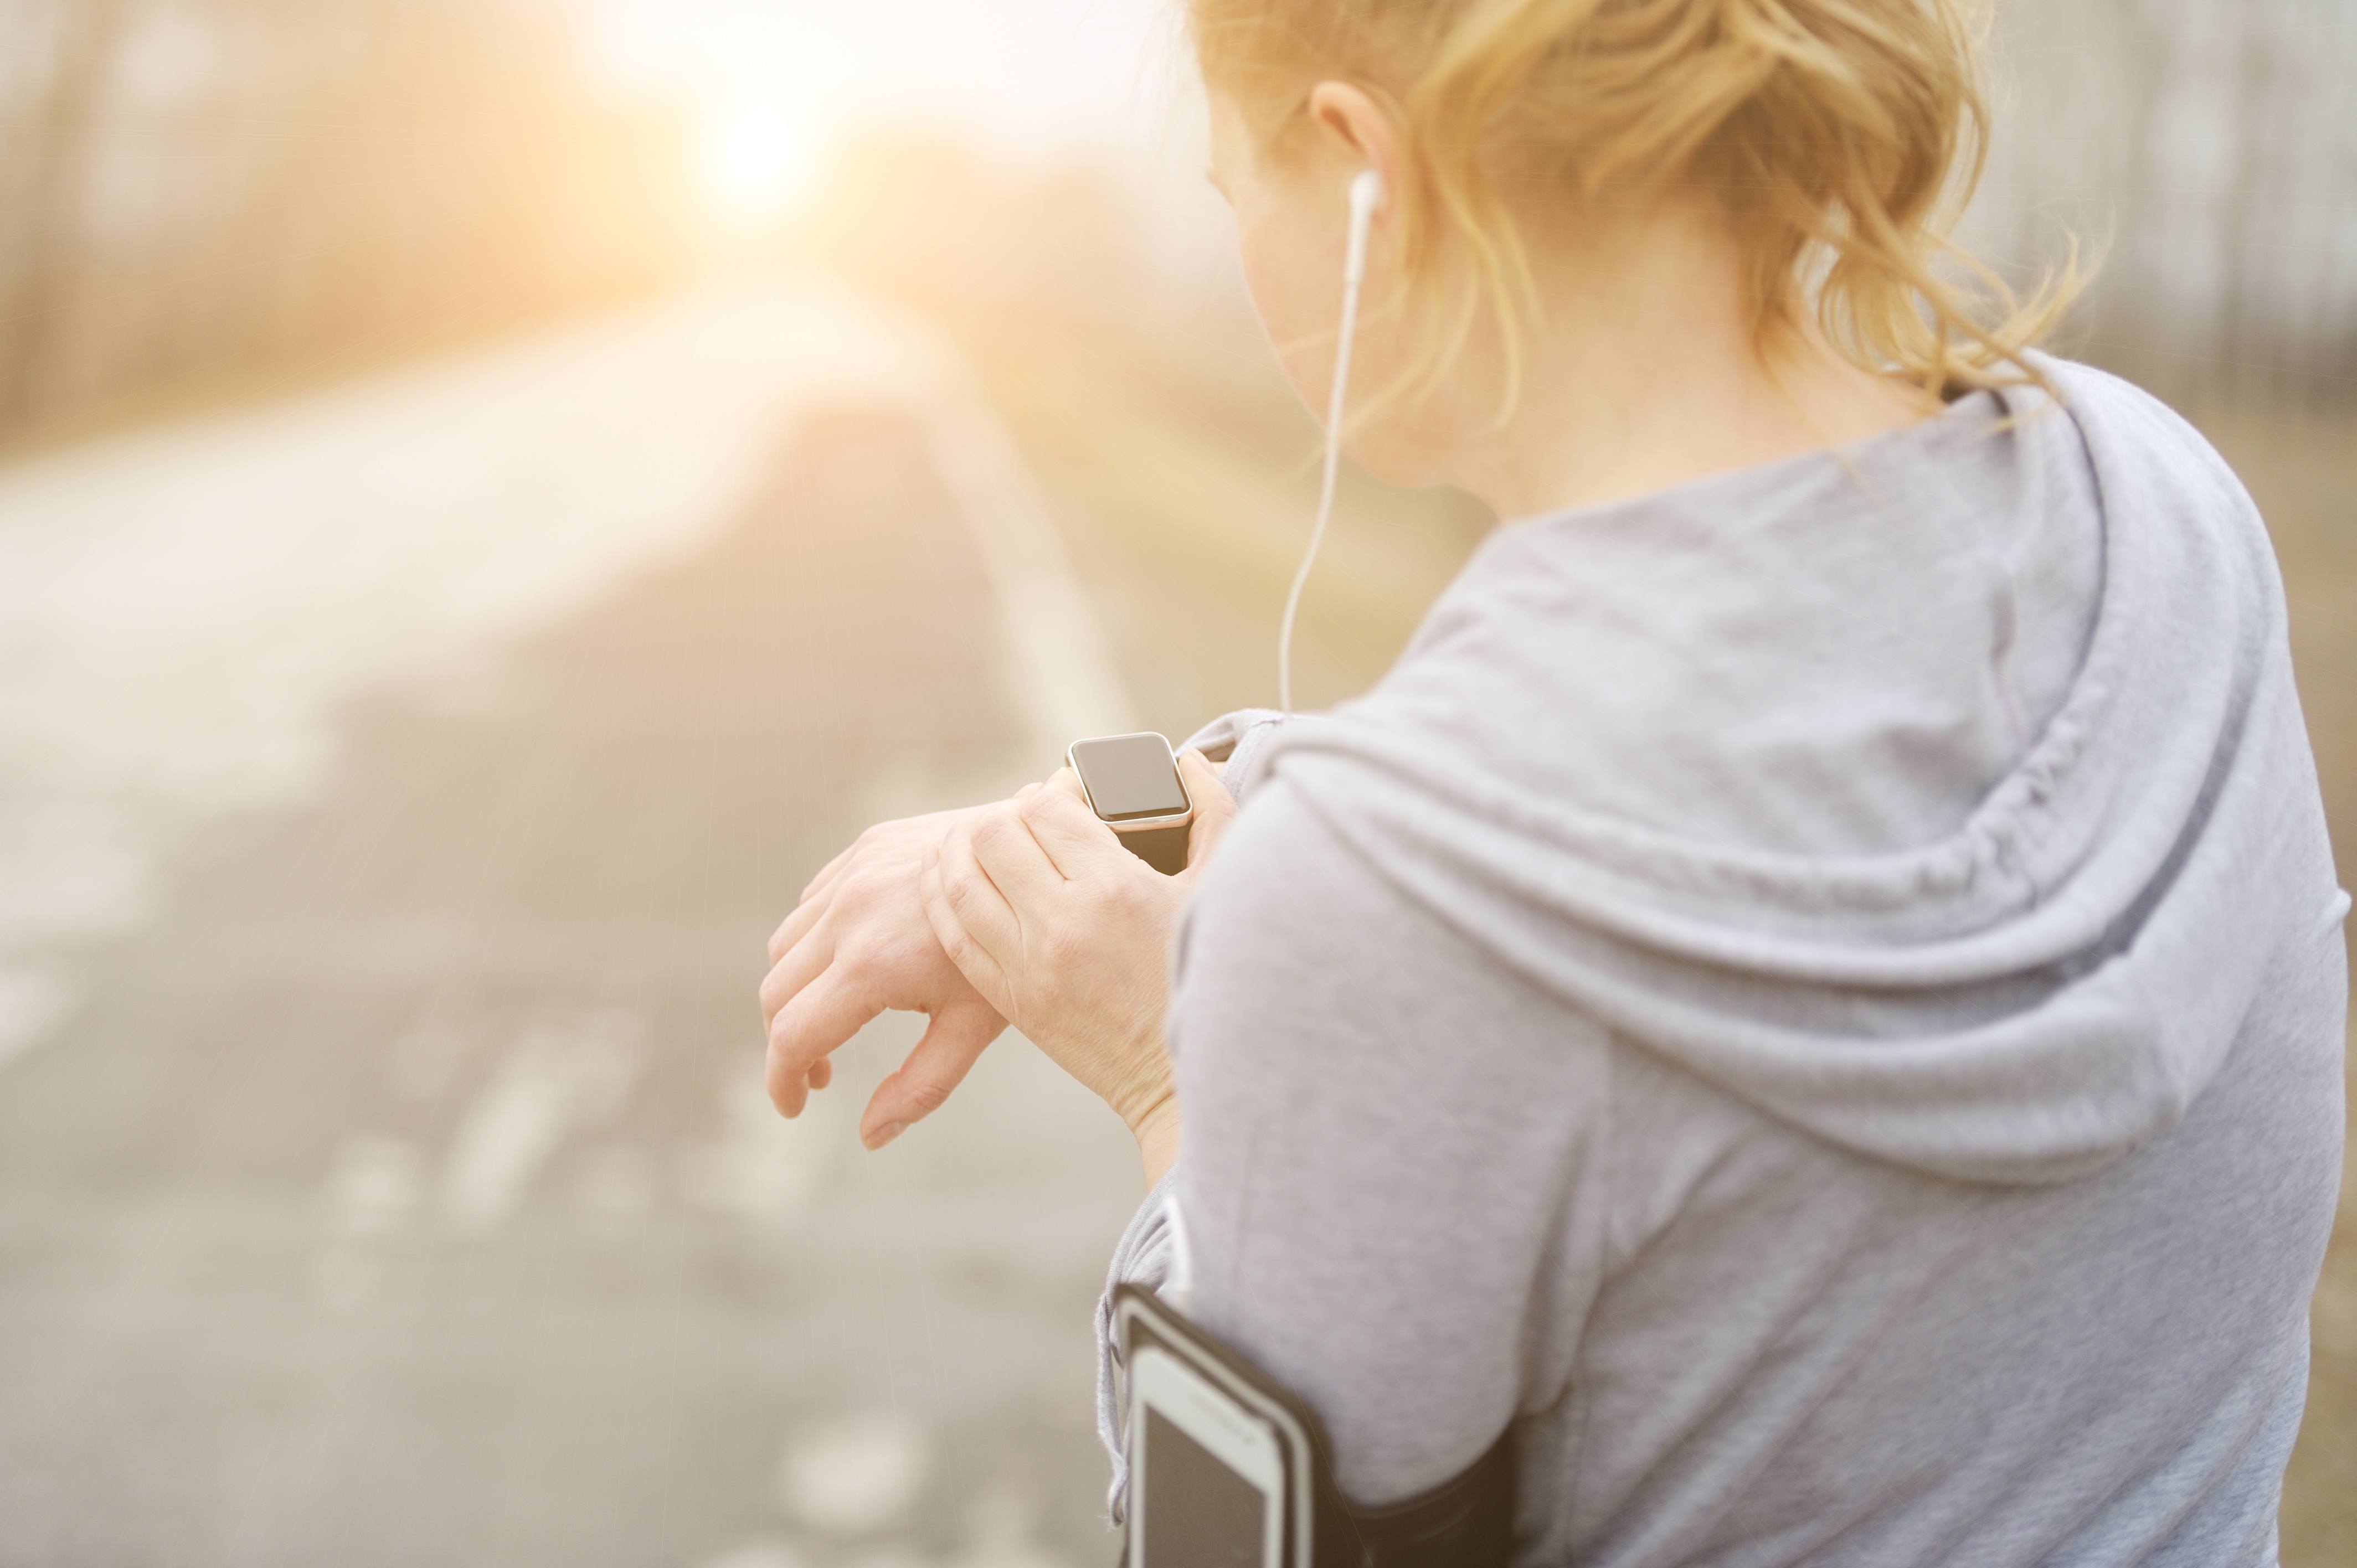
Heart rate monitors are growing in popularity. No wonder! They provide feedback on how fast your heart is beating and you don’t have to stop and take your pulse to get that information. A quick glance at a heart rate monitor will give you the information you need. You can get feedback on your heart rate by wearing a monitor at several sites, including your wrist and arm, but your best bet is a heart rate monitor you place on your chest since they’re the most accurate.

Why would you want to wear a heart rate monitor? Let’s look at some of the benefits of monitoring your heart rate during exercise by wearing a monitor.

1. Feedback from a Heart Rate Monitor is a Good Gauge of Exercise Intensity

When you work out, it’s important to know how vigorously you’re exercising. Although you can use low-tech options for estimating exercise intensity like the talk test, it’s not as precise as knowing what your heart rate is.

A heart rate monitor gives you immediate feedback on how hard you’re working. If your goal is to train at a high intensity through high-intensity interval training, a heart rate monitor will ensure you’re achieving a high enough intensity to improve your anaerobic fitness level. Likewise, if your goal is to enhance your aerobic capabilities, it will make sure you’re in the aerobic training zone.

Wearing a heart rate monitor also gives you the ability to make intensity adjustments on the fly. At a glance, you can see whether your heart rate is dropping below your target zone and fire up the intensity to ensure you get benefits. Likewise, you can slow things down if you’re overdoing it.

2.It Can Help You Stay Motivated

The instant feedback a heart rate monitor provides is motivating. You see your heart rate in real-time and get the joy of knowing you’re training hard. Studies show that feedback like this is empowering and increases motivation and the willingness to stick with an exercise program. You can also use a heart rate monitor to check your resting heart rate over time and see how it changes. As you become fitter, your resting heart rate should drop.

3.A Heart Rate Monitor Helps You Track Whether You’re Pushing Too Hard

Exercise should place stress on your body but not to the point that your body can’t recover between sessions. Overreaching is a common problem among serious athletes but anyone who pushes themselves too hard without allowing adequate recovery can experience signs and symptoms of overreaching.

A heart rate monitor can help you determine whether your body isn’t recovering adequately from your training sessions. The best way to do this is to measure your recovery heart rate after exercise.

To check your recovery heart rate, write down your heart rate right after your exercise session ends based on what your heart rate monitor says. Wait one minute and then recheck it. Now, subtract the first heart rate from the second. If the number is 12 or less, you’re either in poor aerobic shape or you’re pushing your body too hard without allowing adequate recovery. The best way to use heart rate recovery is to check it at the end of every training session and write it down. If you notice your heart rate recovery slows, it’s a red flag that you could be overreaching.

Make sure you’re not dehydrated when you do this test. Dehydration can slow heart rate recovery. Also, a slow heart rate recovery is a marker for a higher risk of cardiac events, such as heart attacks. A quick heart rate recovery is a marker of a healthy heart.

4.A Heart Rate Monitor Can Help You Exercise Safer

If you check your heart rate and see it’s much higher than usual when you’re doing the same workout, it could be a sign that you’re dehydrated. Even mild dehydration can raise your heart rate and make exercise feel harder. If you’re diabetic, a rapid heart rate may be a sign that your blood sugar level is dropping and you’re becoming hypoglycemic. A heart rate monitor is also important if you take certain medications, like beta-blockers, that make it harder to achieve your target heart rate. Plus, if you have certain health conditions, your physician might recommend keeping the intensity of your workouts lower. A heart rate monitor helps you do that by providing feedback.

5.A Heart Rate Monitor is Multi-Functional

A heart rate monitor is helpful when you aren’t doing a structured workout. Wear one when you hike or take a leisure walk to see how hard you’re working. You can even strap it one while you’re doing housework. You may discover the tasks you do every day boosts your heart rate enough to offer cardiovascular benefits. It’s also useful when you play leisure sports such as tennis or volleyball to get feedback on how hard you’re working.

The Bottom Line

A heart rate monitor will help you optimize your workouts by providing continuous feedback on heart rate. Some offer added features and will track parameters such as calorie burn and allow you to upload your data to a spreadsheet on your computer. Some will even let you set your target heart rate and will beep when you fall above or below it. You may not need the more advanced features. If that’s the case, get a basic monitor that will give tell you your heart rate at a glance. There are other ways to monitor your heart rate but there’s none easier than wearing a monitor when you work out.


References:

Cardiovasc Diagn Ther. 2019 Aug; 9(4): 379-385. doi: 10.21037/cdt.2019.06.05.
Wearable Heart Rate Trackers: Which Works Best? Len Kravitz, PhD

Gaining Weight With Exercise: 6 Reasons You’re Exercising but Still Gaining Weight

6 Reasons You’re Exercising but Still Gaining Weight

People start to exercise for many reasons. Some want to improve their stamina and energy level. Others enjoy the disease preventive benefits that exercise offers. But one of the most common reasons people work out is to lose weight. However, it’s frustrating if you’re doing it for weight loss and you’re gaining weight instead! You might wonder what you’re doing wrong and how to correct it.

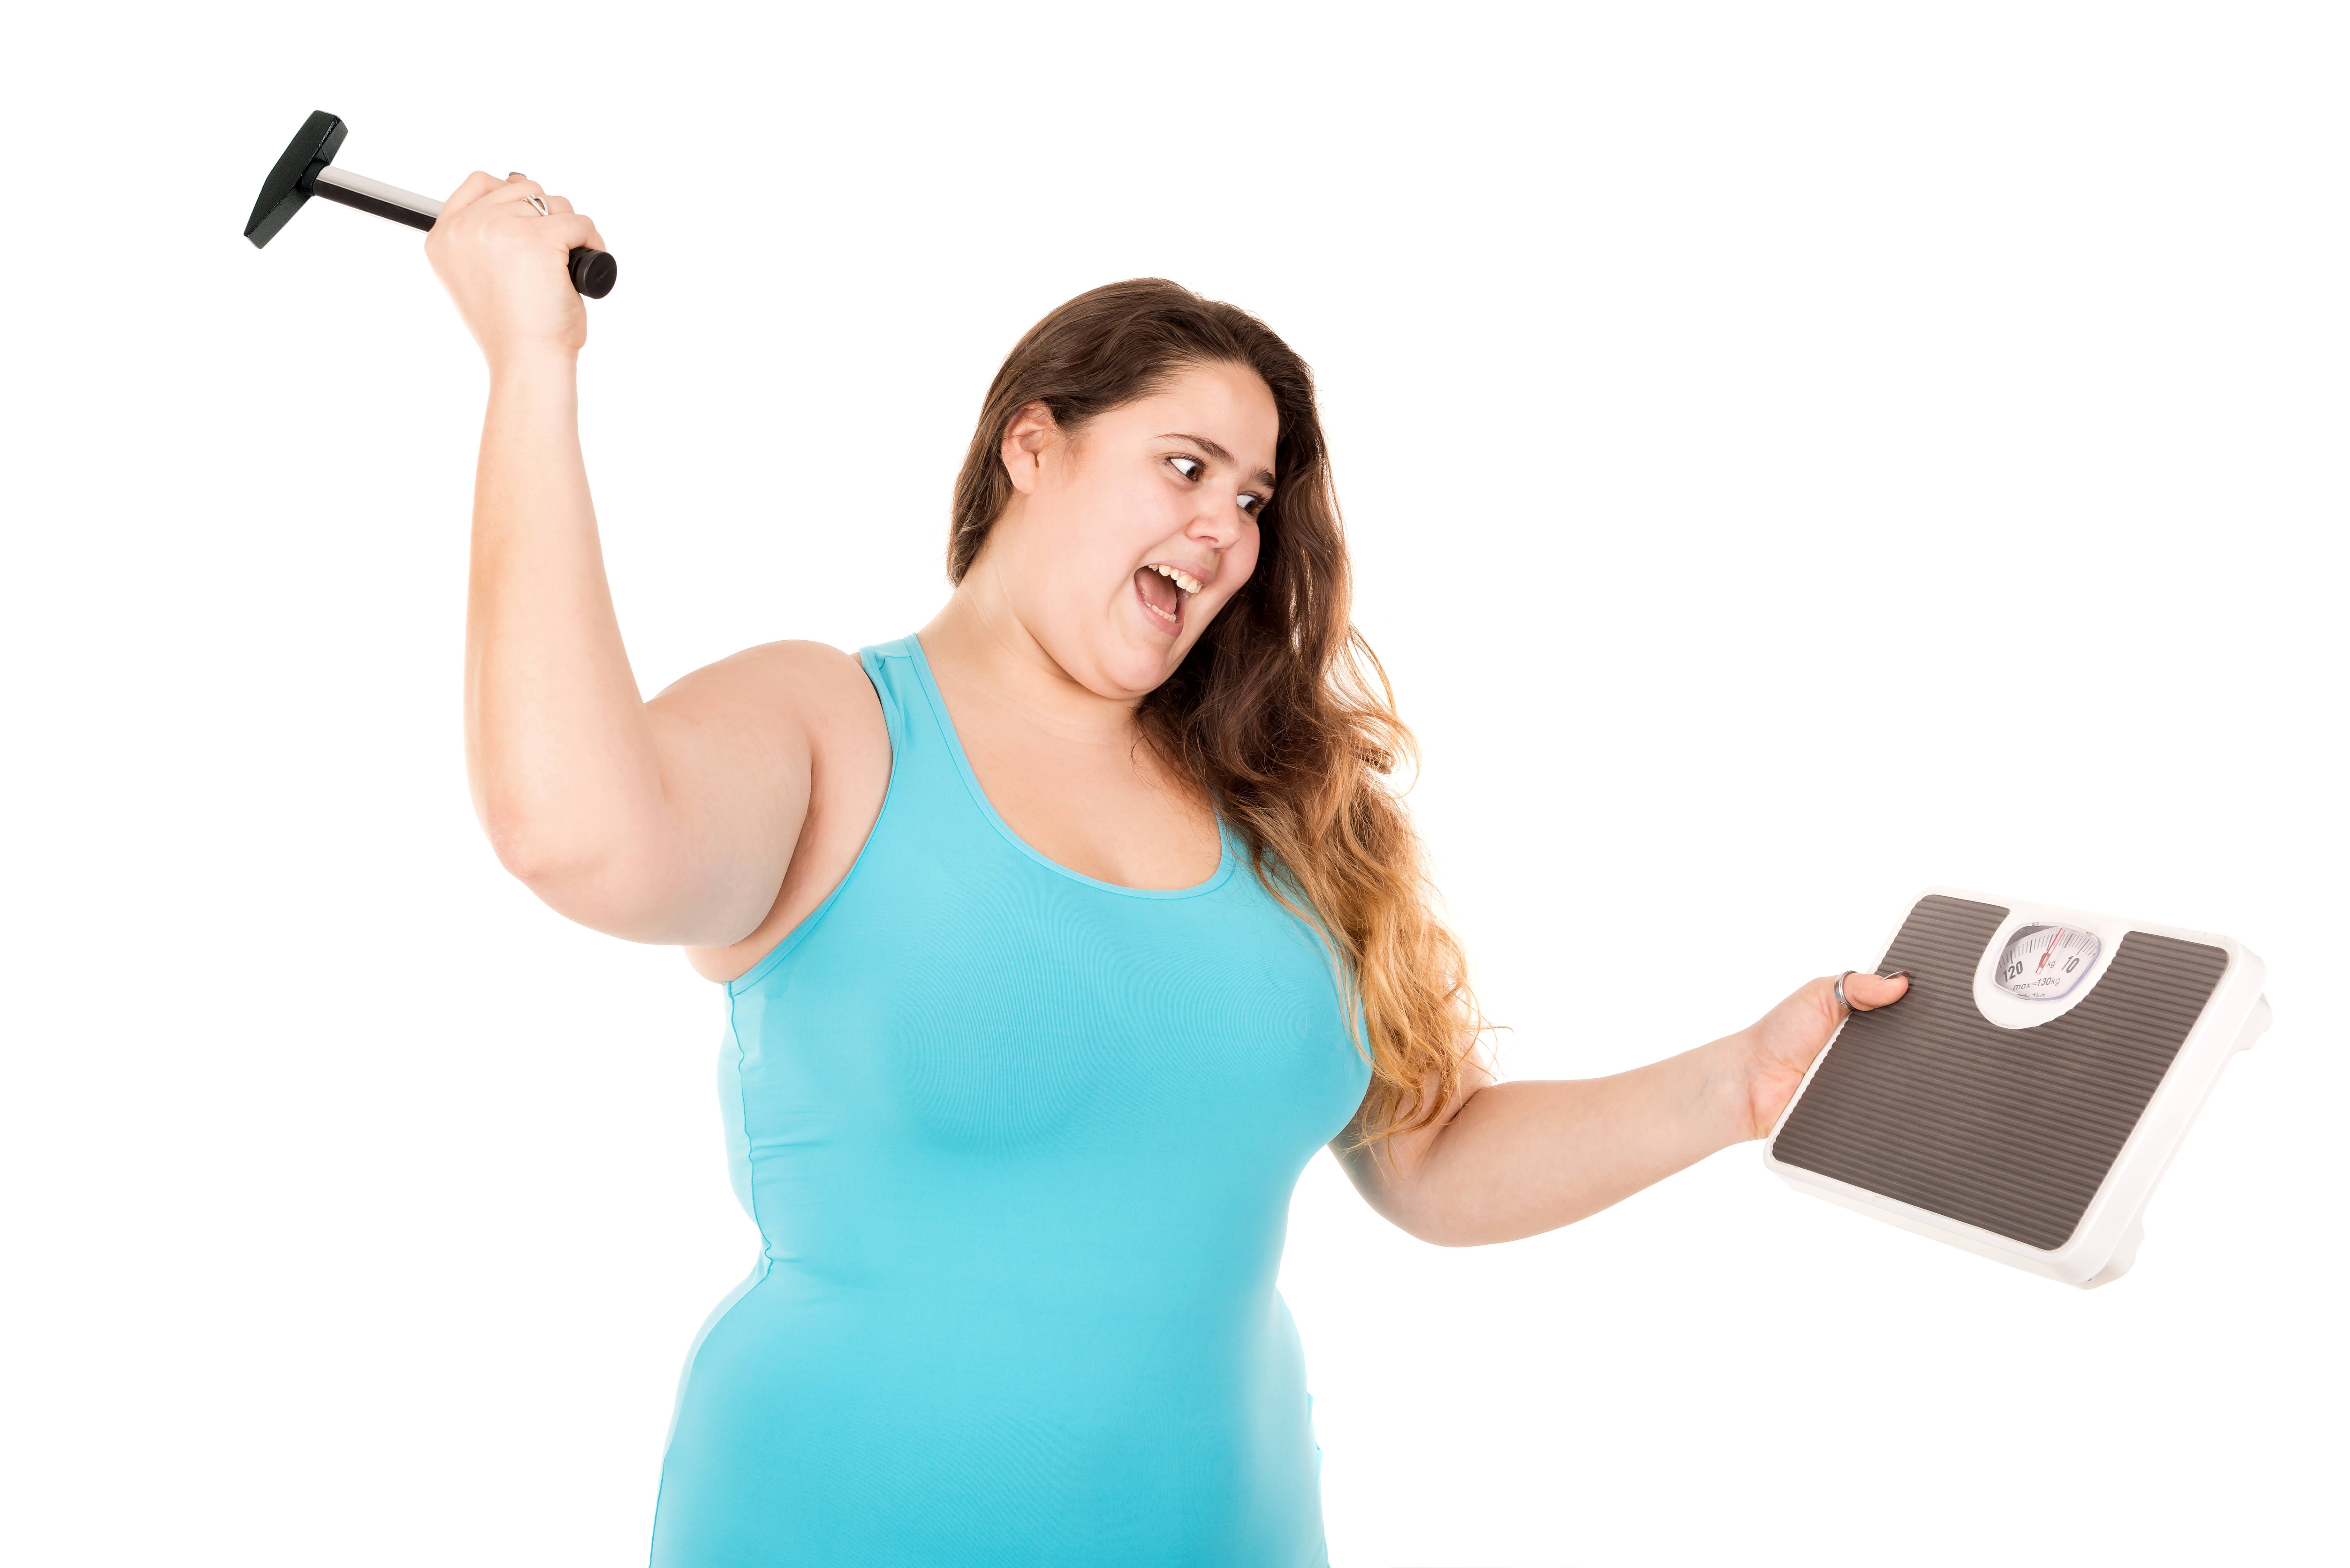
The reality is you may not be doing anything wrong. If you’re working your muscles against resistance, you could be gaining muscle rather than body fat. Muscle weighs more than fat and it’s pushing the needle on the scale up. Your body composition is improving but the scale doesn’t reflect it. That’s why measuring body fat percentage gives you more information than body weight.

However, it is possible that you are gaining body fat since you started exercising. Let’s look at some reasons why.

1. You Reward Yourself with Food

Using food as a reward and overeating after a workout is the most common reason people gain weight after starting an exercise program. Studies show people are notorious at overestimating the calories they burn during a workout. It’s true of men and women.

In one study, researchers asked men and women to estimate how many calories they burned during an hour-long workout. The subjects said they burned 400 calories but objective data showed they expended only 250 calories. If you adjust your eating habits around that optimistic estimate, you’ll more than compensate for the calories you burned off.

The truth is it takes a lot of exercise to burn off a chocolate chip cookie or a Frappuccino with whipped cream from Starbucks. Even worse, people often don’t count the calories they drink, such as sugary beverages they hydrate with during a workout. It all counts! Also, don’t use food as a reward for working out. Exercise because it makes you feel good, not to earn a brownie. Replace those after-workout snacks with more nutrient-dense fare. How about a container of plain yogurt with fruit?

Studies also suggest that more intense exercise stimulates appetite in some people but the research is conflicting. Some show intense exercise reduces the desire to eat afterward. Take note of how exercise affects your appetite after different workout intensities. Once you know, you can devise strategies for not consuming more calories than you burned off.

2. You’re Not Strength Training Enough

Don’t fall into the trap of only doing cardio exercise to lose weight. Cardio burns more calories while you’re doing it but strength training builds metabolically active muscle tissue that increases the amount of fat you burn even when you aren’t exercising. It’s an investment in a healthy metabolism. The effect of building muscle is modest but it all counts. Plus, strength training is less likely to boost your appetite than cardio. Switch some of your focus toward strengthening your muscles.

3. You Use Exercise as an Excuse Not to Change Your Eating Habits

Exercise and nutrition go together. Sometimes people think if they exercise they don’t have to address their eating habits. A little voice inside your head might tell you that if you’re burning more calories you don’t have to watch what you eat. But, as mentioned, you may overestimate the calories you expend during exercise and eat enough to gain weight. Plus, your body has different nutritional needs when you work out. Make sure you’re supplying your muscles with the macronutrients and micronutrients they need by eating a nutrient-rich diet. Skip the junk food. It won’t nourish your body and the sugar and empty calories will lead to weight gain.

4. You’re Sitting Between Workouts

All movement counts! After exhausting yourself with a workout, do you head for an easy chair for the rest of the day? Working out can’t make up for hours of uninterrupted sitting, not to mention sitting more than 6 hours per day increases all-cause mortality. Add more movement to your day by taking short walks and stretching breaks. Find opportunities to add more motion to your day – take the stairs, park further away, do housework with more vigor. A fitness tracker can help you track your movement when you aren’t exercising. Also, don’t exhaust yourself so much during a workout that you don’t feel like moving the rest of the day.

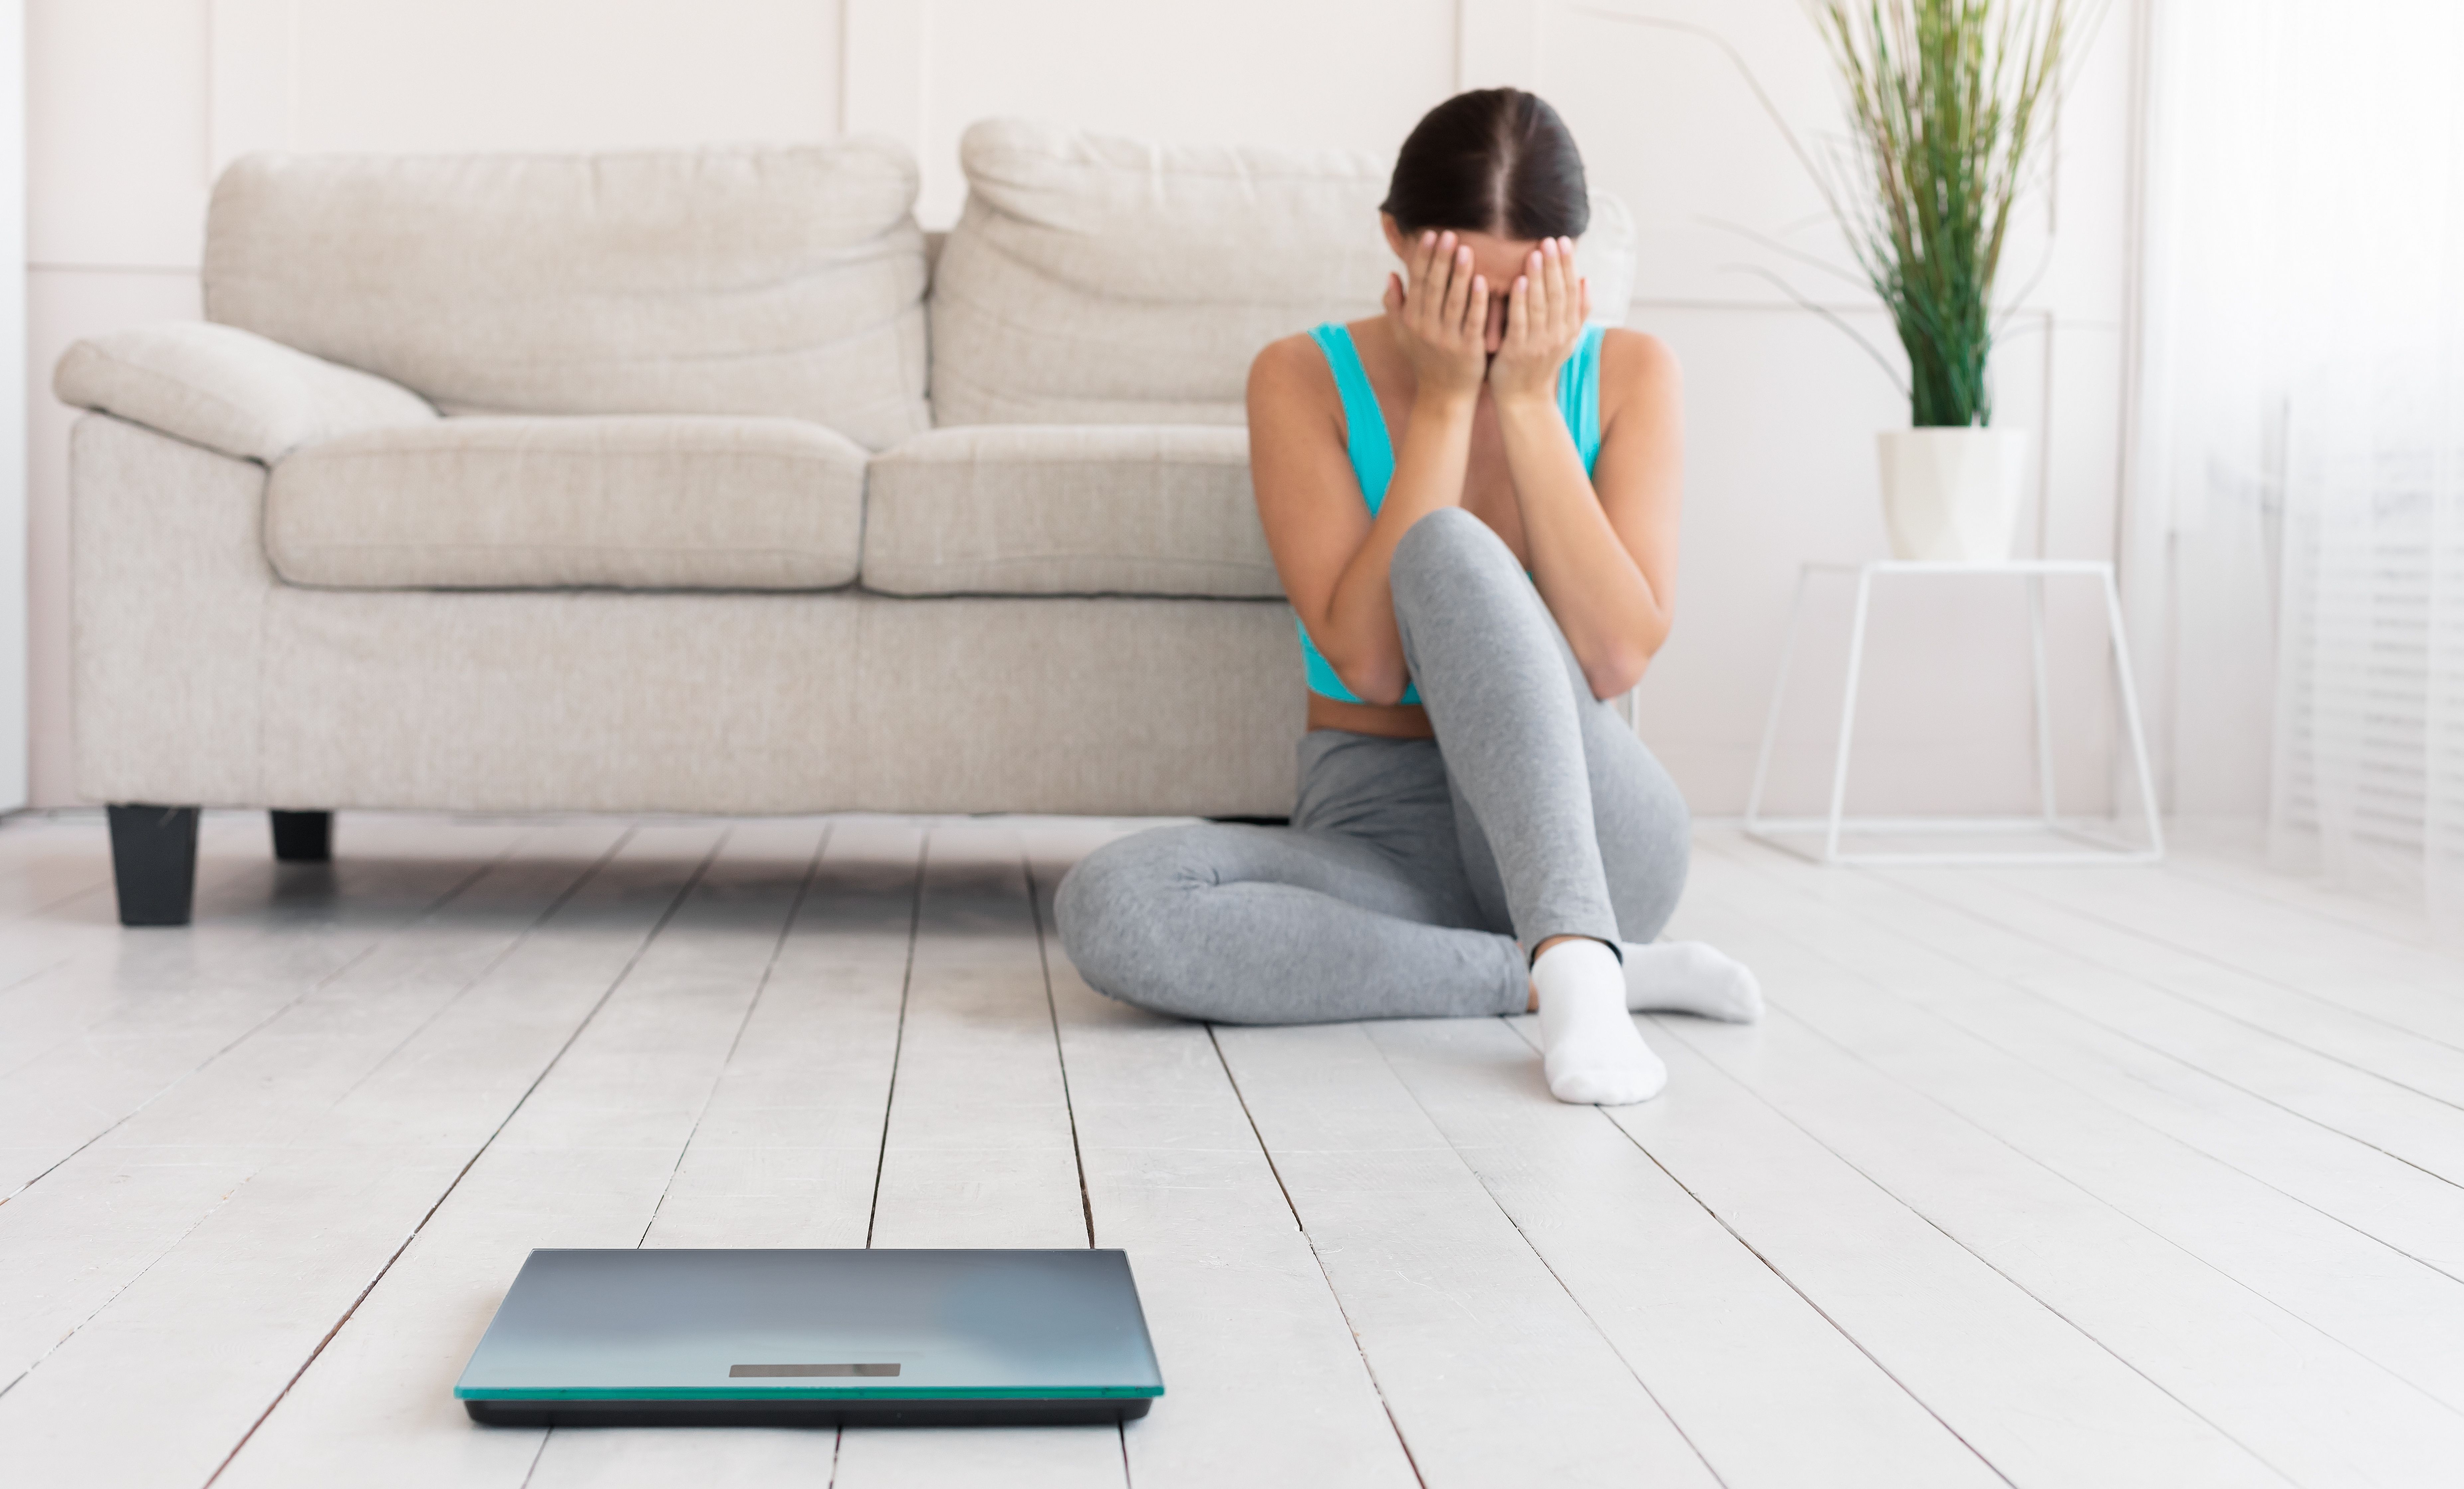
5. You’re Weighing Too Often

Bodyweight fluctuates on a daily basis and not all weight gain is body fat. You may experience water weight gain during certain times of the month or gain a few pounds due to constipation or eating a large, salty meal. In fact, it can take several days for your weight to return to baseline after eating overindulging at a buffet. Medications can contribute to weight gain too. Stop weighing so often and pay more attention to how your clothes are fitting and how you feel. Ultimately, that is the most important.

6. Your Workouts are Stressing You Out

One of the most common reasons people overeat and gain weight is emotional eating or stress eating. That can happen if you’re pushing yourself so hard during your workouts that it’s stressing you out. Exercising too long and too often can work against you by elevating the stress hormone cortisol. In turn, cortisol can contribute to muscle breakdown and an increased appetite. Switch some of those high-intensity exercise sessions with mind-body exercises like yoga and light stretching to help your body recover from the more strenuous sessions. It’s all about balance. Also, consider taking your workouts outdoors on a sunny day. Exercising in nature is a stress reliever and exercising in natural light will help optimize your biological clock for better weight control. You’ll also get a dose of vitamin D.

The Bottom Line

Now you have a better idea of why you’re exercising and gaining weight or not losing weight. But remember, even if you aren’t satisfied with your weight loss, you’re gaining health benefits and building more strength and stamina. That’s worthwhile too.

References:

Berthiaume MP, Lalande-Gauthier M, Chrone S, & Karelis AD. Energy expenditure during the group exercise course BodypumpTM in young healthy individuals. J Sports Med Phys Fitness. 2015 Jun; 55(6):563-8.

Journal of Strength and Conditioning Research: May 27, 2019 – Volume Publish Ahead of Print – Issue – doi: 10.1519/JSC.0000000000003192.

PLoS One. 2013; 8(11): e80000.

Published online 2013 Nov 13. doi: 10.1371/journal.pone.0080000.

Harvard Health Publishing. “Exercising to Relax”


12 Chest Workouts You Can Try At Home

.

12 Chest Workouts You Can Try At Home

By now you’ve probably realized you don’t need a gym to get the body you want. We’ve covered the shoulders , the biceps , and the triceps , and now it’s time to talk about the chest.

Targeting the muscles of the chest is important because it helps to improve breathing, arm strength, stability and posture and can even give women a natural breast lift, making boobs perkier by giving them more support.

If you have no time or access to the gym, you can utilize your body weight and household items to tone and strengthen the chest. Here are 12 different ways you can do it:

1. Decline Push-ups

A decline push-up is similar in concept to a regular push up, however, with this version, your chest and shoulders get more of a workout. You will need a chair, step, table, bench, or any elevated surface that is sturdy.

Step 1: Get into a kneeling position with your back facing your elevated surface.

Step 2: Place your palms on the floor and place one leg at a time onto the elevated surface. Extend your body once you arecomfortable. Your body should be completely straight. This is your starting position.

Step 3: Brace your glutes and core as you bend your arms at the elbows and lower your chest towards the ground.

Step 4: Pause for a second, then push your palms into the ground to straighten your arms to return to your starting position. This is one rep.

Modification: No decline (level surface).

2. Wide Press-up

The wide press-up is another version of the traditional push-up, however, with this version, your arms are wider apart to engage your chest muscles.

Step 1: Assume a plank position with your palms flat on the ground, arms and legs extended, and back straight.

Step 2: Widen the distance between your arms, a bit wider than shoulder’s width apart. It should be wide, but not too awkward.

Step 3: Bend your elbows slowly to lower your body to the floor, then straighten to return to your original position. This is one rep.

Modification: Bend your knees.

3. Diamond Pushup

Diamond push-ups include having your palms closer together for a more intense chest and triceps workout. It also engages the shoulders and back.

Step 1: Get on all fours with your palms flat beneath your chest and your hands forming a diamond or triangle (do this by touching your thumbs and index fingers).

Step 2: Kick your legs back and extend onto your tippy toes, forming a straight line from your legs to your head. This is your starting position.

Step 3: Bend your arms at the elbows to lower your chest to the floor. Your elbows should be tucked beside your sides.

Step 4: Straighten your elbows to return to your starting position. This is one rep.

Modification: Bend your knees.

4. Spiderman Press-up

The Spiderman press-up won’t make you as agile and strong as your friendly neighborhood spiderman, but consistent workouts will bring you close enough. This exercise engages both the upper and lower body and will help to tone your chest.

Step 1: Get into the plank position. Remember to keep your body straight, head neutral, and core engaged. Once there, widen the distance between your arms a little beyond shoulder’s width. This is your starting position.

Step 2: As you prepare to bend your elbows and lower your chest to the ground, lift your right knee up and out so that it meets your right elbow.

Step 3: Straighten your arms to return to the starting position. Repeat step 3 with your left knee and left elbow. This is one rep.

Modification: None.

5. Dive Bomber

The dive bomber is a great upper body workout, and don’t worry, no one’s going to get hurt! You will, however, feel the pressure in your chest, back, shoulders, arms, and abs.

Step 1: Get into a traditional plank position, but this time, push your hips back and outwards so that your body is positioned like an inverted V. You should be looking at your feet in the position. This is your starting position.

Step 2: Press forward into your arms and bend your arms at the elbows so that your chest is lowered to an inch above the ground.

Step 3: Hold this pose for a second then push your chest out and up, by straightening your arms. Hold, then reverse your “glide” by pushing your hips back to return to your start position. This is one rep.

Modification: Bend your knees at step 2.

6. Chest Dips

Chest dips are very similar to regular dips, but those focus primarily on the triceps and shoulders. Chest dips focus on the chests and the other muscles to a lesser extent.

For this exercise, you’ll need something as tall as your abdomen or chest, such as a counter, chairs, sturdy couch, parallel railings, etc. If using chairs, set their backs parallel to each other with enough space between.

Step 1: Stand between the chairs and railings, or in front of your counter or couch. Place each hand on a chair/railing, or both palms onto the flat on the counter/couch.

Step 2: Press your palms downwards to hoist yourself upwards and bend your knees.
Step 3: In a slow, controlled motion, bend your elbows to lower your body until they are at a 90-degree angle. Your shoulders should be below your elbows

Step 4: Slowly straighten your arms to hoist yourself back up. This is one rep.

Modification: Don’t dip too low. Stop when your shoulders are at your chest.

7. Sliding Chest Press Ups

To perform this exercise, you will need two face towels or rags and a tiled surface or slippery floor.

Step 1: Fold your towels into squares and lay flat on your stomach.

Step 2: Place each towel under your palms and position your arms shoulder’s width apart. Get into a plank position.

Step 3: Bend your right arm and extend your left arm by sliding it sideways. Return to the plank position and bend your left arm while extending your right arm. This is one rep.

Modification: Bend knees to make it easier.

8. Sliding Chest Fly

Keep your towels for this exercise. It’s similar but slightly advanced.

Step 1: Get into a plank position with your towels beneath your palms.

Step 2: Slide your arms outwards and lower your chest to the ground. Bend your elbows if necessary.

Step 3: Slide your arms inwards to lift your chest off the ground, back into the plank position.

Modification: None.

9. Pull-ups

If you have a pull-up bar at home, great, but once you can find a surface that you can grip on and pull your body upwards then you should be fine. A good example is a door frame, but you can also use a staircase railing.

Step 1: Grip your pull up bar (or substitute) at shoulder’s width apart.

Step 2: Bend your knees slightly and pull yourself up dragging your elbows downwards.

Step 3: When your chin is in line with the bar, lower your body by straightening your arms. This is one rep.

Modification: Bring your chest in line with the bar instead of your chin.

10. Towel Chest Press

Get your towel out for this exercise. It needs to be slightly longer than shoulder’s width.

Step 1: Lay flat on your back. Take each end of the towel into each hand and stretch it to shoulder’s width apart to create tension.

Step 2: Maintain this tension while raising your arms above your chest.

Step 3: Slowly bend your arms and lower the towel toward your chest. Raise your arms once more while maintaining tension in the towel. This is one rep.

Modification: None.

11. Towel Push and Pull

For this exercise, you’ll need to stand up with your towel.

Step 1: Hold each end of the towel with each of your hands and extend your arms in front of you.

Step 2: Pull on each end of the towel to create tension.

Step 3: Pull your right elbow behind your back and rotate your upper body till your left hand is in line with the center of your chest.

Step 4: Repeat this step by pulling your left elbow behind you while rotating your upper body until your right hand is in line with the center of your chest. This is one rep.

Modification: None

12. Planks

Planks are one of the most common bodyweight exercises and are great because they engage several muscles at the same time. Planks are also a great chest workout.

Step 1: Get on all fours, with your palms extended into the floor.

Step 2: Kick back your legs, and keep them two inches apart. Your legs should be extended to your tippy toes.

Step 3: Hold this position for 30-60 seconds.

Modification: Bend your knees.

Summary

Who knew there were so many ways to work out your chest at home? Well, we did and we’re more than happy to share them with you.

Consider adding the following to your next at-home workoutroutine to target your chest:

Decline Push-ups
Wide Press-ups
Diamond Push-ups
Spiderman Press-ups
Diver Bomber
Chest Dips
Sliding Chest Press Ups
Sliding Chest Fly
Pull-Ups
Towel Chest Press
Towel Push and Pull
Planks


12 Ways To Workout Your Shoulders At Home Without Weights

12 Ways To Workout Shoulders At Home Without Weights

Yes, we know working out sucks, and you can’t be bothered most of the time, but if you want those results, you’ve got to put in the hard work!

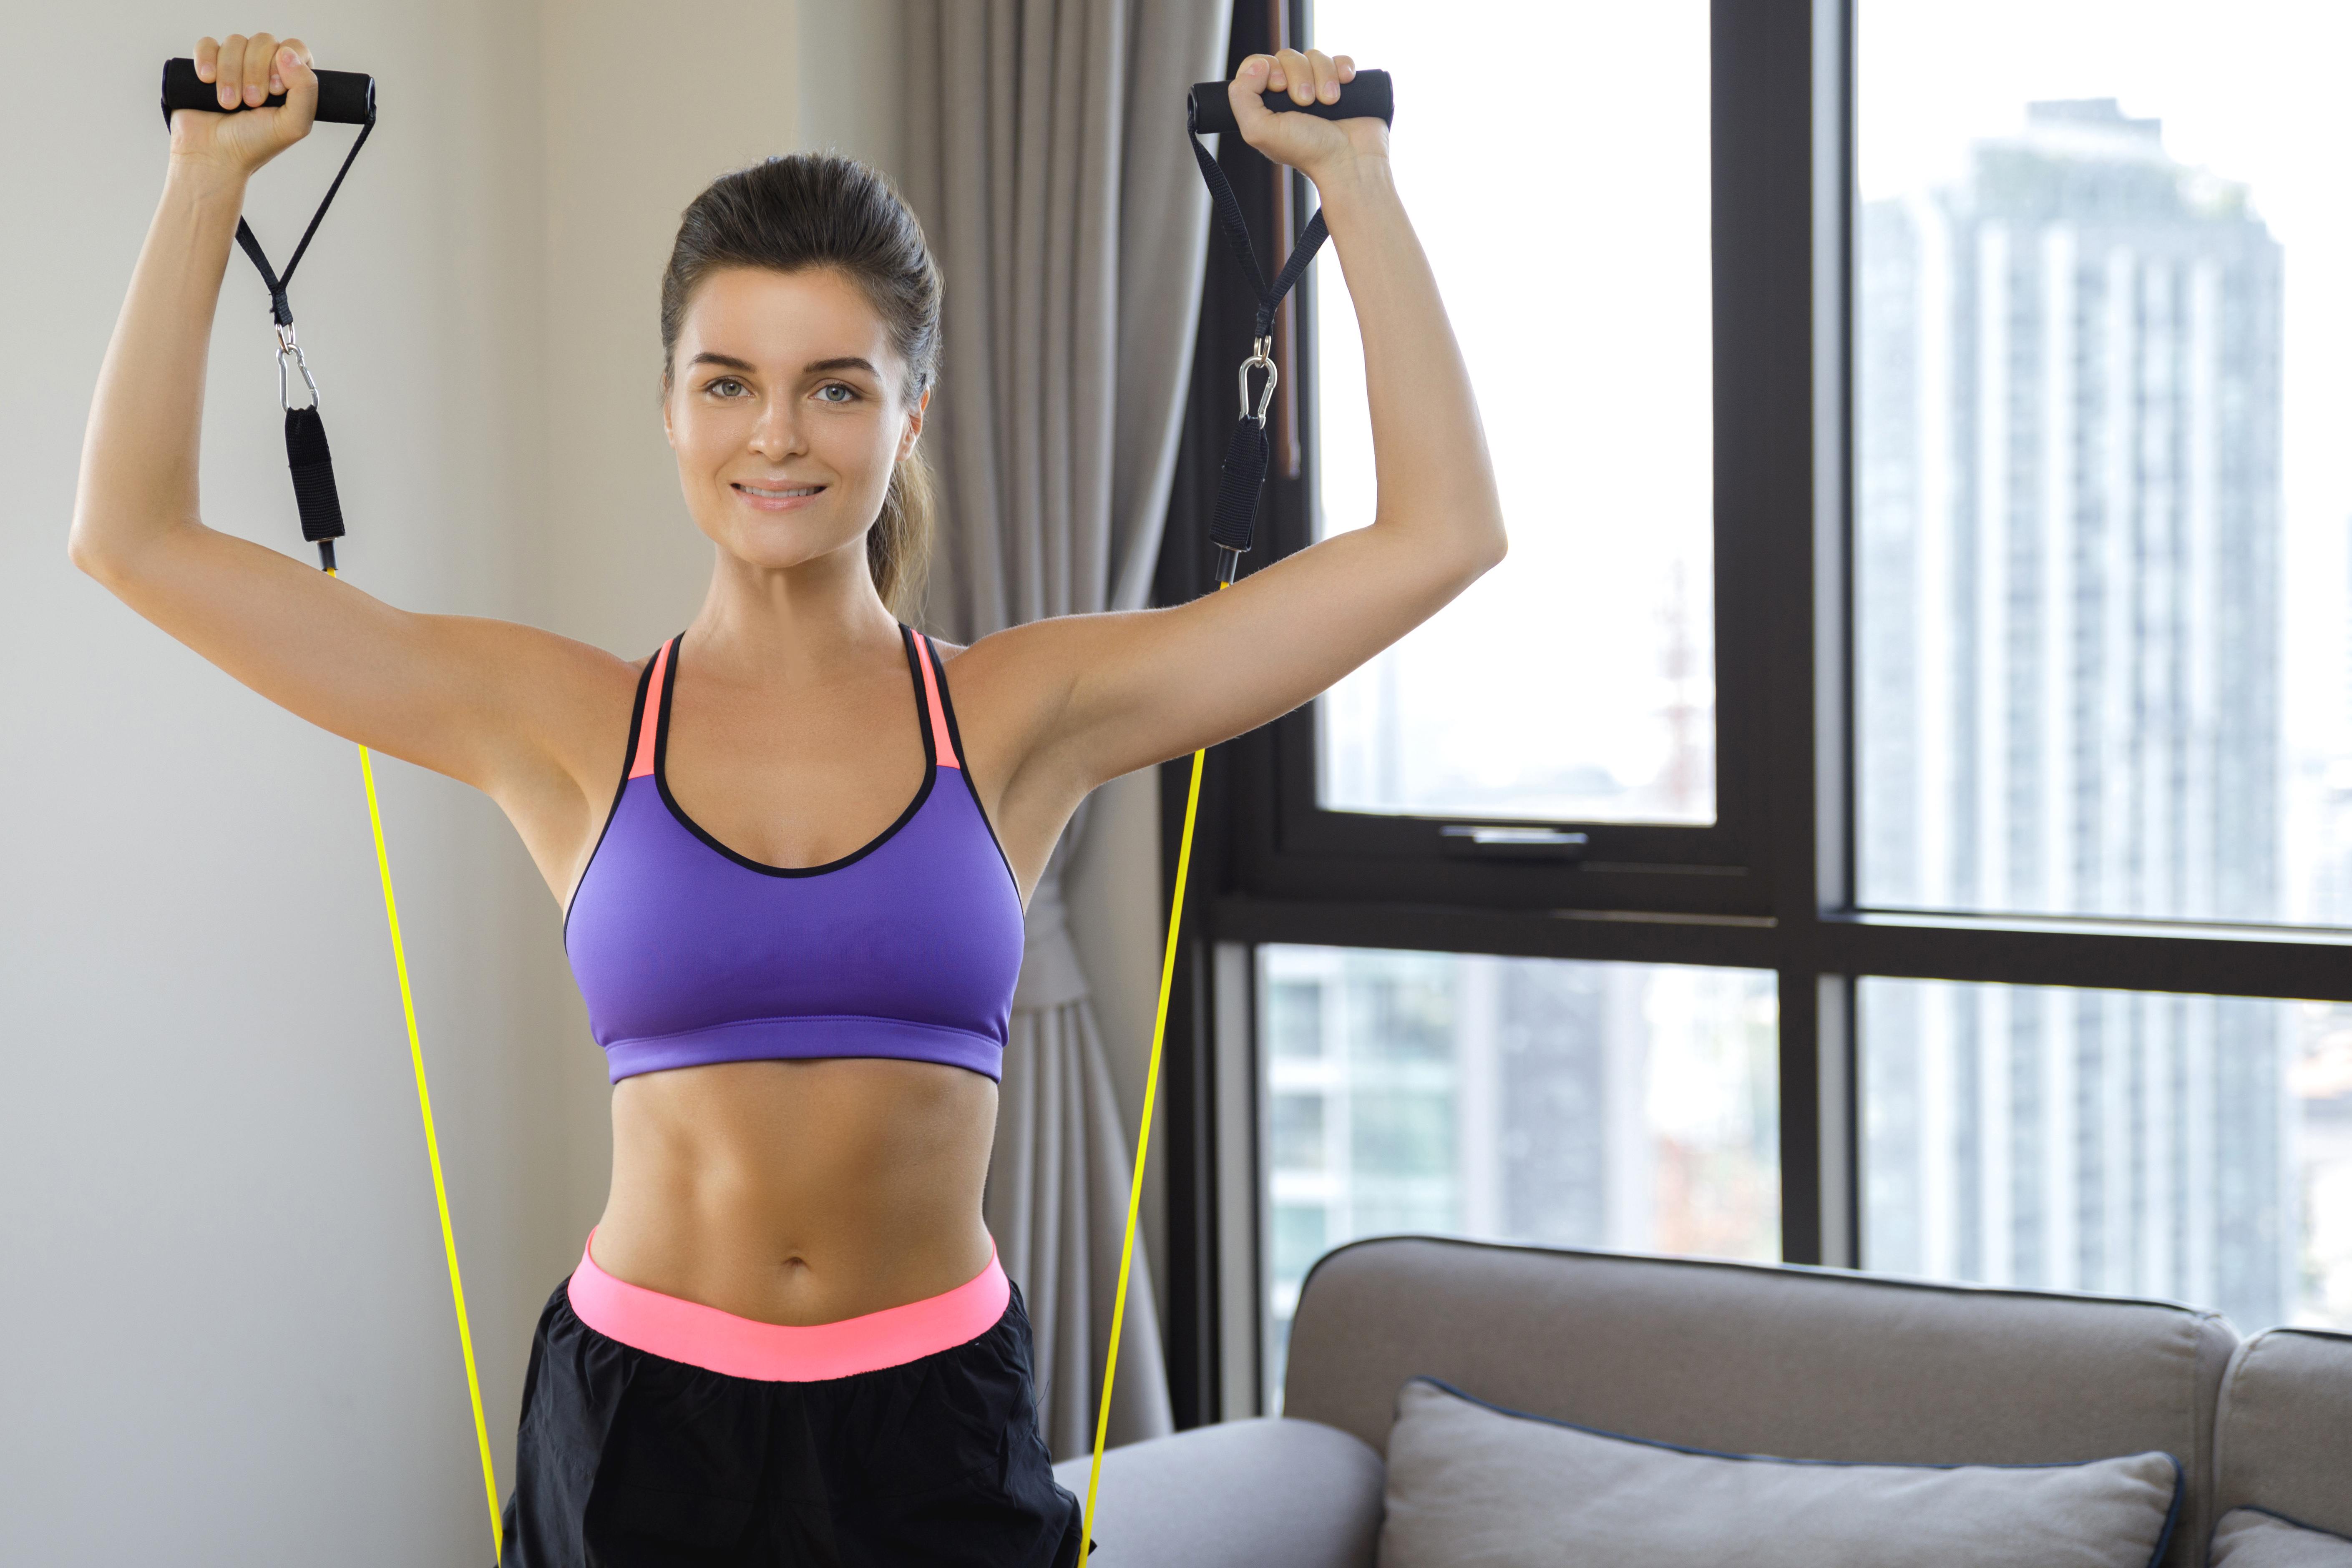
Putting in hard work doesn’t mean going into an intimidating gym with buff men and Instagram models. You can do a full-body workout at home using nothing but your bodyweight, furniture, and the floor. You can also add resistant bands to your routine. They are cheap, portable and take up little space.

In this post, we’ll take a look at how you can work out your shoulders at home, to give a well-tones appearance that you deserve. Here are 12 different exercises that you can do today, without weights:

1. Push-ups

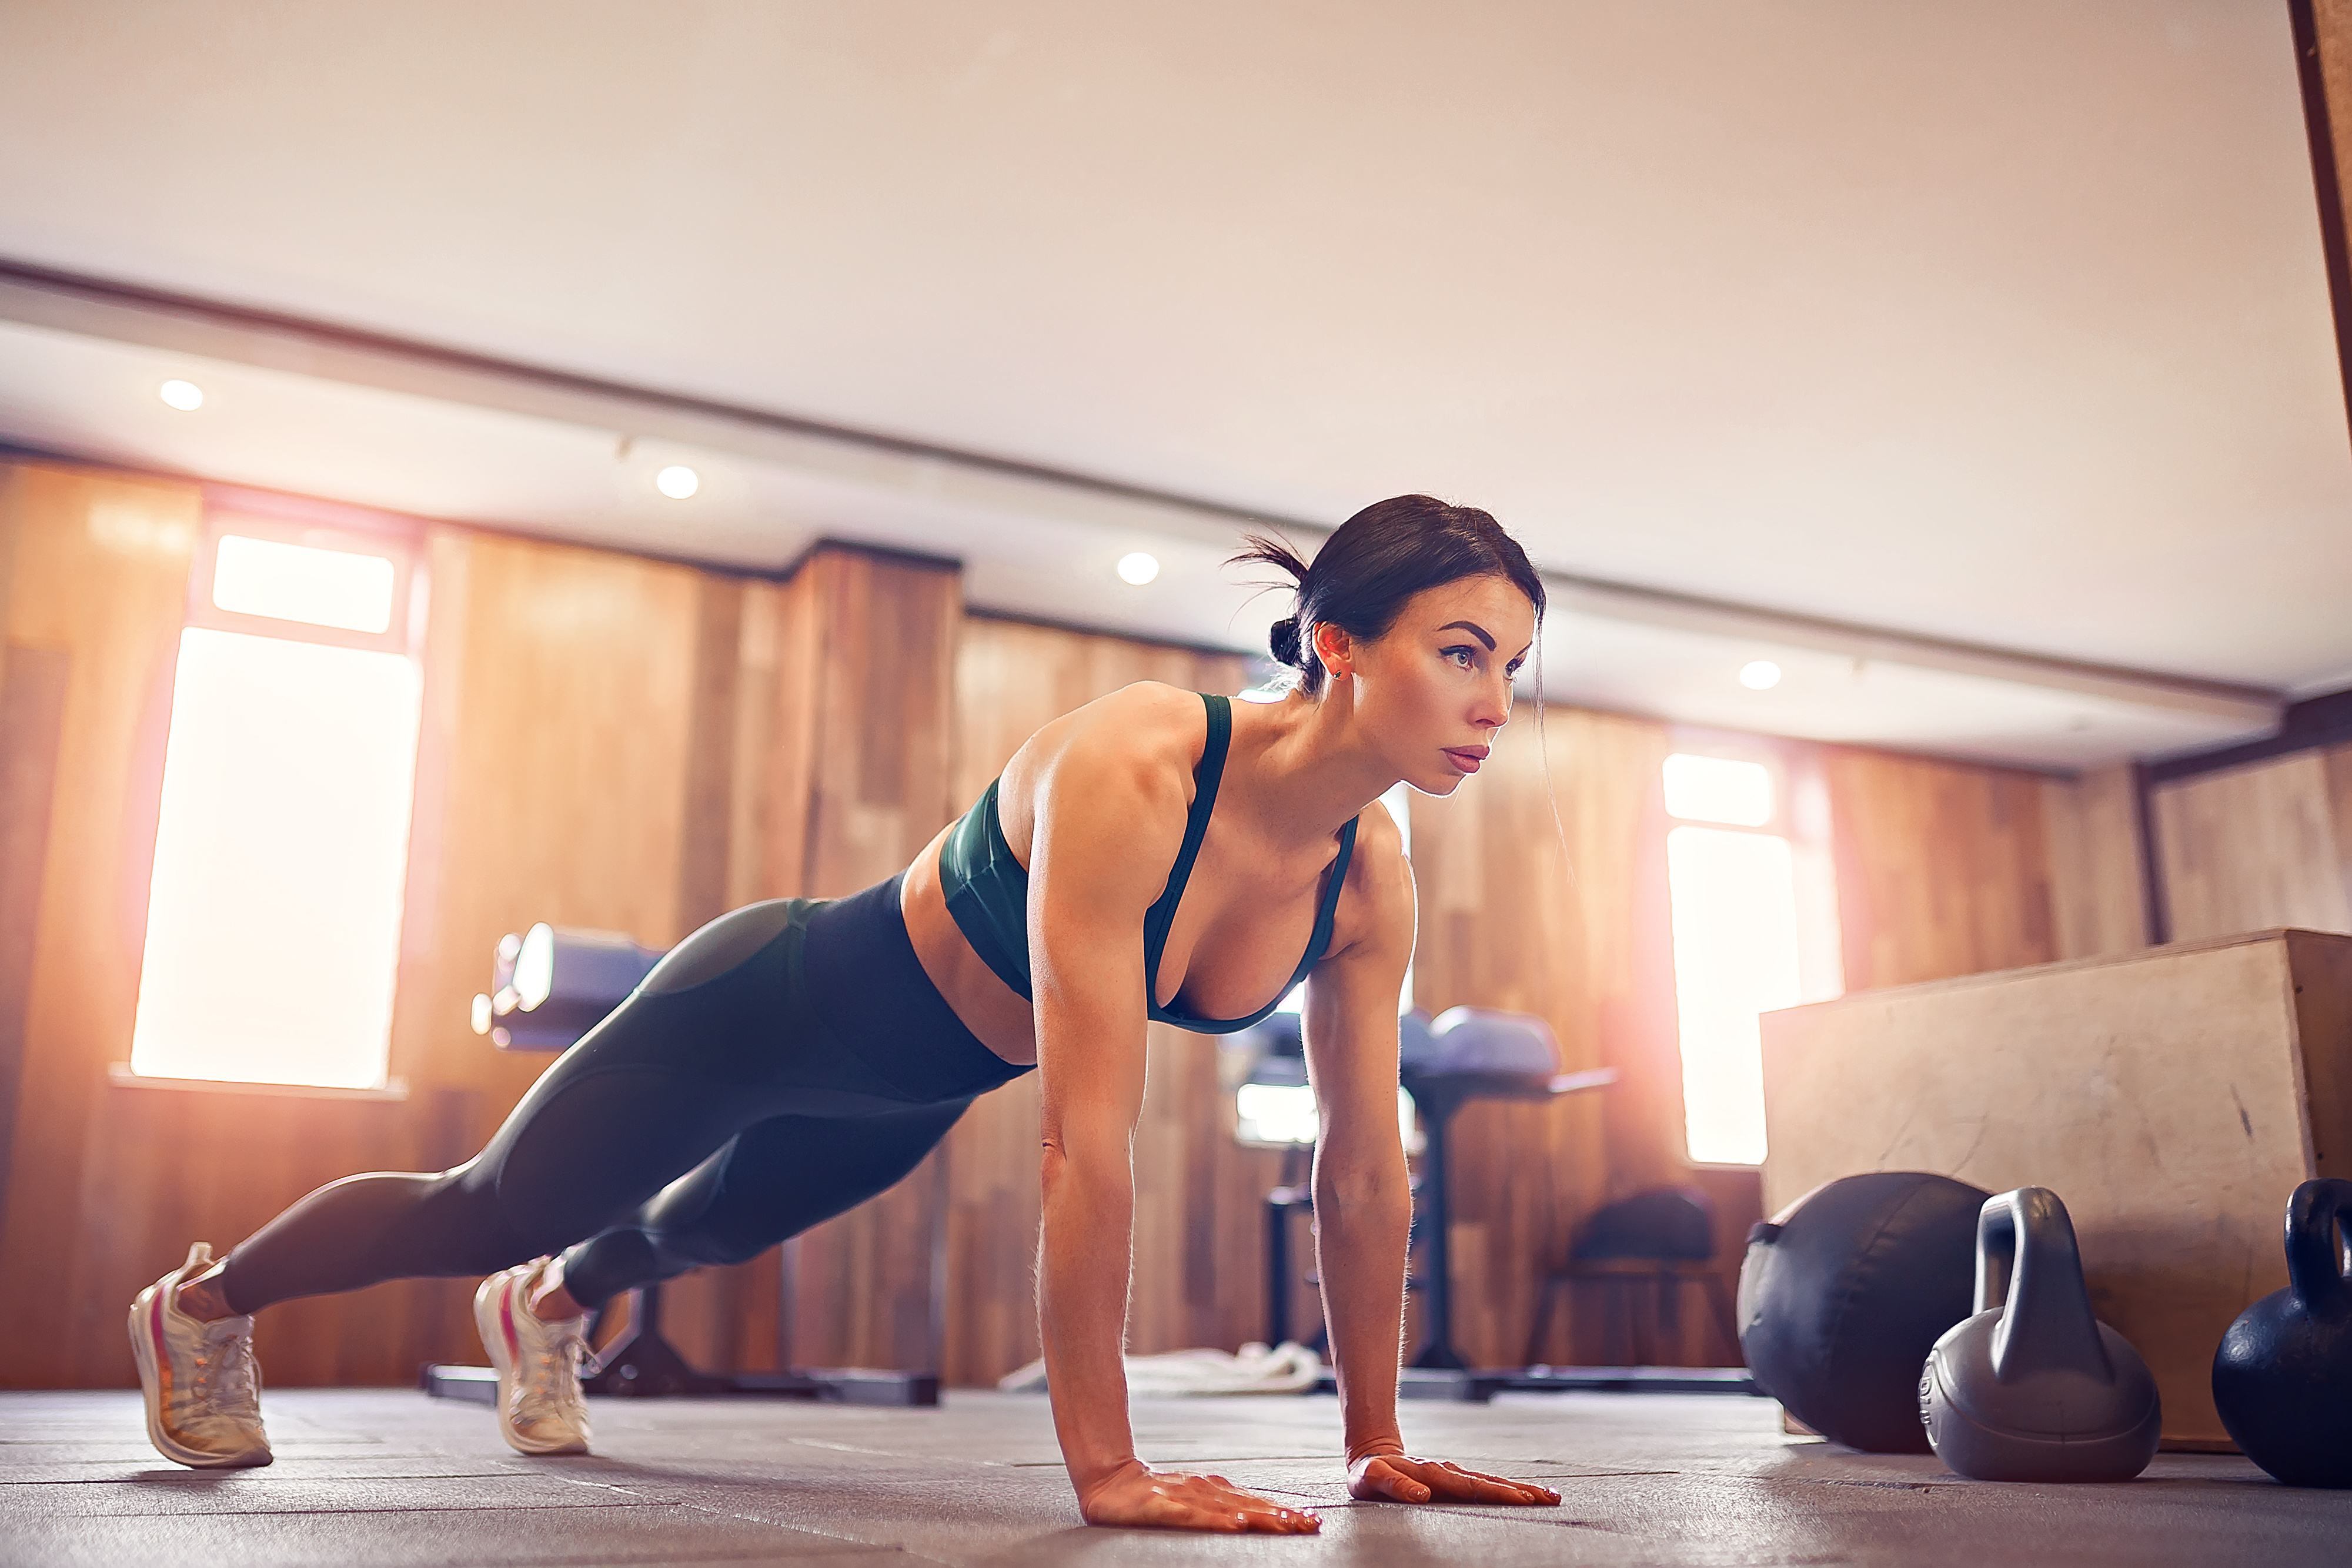
Pushups are a type of exercise that engages the entire body, primarily your upper body and your core. They are sometimes called “press-ups”:

Step 1: Get down on all fours with your arms straightened. They should be a little more than shoulder’s width apart.

Step 2: Extend your legs as far as they can do, onto your tippy toes. Your spine, head, and feet should now be in a straight line.

Step 3: Lower your chest to the floor by bending your elbows, but do not let your entire body plop onto the floor.

Step 4: Pause for a second then straighten your arms to return to your original position. This is one rep.

Modification: Keep your legs bent at the knees instead of straightening them

2. Inclined push-ups

Inclined push-ups are a more advanced version of traditional push ups that targets the chest and shoulders more. All you need is an inclined, sturdy surface such as a chair, step, bench, or table.

Step 1: Face the object you will use for an inclined push up then get into a knelt prayer position.

Step 2: Extend your arms and press into the object while stepping your feet back onto your tippy toes. This is your starting position.

Step 3: With your palms flat, arms a bit wider than shoulder’s width apart and body in a straight line, bend your arms at the elbows to lower your upper body

Step 4: Pause, then straighten your arms to bring you back to your starting position. This is one rep.

Modification: Use shorter incline.

3. Shoulder tap

Shoulder taps target the shoulders, chest, upper back, abs, and core. As it relates to your shoulders, shoulder taps increase strength and stability.

Step 1: Assume the plank position. Your arms should be extended into the floor and your legs extended through to your tippy toes. Your body should form a straight line from your head to your legs.

Step 2: Once you find your balance, lift one palm off the floor and cross it across your chest to touch the opposite shoulder. Lower this palm back to the floor and repeat with the next palm. This is one rep.

Modification: To make this exercise more difficult, use your palm to reach to the sky instead of tapping your shoulder.

4. Chair dips

Chairs dips are primarily an arm workout that targets the shoulders, triceps, and biceps. You will

need a sturdy chair . A dining room chair should work well.

Step 1: Sit on the chair with your palms flat behind you, feet flat on the floor at hip-width apart, and with your back straight.

Step 2: Scoot forward until your butt is no longer on the chair, and your palms are closer to the edge of the seat. Bend your knees slightly. This is your starting position.

Step 3: Bend your arms at the elbows to lower your buttocks to the floor.

Step 4: Push your palms into the chair to return to the starting position. This is one rep.

Modification: Do your dips on the floor without a chair.

5. Crab walk

Crab walks strengthen and tone the shoulders, back, arms, core, legs, and hamstrings. This may be a bit awkward at first, but after a few sets, you’ll get used to it. It also helps to promote stability and coordination.

Step 1: Sit on the floor with your arms flat on the ground behind you and your feet hip-distance apart. Your fingers should be hip facing.

Step 2: Bend your knees and lift your hips slightly off the floor. Engage your abs.

Step 3: Walk four steps forward by first moving your left hand and right foot, followed by your right arm and left foot. Then, walk four steps backward.

Modification: Do more forward and backward steps.

6. Diving dolphin

The diving dolphin or dolphin dive is an exercise that was designed to target the shoulders, arms, upper back, and core all at the same time.

Step 1: Get into a forearm plank position, with your forearms flat on the floor, body extended to your tippy toes, and back straight.

Step 2: Raise your hips to form an upside-down V with your body and hold this position for 5 seconds.

Step 3: Dive forward to bring your chest up and out and lower to return to the starting position.

Step 4: Keeping your abs tight and back straight, do a reverse dive to raise your hips once more. This is one rep.

Modification: After diving forward, hold this position.

7. Towel shoulder press

Grab a towel from your bathroom to complete the workout. It is similar to a shoulder press with weights, however, you’ll be using tension for this exercise.

Step 1: Stand upright with your legs hip-width apart.

Step 2: Grasp both ends of the towels with opposite hands and pull tightly to create tension.

Step 3: Maintain this tension while raising your extended arms above and behind your head. This is your starting position.

Step 4: Bend your arms at the elbows slowly and lower your arms close to the back of your neck.

Step 5: Extend your arms once more until you are at your starting position. This is one rep.

Modification: None.

8. Door frame shoulder press

This exercise only requires you to stand inside of a door frame.

Step 1: Stand in your door frame and raise your arms over your head to touch the top of the door frame.

Step 2: Use your hands to press into the door frame as hard as you can for 15-30 seconds and hold the tension.

Step 3: Release and pause for 10 seconds. This is one rep

Modification: Instead of pressing upwards, bend your arms in a 90-degree angle and press your forearms into each side of the door frame.

9. Shoulder circles

This is a simple exercise that helps to warm up the shoulder muscles through stretching. It also helps to keep them toned.

Step 1: Stand upright with your back straight and feet flat on the ground.

Step 2: Extend your arms outwards from your side until you form a “T” with your body.

Step 3: Rotate your arms in a clockwise motion to make small circles for 30-60 seconds. Repeat this in an anticlockwise motion.

Step 4: Repeat Step 3 using large circles.

Modification: None

10. Shoulder raise with towel

For this exercise, all you need is a towel. This towel should be long enough to extend to shoulder’s length apart.

Step 1: Use your hands to grip the opposite ends of the towel tightly at shoulder’s width apart. Your arms should be in line with your chest.

Step 2: Open your legs to width length apart and bend your knees slightly.

Step 3: Create tension in the towel by pulling it in opposite directions with your hands.

Step 4: Keeping your arms straight, lower them to your waist, then back to your chest. This is one rep.

Modification: None

11. Shoulder pike press

The pike press is an exercise that focused mainly on your shoulders, back, and triceps. It also helps to promote stability.

Step 1: Get your body into the modified push up position. This means your legs should be bent at the knees, instead of being extended to your tippy toes.

Step 2: Lift your knees and walk your legs as close to your hands as you can while maintaining an upside-down V pose.

Step 3: In this upside-down V pose, your back should be straight and your shoulder muscles flexed.

Step 4: Bend your elbows slowly to lower your head to the ground without touching it. Hold this pose for 5 seconds, then extend your arms. This is one rep.

Modification: Omit step 5. Hold the pose.

12. Forward bear crawl down stairs

For this exercise, you’ll only need some stairs.

Step 1: Go to the top of your stairs.

Step 2: Place your arms onto the first step and extend your legs behind you. Your butt should be slightly raised.

Step 3: Walk down the stairs using your hands. Place one hand at a time down the steps, and follow with one foot at a time.

Step 4: You can stop when you get to the bottom of the stairs, or choose to reverse bear crawl up the stairs. The steps are the same, however, you will need to go feet-first, so instead of walking down with a hand at a time, you’ll need to place your feet up the steps before your hands.

Summary

You don’t need weights to get strong, well-toned shoulder muscles. Here are some exercises that will help

Push-ups• Inclined push-ups • Shoulder taps• Chair dips• Crab walks• Diving dolphin • Towel shoulder press• Door frame shoulder press• Shoulder circles• Shoulder raises with towels• Shoulder pike press• Forward bear crawls down stairs

Total Body Workout Without Weights

Total Body Workout Without Weights


You can get a full body workout at home without weights.

No access to a gym, no worries. We got you covered.

The tools you need are right in your house.

Here are 15 exercises that anyone can do at home using your floor, bed, wall, and couch.

Floor

With a flat surface, you can do pretty much any exercise. Here are 5 that will help you to keep in shape:

1. Jumping jacks

Jumping jacks are a great form of cardio that engages the entire body.

Step 1: Stand with your back straight, feet together and flat on the floor and hands by your side.

Step 2: Jump upwards, bringing your hands straight above your head and landing with your feet hip-width apart

Step 3: Jump again, this time bringing your hand and feet to the original position. This is one rep.

Modification: Instead of jumping, do a side step.

2. Burpees

This is another form of cardio, that can function as bodyweight training.

Step 1: Stand upright with your feet shoulder-width apart. Your hands should be by your side.

Step 2: Keeping your back straight, push your hips back, and bend your knees to initiate a squat.

Step 3: Put your hands on the floor in front of you and shift your body weight to your hands.

Step 4: In a quick jumping motion, extend your feet backward and get into a plank position.

Step 5: Jump your feet forward, back into step 3’s position, and jump upwards quickly, landing flat on your feet. This is one rep.

Modification: Replace jumping with a gentle step back in step 4 to make it easier. Make your burpee more advance by doing a push up when you are in the plank position

3. Squats

Squats help to tone the leg muscles and glutes. They also help to improve stability and lower body strength.

Step 1: Stand upright with your legs shoulder-width apart and toes parallel (or outwards if it helps you to stay balanced.

Step 2: Contract your abs and push your butt backward as if you’re sitting in an imaginary chair. Do not concentrate on bending your knees.

Step 3: As you descend, look straight ahead and avoid hunching over. Extend your hands in front of you to maintain your balance, or bend your elbows to clasp your hands. Your knees should not pass your toes.

Step 4: Keep your body tight and push through your heels to get back to your original position. This is one rep.

Modification: Use a chair for guidance

4. Calf raises

Calf raises are great for toning the legs and improving stability.

Step 1: Stand flat on the floor, or on the edge of your steps, or anything that can keep your heels off the floor.

Step 2: Straighten your back, contract your abs, and use the wall or railing or a piece of furniture that is taller than you for stability.

Step 3: Raise your heels off the floor by getting on your tippy-toes, and hold for 3 seconds.

Step 4: Lower your body to stretch your calves. This is one rep.

Modification: Try doing calf raises with one leg at a time.

5. Forearm Plank

Planks strengthen the core, promote balance, and can improve posture.

Step 1: Lay flat on your stomach and place your forearms parallel to the floor.

Step 2: Extend your legs outwards onto your tippy toes and press your forearms into the floor to raise your body above the floor.

Step 3: Squeeze your glutes, keep your neck neutral, and engage your abs. Your head should be in line with your back and your body should be as stiff as a piece board. Hold this position for at least 30 seconds.

Modification: If you cannot manage to hold this pose, bend your knees to the floor. If you want to make this harder, straighten your elbows and place your palms flat on the floor as if you were going to do a pushup.

Bed

Getting out of bed in the morning sucks, so why not stay in bed while you do your workout?

6. Bicycle crunches

Bicycle crunches work both the upper and lower abs, along with the thighs and obliques.

Step 1: Lay flat on your back, bend your knees and place your arms behind your head.

Step 2: Lift your bent legs off the floor and pull your navel in. Raise your shoulder blades off the floor slightly.

Step 3: Pull your left knee in towards your chest and meet it with your right elbow while extending your right leg. Repeat by pulling your right knee in towards your chest and meet it with your left elbow while extending your left leg. This is one rep.

Modification: If you can’t manage to extend your leg for each crunch, rest the soles of that foot on your bed.

7. Scissor kicks

Scissor kicks work the core, glutes, abs, and legs.

Step 1: Lay with your back flat on the floor with your legs extended.

Step 2: Place your palms beside your hips or below your glutes.

Step 3: Raise your legs, engage your core, and tuck your pelvis. Lift one leg above the other and alternate in a scissors motion. Each alternation is one rep.

Modification: Keep your legs barely raised above the mat to relieve the pressure on your lower back.

8. Marching hip raises

This exercise engages the glutes and helps to increase hip stability.

Step 1: Lay on your back with your palms flat and knees raised off the floor.

Step 2: Lift your hips off the floor until your knees and shoulders are in a straight line.

Step 3: Brace your core and raise your right leg off the ground. Do the same with the left leg. Do not drop your hips.

**You may also try this exercise at the edge of your bed. These are flutter kicks.

Modification: Instead of placing your palms flat on the floor, extend them to a T-shape for greater stability.

9. Lateral leg lifts

This targets the legs, hips, lower black, and glutes.

Step 1: Lay on your side with your feet together. Your right forearm should be braced against the bed and your left arm should be by your side.

Step 2: Lift your left laterally and lower it slowly. This is one rep.

Step 3: Repeat on your right side after a couple of reps.

**You may also try this exercise by laying flat on your back and doing leg lifts towards the ceiling to target the abs.

Modification: None

10. Superman

This is an exercise that targets the core, glutes, hamstrings, hips, and upper back.

Step 1: Lay flat on your stomach and assume superman’s flying position. In other words, raise your head slightly and extend your legs and arms. Lift your chest as high as you possibly can and hold the pose for at least 3 seconds. This is one rep.

Step 2: Release and repeat.

Modification: None


Wall

If you’ve managed to get out of the bed, good for you! These are some excellent wall exercises:

11. Wall pushups

Wall push-ups are the same as regular pushups, but instead, you do them on your wall. They’re much easier and target the shoulders, upper back, chest, and arms.

Step 1: Stand 2 feet away from the wall and extend your hands in front of you. Your palms should be touching the wall.

Step 2: Bend your elbows and lean your body in towards the wall, bringing it as close as you can without touching.

Step 3: Push your palms into the wall to straighten your elbows and return to the original position. This is one rep.

Modification: None

12. Wall sit

This exercise helps you to tone your legs and abs, strengthen your calves and thighs, and improve balance.

Step 1: Stand upright with your back facing the wall.

Step 2: Slowly slide into a squat position with your knees at a 90-degree angle.

Step 3: Hold this position for at least 30 seconds.

Modification: None.

13. Leg curls

Legs curls strengthen and tone the muscles in your legs and help to stabilize the knee joints.

Step 1: Lay flat on your stomach with the soles of your feet pushed up against the wall.

Step 2: Slowly kick back your right leg towards to glutes then lower it to the wall. Repeat with the left leg. This is one rep.

Modification: Curl both legs at once.

14. Wall bridge

This is an exercise that engages the core, glutes, and stabilizes the hips and lower back.

Step 1: Lay flat on your back with your palms on flat on the floor.

Step 2: Bend your knees to a 90-degree angle and press the soles of your feet into the wall.

Step 3: While squeezing your glutes, lift your hips off the floor as high as you can then lower it to the floor. This is one rep.

Modification: Hold the position for 30 seconds.

15. Wall lunges

Lunges target the legs and the glutes. They also help with stability.

Step 1: Stand 3-4 feet away from the wall with your back facing it.

Step 2: Bend your right knee slightly behind you until it touches the wall. Press the balls of your foot into the wall and tighten your abdomen.

Step 3: With your back straight, bend your left knee to 90 degrees and dip. Your knees should not pass your toes.

Step 4: Press your right heel into the wall to slowly raise your body to the position in step 2. This is one rep.

Modification: None.

Summary

You don’t need weight to get fit. Everything you will possibly need is in your home.
Floor exercises you can try include jumping jacks, burpees, squats, calf raises, and forearm planks.
Stay in bed and perform exercises like bicycle crunches, scissor kicks, marching hip raises lateral leg lifts, and the superman.
Use your wall for exercises like wall push-ups, wall sits, leg curls, wall bridges, and wall lunges.