DIY Gym-Free Workouts for a Ripped Physique

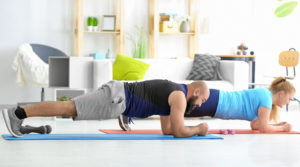
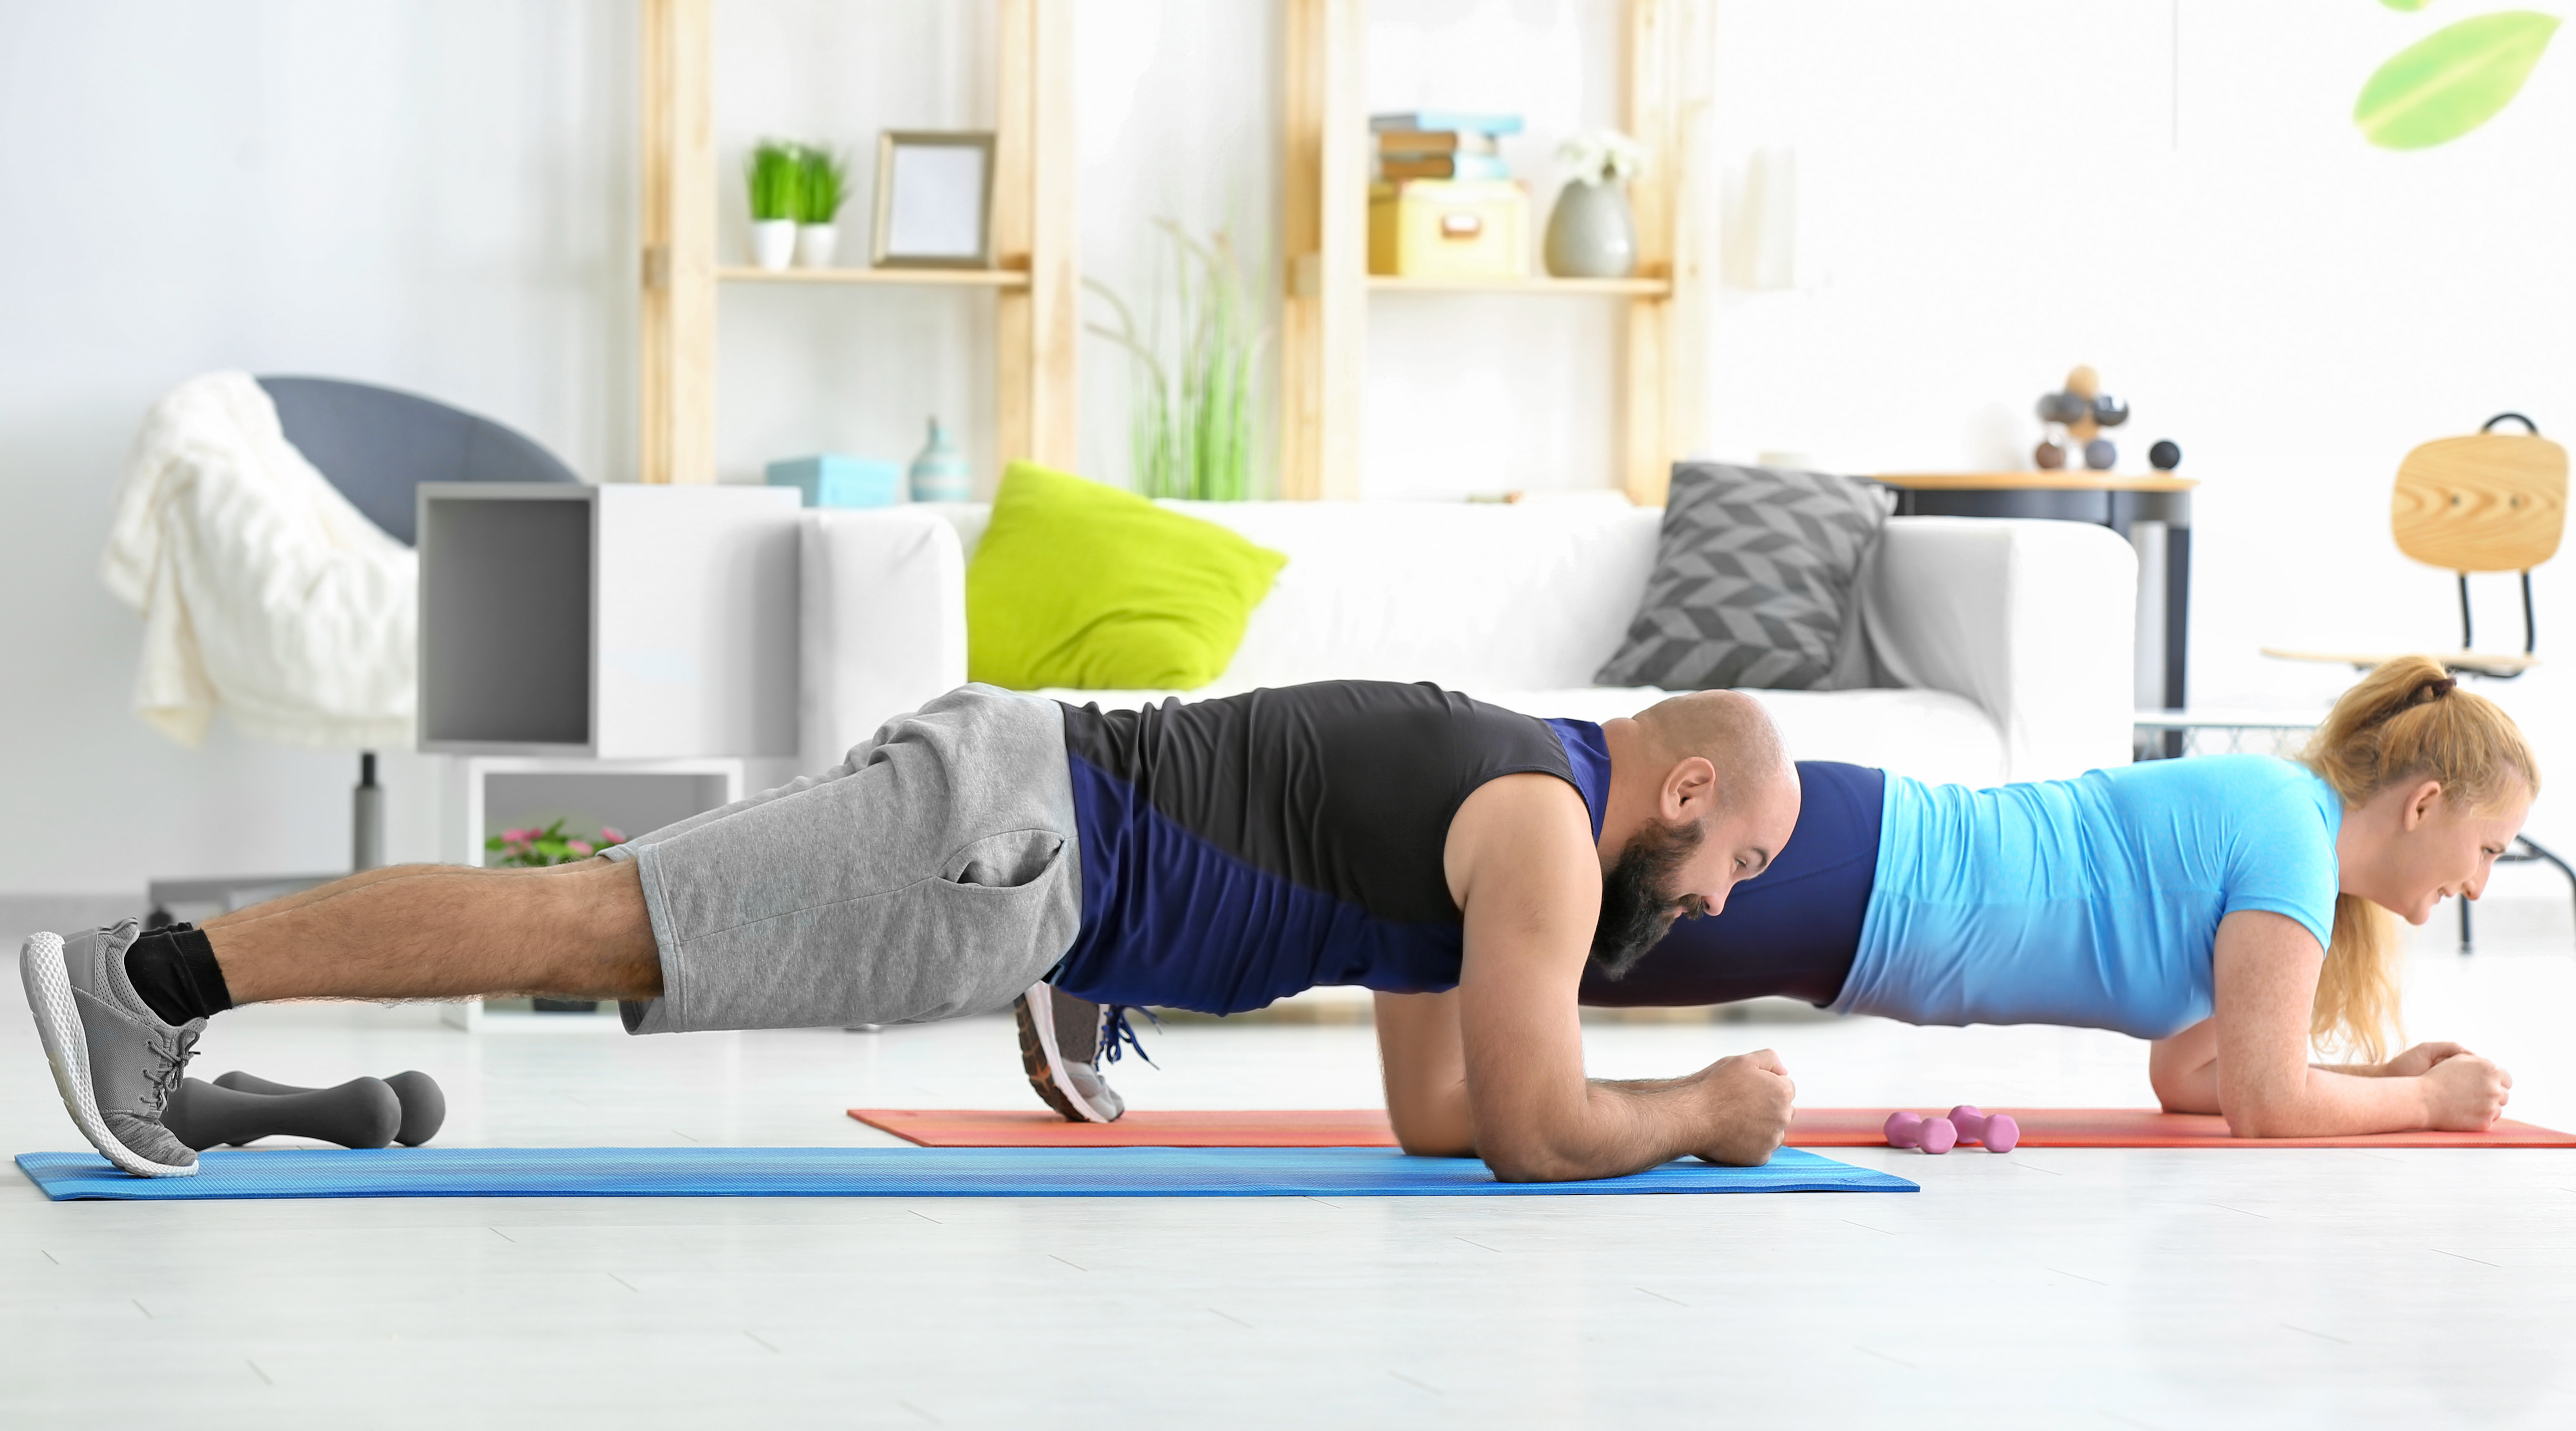
Overweight couple doing exercises at home


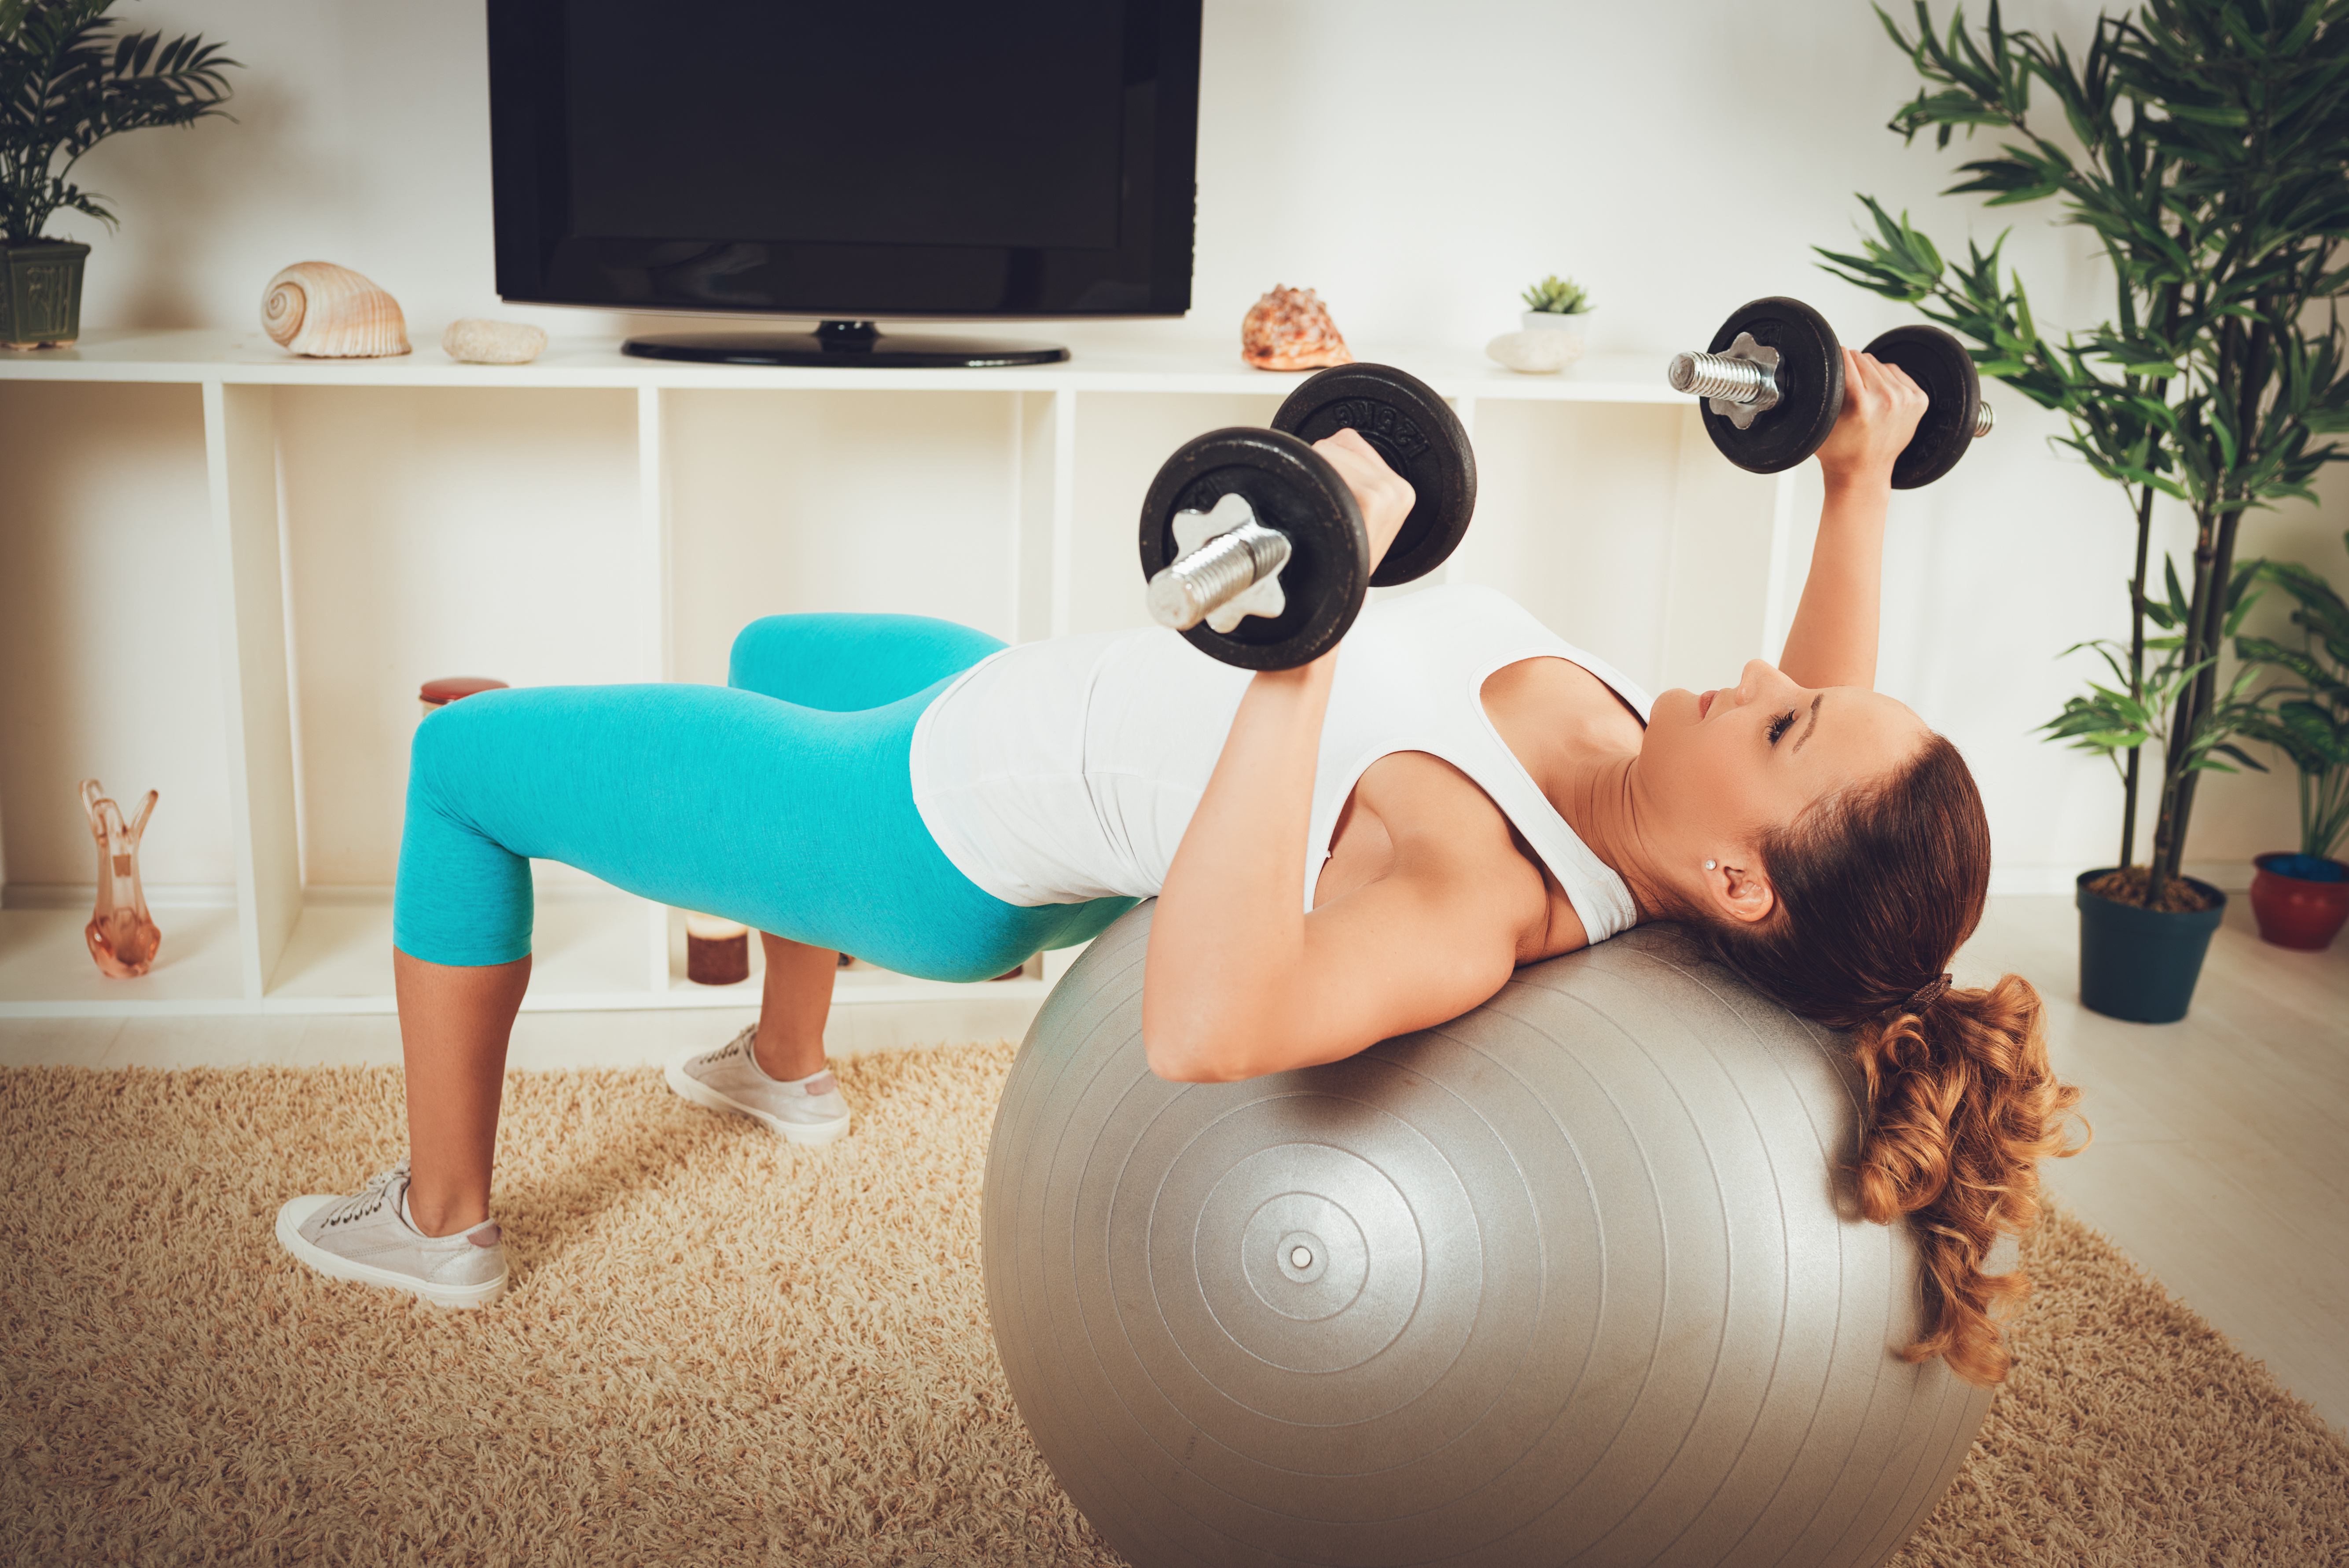
So you want a great body, but you don’t have the time or money for that gym membership? Or may you don’t like the night club like vibe of the gym. No problem! If you use your resources at home , you can find several ways of adapting existing exercises to your individual needs. Here are some innovative DIY workouts that will get you ripped without setting foot in a gym or touching a dumbbell. In fact, you can do most of them with equipment you’ve probably have lying around the house anyway, such as a backpack, some water bottles and liquid detergent bottles. Here’s how.

Push-Up Variations

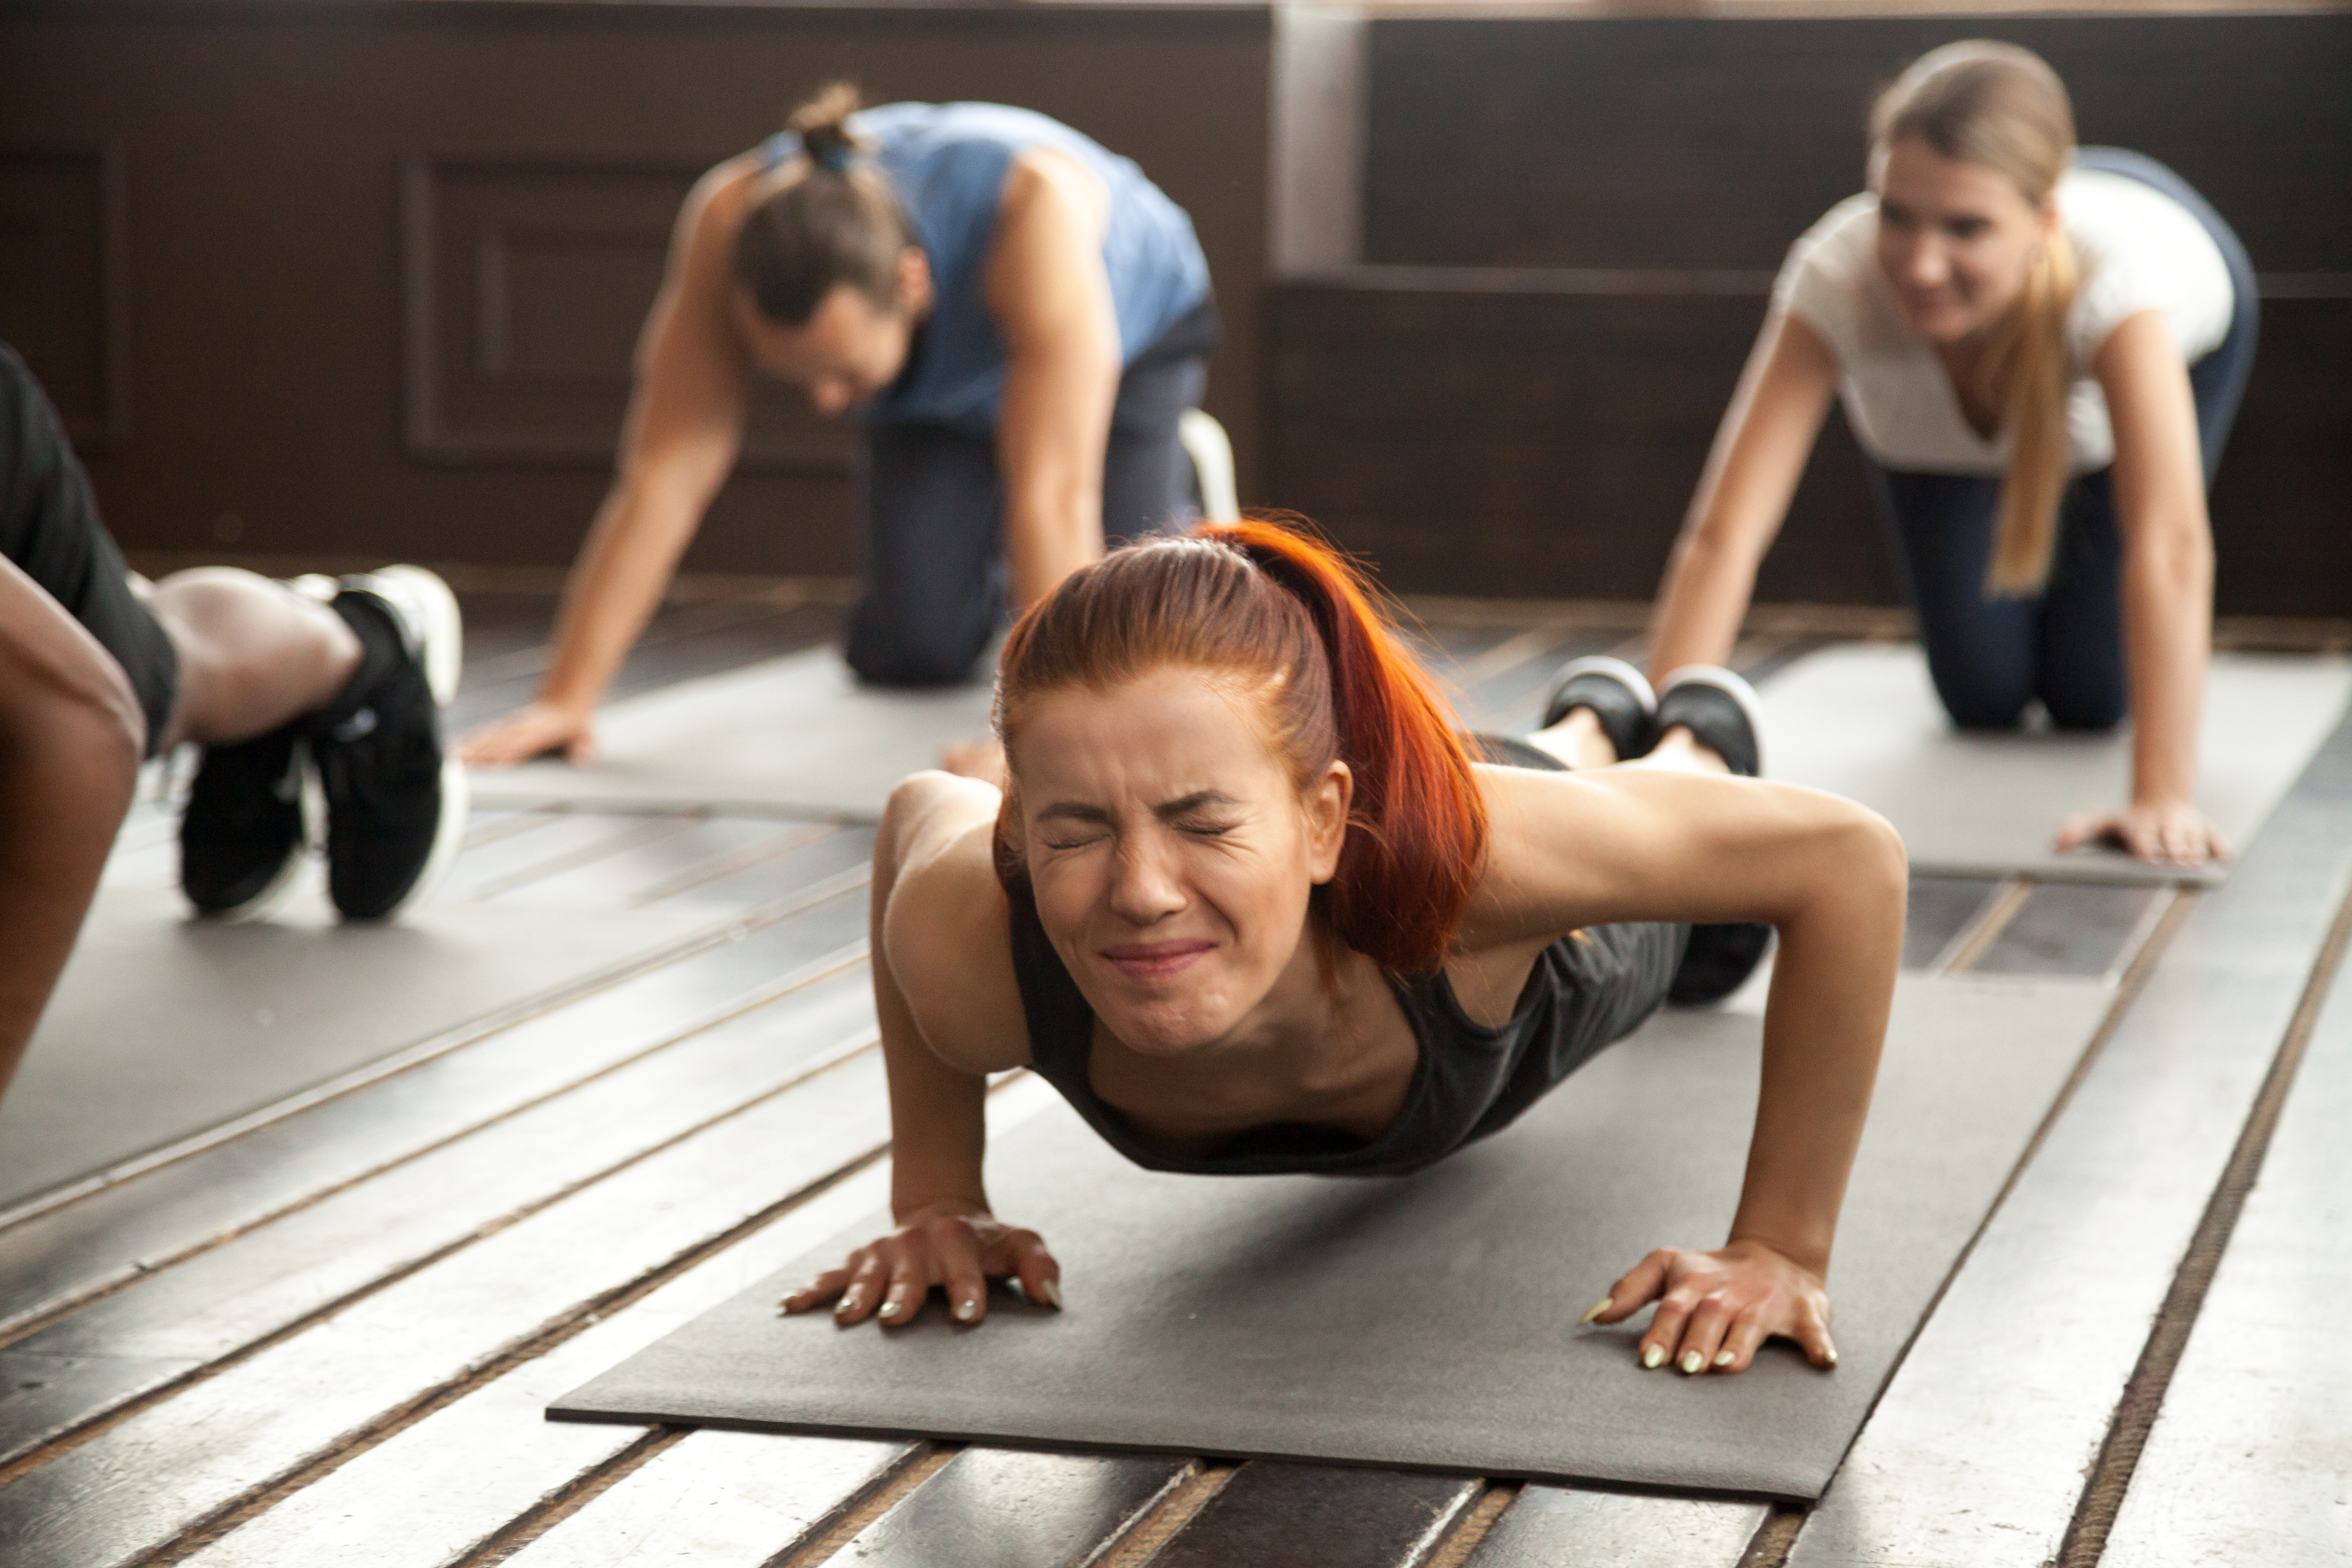
The push-up is one of the best body weight exercises around, even in its simplest form. The only problem, however, is that once you reach a certain level of fitness or musculature, it will stop being much of a challenge. Progressive overload is key if you want to keep making gains, but you don’t need to hit the gym to add some resistance. If you can do 40 or 50 push-ups, it’s time to change things up to ensure you continue to see results. All you need is a backpack and some bottles of water. Fill up as many bottles as desired, put them in your bag, and put it on. Voila! You’ve just added some weight and helped stress your pectoral muscles without spending anything. If that becomes too easy, just keep adding more bottles. If you don’t have enough bottles to hand, any other reasonably heavy object should suffice (just make sure it’s not breakable).

Squat with a Friend (or Use One Leg)

There are several upper-body exercises you can do without specialist equipment, but it’s important not to neglect your lower body if you want a balanced physique. A bodyweight squat doesn’t require much effort for most adults, and it certainly won’t help pack on any muscle. If you want to add resistance but don’t have any weights handy, see if you can recruit a friend or significant other to sit on your shoulders. The uneven distribution of weight compared to a barbell makes this more challenging than you’d think, and also ensures your core is working extra hard to stabilize you.

If you’re on your own, then try the pistol squat. Essentially a one-legged squat, it’s surprisingly difficult even for the fittest and most active people. Descend slowly while sticking one leg out in front of you, using the opposite leg for balance at the bottom, before exploding back up. If these become too easy, you can always hold something heavy in your hands or use the water bottle/backpack trick mentioned earlier.

Inverted Rows and Adapted Pull-Ups

Regular pull-ups are a great exercise in their own right, and if you have a pull-up bar handy (or any safe surface you can suspend yourself from), then you can perform this effective back exercise. For more advanced lifters who can do several reps without a problem, adding weight is a brilliant way of ensuring progressive overload. Again, if you have anything heavy you can hold between your legs (or put in a backpack), then you can increase the difficulty and keep making gains without making the trip to the gym.

Of course, even a regular pull-up is relatively difficult, especially if you’re doing many reps over the course of many sets. You still need a pulling exercise to balance out pushing ones such as pull-ups though. In this case, the inverted row is an excellent alternative that will work your back muscles. You’re essentially doing the same movement you would with a dumbbell or barbell row, only you’re hanging onto a bar or other surface above and working against gravity to pull yourself back upright. You can do these at a park, with a TRX suspension trainer, or at home if you have something suitable from which to hang. If you need to increase the difficulty, then grab that backpack again.

Use What’s Available

Obviously, there are limits to what you can achieve in muscle building if you never go to the gym, but with these innovative exercises, you can certainly make significant progress and save money at the same time. With a few simple pieces of equipment you probably already own, you can make these exercises even more effective and challenging, so you’re essentially only limited by your imagination! For people who lead busy lives, or simply don’t want to pay costly membership fees, these DIY workouts can deliver significant results.
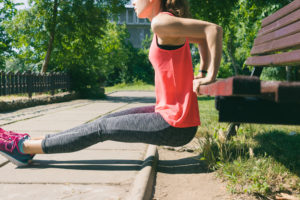
How to Make Triceps Dips Harder When You Train at Home


Here is another exercise that you can do with just your bodyweight. This can be done at home, in the park or in a hotel room.  Pretty much anywhere.

Triceps dips target your triceps, but this movement also work other muscle groups in your upper body, including the pectoral muscles in your chest. Plus, the anterior deltoids in the front of your shoulders, help with dips. The joint effort of several muscles makes triceps dips a compound, multi-joint exercise. Compound exercises should make up the bulk of your training exercises as they work more than one muscle simultaneously. This improves functionality and how the muscles work together as a unit.

[embedyt] https://www.youtube.com/watch?v=Hc7XrAmqfo8[/embedyt]

How to To Do  A Tricep Dip

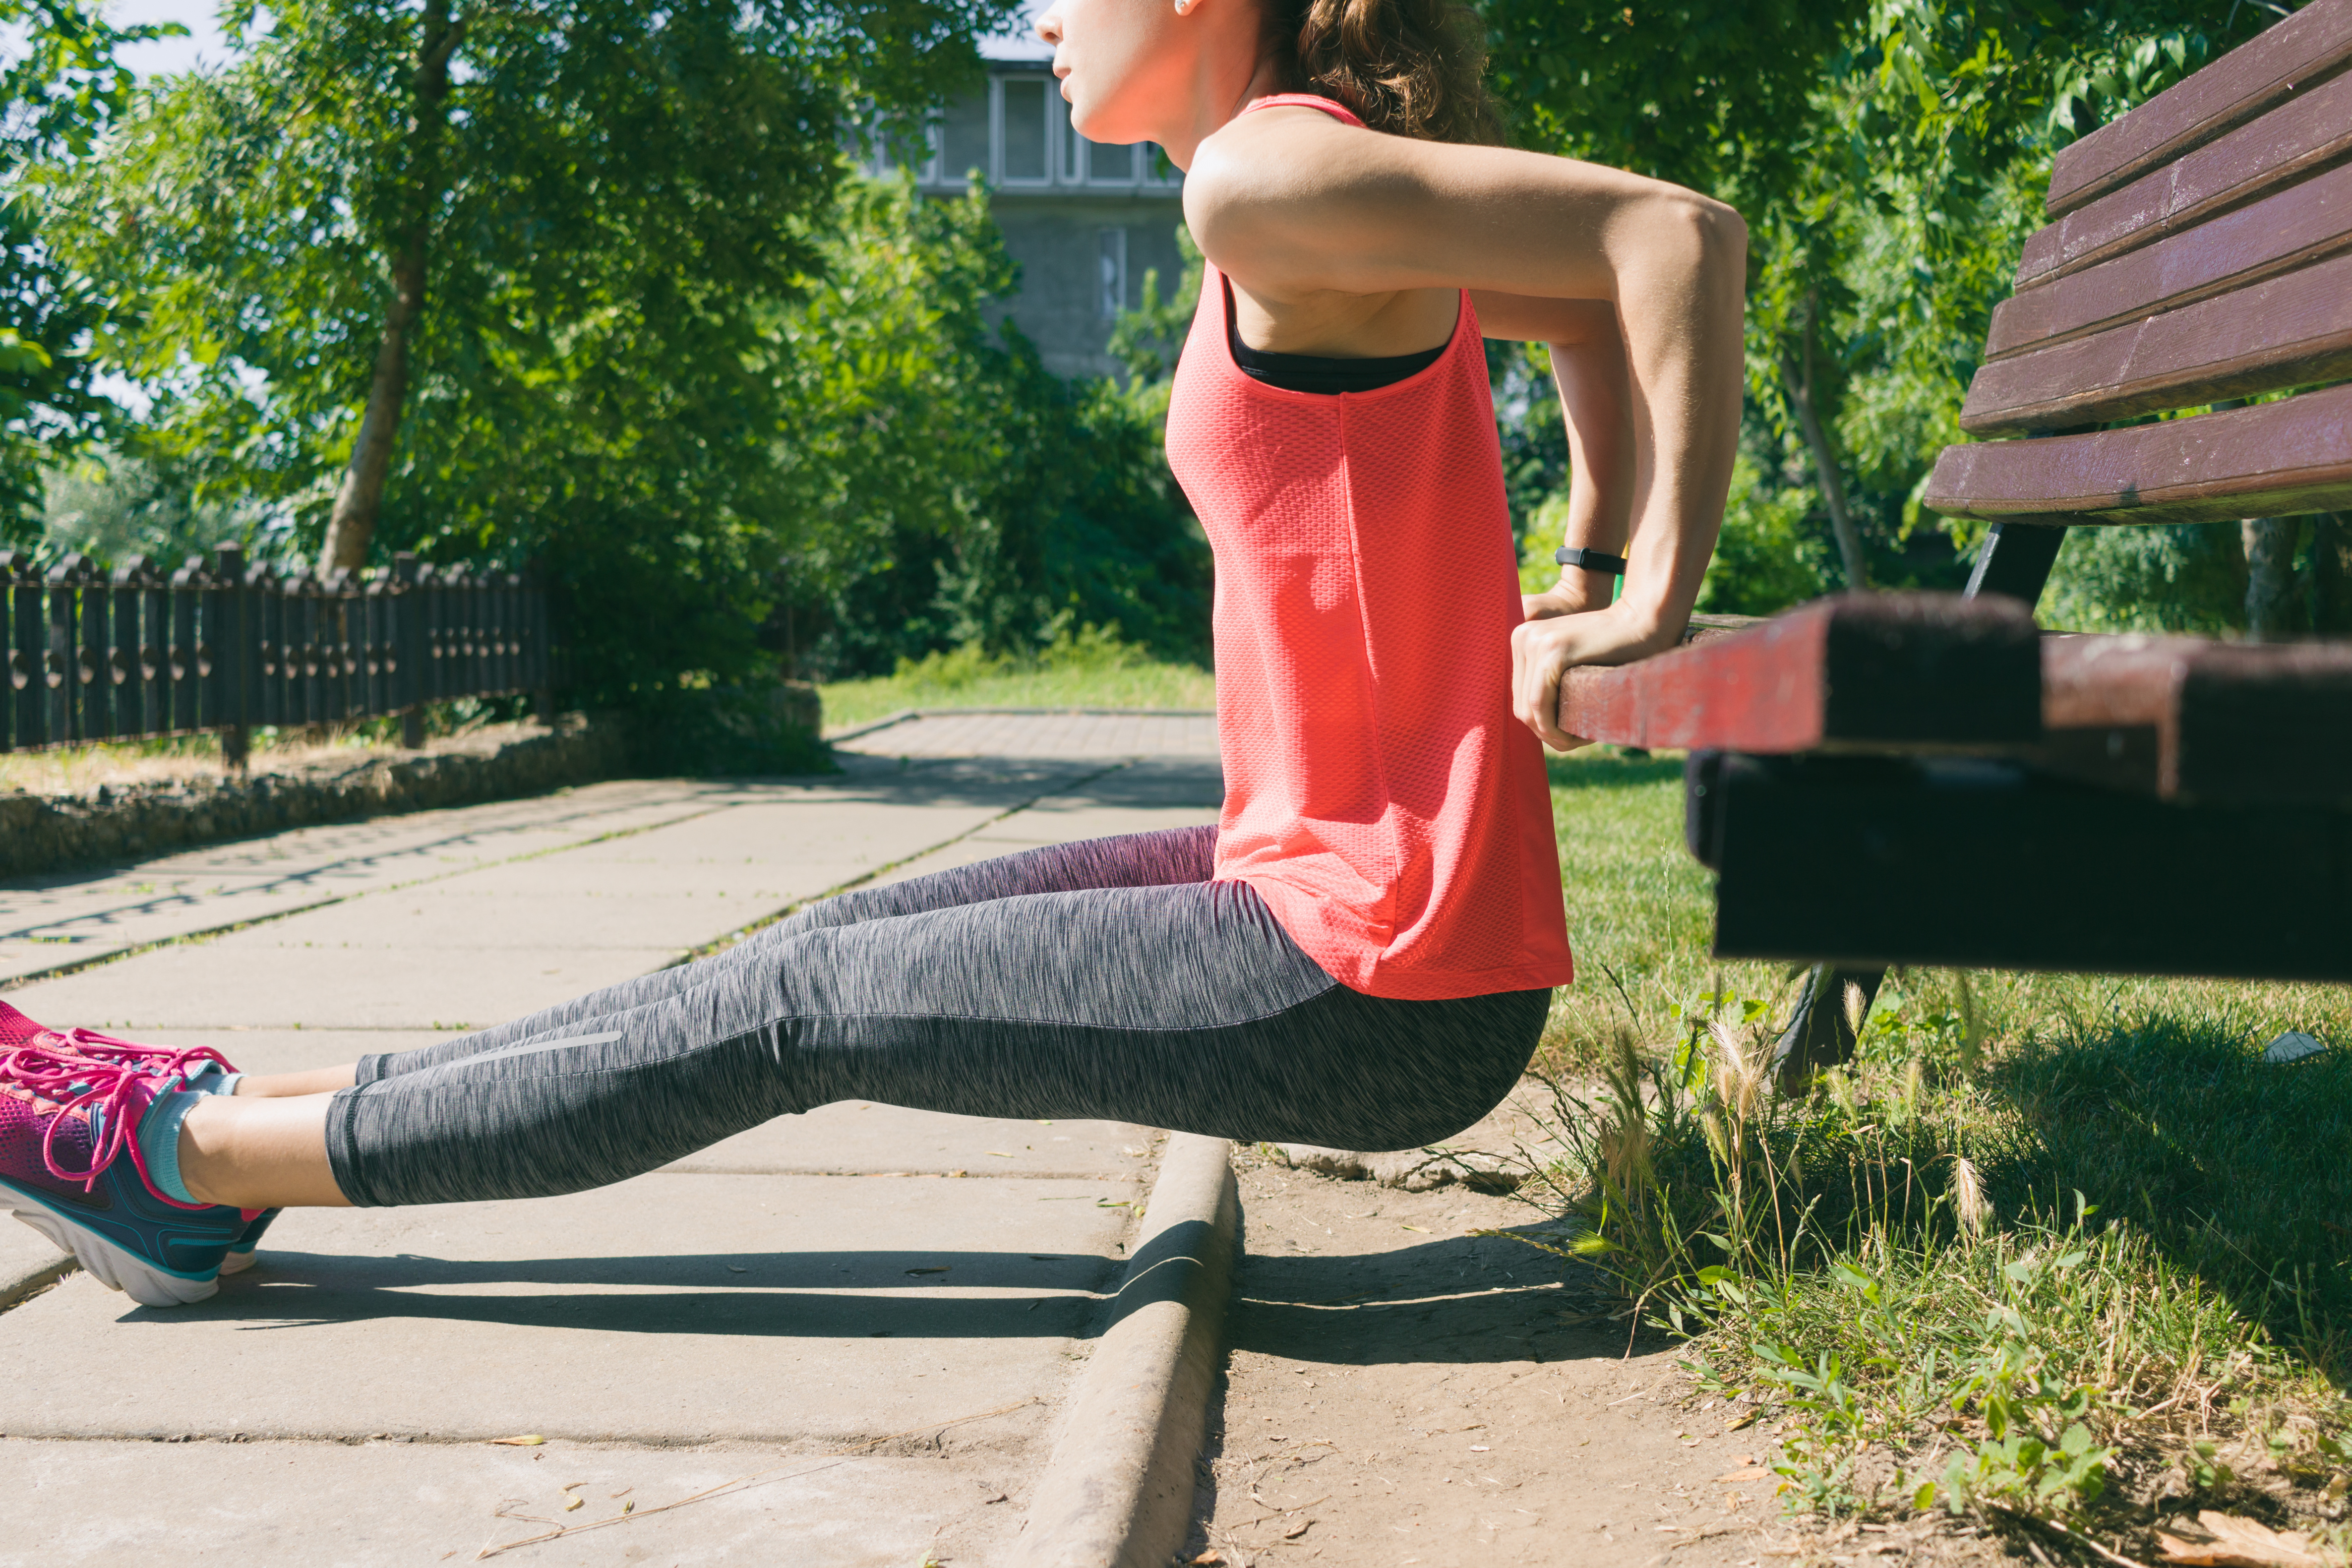
Ready to add dips to your routine? To do dips at home, all you need is a sturdy chair or bench to put your hands on.

Place your hands about shoulder width apart. Stretch your legs out in front of you with your heels on the floor. If you’re starting out and haven’t built up enough strength yet, bend your knees to make the exercise easier. Use your upper body to lower your body until your arms are at a 90-degree angle. Then, slowly straighten your arms as you raise your body back to the starting position. Pause briefly and repeat.

At first, it might be challenging, but your muscles will quickly adapt to the stress the exercise places on them and become stronger.

Congratulations! You’ve mastered the first hurdle, a standard triceps dip. But muscles need progressive overload to continue to gain strength and size.

One way to apply progressive overload is to do more repetitions of triceps dips. But, after a while, you may discover your triceps need more stimulation to continue to adapt and change. Once you can do 3 sets of 10 standard dips, your muscles need more stimulation. How can you make triceps harder besides increasing the number of reps?

Adjust Your Hand Position When You Dip

With a standard dip, your hands are shoulder width apart. But you can make the exercise harder by moving your hands closer together on the bench. The closer your hands are on the bench, the harder your triceps have to work to lower and raise your body.

Slow the Tempo

The slower the tempo with which you do a triceps dip, the more time you keep your triceps are under tension. Some research equates more muscle tension with greater muscle hypertrophy. A standard tempo for triceps dips is 2 seconds up, 1-second pause, and 2 seconds down. However, you can take an additional 2 seconds during the up and down phase to slow the movement. This increases the time the triceps are under tension and can help boost hypertrophy gains.

Pause Longer at the Top

Another way to increase the force on your triceps is to pause longer at the top of the movement. This is called an isometric hold. Always keep your elbows in and don’t lock them at the top. Try to hold for an additional second or two before lowering your body back to the starting position. Again, this increases time under tension. Pausing also takes momentum out of the movement and forces your triceps, chest, and shoulders to do all the work.

Elevate Your Feet When You Dip

You can also change where you place your feet. Grab another bench or sturdy chair and place your feet on them when you dip. Elevating your feet places more emphasis on the triceps and shoulders and makes the exercise a bit harder. Be careful not to shrug your shoulders when you do this or any other triceps dip exercise to avoid a shoulder injury.

Add More Resistance

You can also place a weight, such as weight plates, on your upper thighs as you dip or wear a weighted vest. This will add more resistance and overload the triceps muscles. If you don’t have weight plates, you can use a large sandbag. Make sure you’ve mastered the form for standard dips before adding extra weight. Your form should be perfect, or you risk injury.

Place Your Feet on an Stability Ball

Once you’ve mastered standard triceps dips and their variations, add a balance challenge. Place your feet on a stability ball and your hands on a bench to dip. Not only is this variation more challenging, but it’ll also develop your proprioceptive skills, the ability to know where your body is in space.

Good Form is Critical

Triceps dips is an exercise that carries a higher risk of injury. That’s because this exercise places stress on the front portion of the shoulder, and the shoulder joint is one of the least stable joints in your body. The reason? It’s a highly mobile joint, and with mobility comes less stability. Make sure you’re doing the exercise properly, preferably by watching your form in a mirror, before increasing the intensity or difficulty of the exercise.

Conclusion

Triceps dips is a pushing exercise since the triceps contract when you push weight away from your body. Be sure to work the opposing pulling muscle, the biceps, to avoid strength imbalances that can lead to injury or muscle imbalances.


References:

American Council on Exercise. “ACE-sponsored Research: Best Triceps Exercises”

Keep Fit with a Pedometer

Keep Fit with a Pedometer

Are you as fit as you should be? Do you exercise regularly, to a reasonable degree? If not, you need to start now. Lack of exercise can lead to heart disease and other serious health conditions, especially when combined with overeating and a poor diet.

Patients with heart problems are often prescribed a pedometer. This little gadget will count their daily steps, showing how much exercise they’re getting and how much more they need to take. But why wait until you reach this sorry state, when you can start counting steps and building fitness right now, and avoid such health risks? Of course, you can exercise without a pedometer, but a pedometer provides an ideal guide and incentive. There’s a range of styles to choose from, with various features and accessories, but a simple, low-cost one will do fine.

Here are some handy tips for getting the most out of your pedometer. Share them with friends and colleagues and stride out together for extra fitness fun. Ready?

Wear your pedometer daily

Make a habit of wearing your pedometer all day, every day, to monitor how much exercise you’re getting. Note your step count at different times, to assess which periods are the least active, and find ways to fit more activity into these slots.  Refer to your pedometer’s guide book or check online to see what your minimum step count should be, or for a more personal assessment, consult your doctor. Then focus on reaching that target and keeping to it. If you’re already achieving your recommended minimum count, see how you can improve on it.

Arrange your day around your exercise

If you spend a lot of your day sitting down, you’ll need to change that habit. Even if you need to sit at a desk in order to do your work, it won’t hurt your workload to take a few minutes out every hour for a brief march around the premises. If you’re really pressed for time, just stand up a minute and do some jumps and stretches, and when you visit the restroom, make a detour on the way back. Whether you’re working or idling, you’ll need a break at some point, so use it to get moving.

Set targets

Counting steps can soon become irksome, if you let it, so get some fun into the process. Turn your fitness drive into an absorbing and rewarding game by setting yourself little challenges each day. Tell yourself you’re going to do so many steps before lunch, or a certain number in half an hour, then see if you can beat your target next day. How many miles can you walk in a week? When you find yourself counting in miles, you’ll know you’re doing well. What’s more, as your muscles tone up and your heart grows stronger, you’ll approach those challenges with new drive and energy, and enjoy them even more.

More ways to make your steps enjoyable

Many people walk for sheer pleasure, and you’ll find it much easier to build your step count if you enjoy the exercise for its own sake, as well as for its challenges. Start by selecting an attractive environment, such as a riverside or park. Now choose an entertaining item to take with you, like a kite to fly or a ball to kick about. If you have a personal stereo, step to the beat of your favourite music. Make different arrangements through the week, such as meeting a friend or browsing around the shops. You might like to swap your walk for a bike ride or swim now and again. The pedometer may not be made for multi-sports, but you are.

The more exercise you take, the more fit and healthy you’ll be. You’ll feel good in yourself too, and will even concentrate better on your work. As for the pedometer, you can put it away once you get into the exercise habit — or give it to someone who needs it.

​Page 1 of 1

How Often Do You Need to Strength Train to Build Muscle?

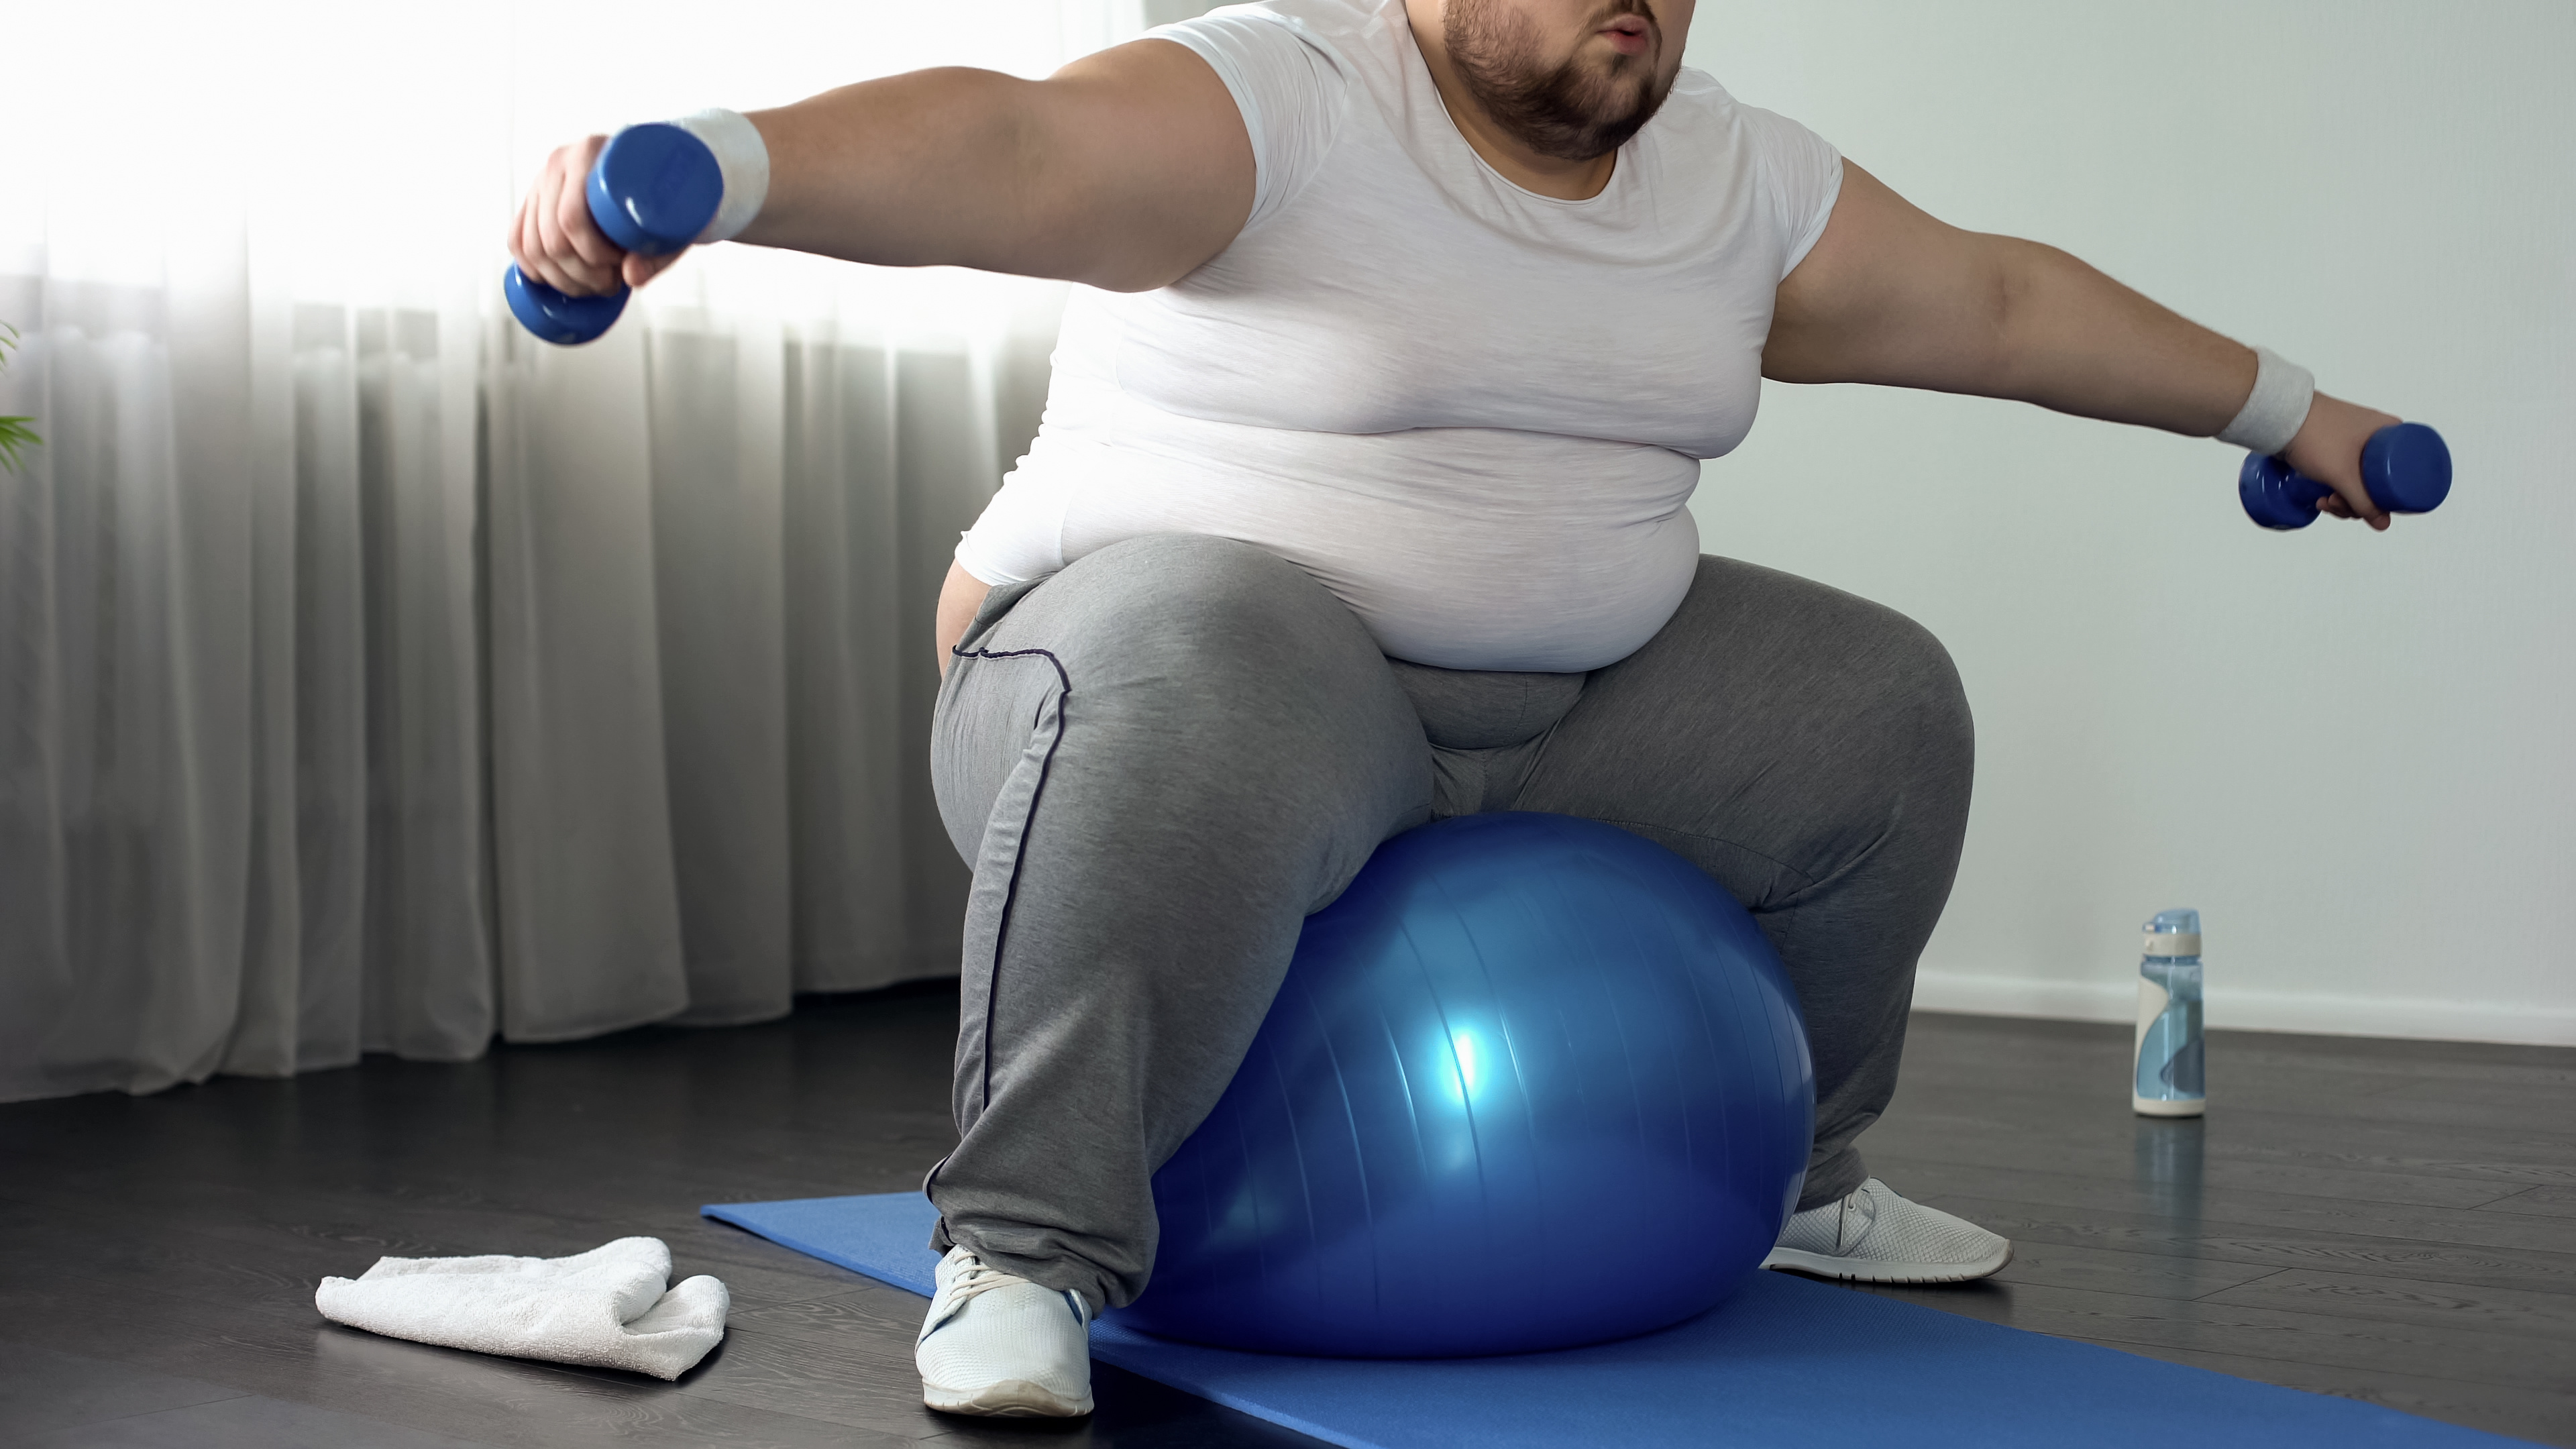
Corpulent male in sportswear lifting dumbbells sitting on fitness ball, activityStrength training is important at all ages and stages of life, for both men and women. The good news is you don’t have to join a gym or train every day to get fitness benefits and build muscle. These days, more people use bodyweight exercises and do strength workouts at home with little or no equipment. Some invest in a few pairs of resistance bands or dumbbells to enhance their training but that’s not necessary, especially in the beginning. There’s no one way to strength train. You can work your muscles against resistance in a variety of ways, including resistance bands, dumbbells, barbells, machines, or your own body weight.
How Often Should You Strength Train?

Suppose you want to get stronger. How much time do you need to put in and how frequently do you need to train to get benefits? The frequency with which you train is a variable that can impact the hypertrophy and strength gains you make. In fact, a number of studies have looked at whether more frequent training leads to greater strength gains. What can we learn from these studies?

Frequent training is lifting three times per week or more while low-frequency training is working muscle against resistance only one time per week. Working muscle groups one time per week seems to be the minimum you can get by with and still see strength gains. Is low-frequency training as effective for strength gains?

A study published in the International Journal of Exercise Science compared strength gains subjects made when they trained three times per week as opposed to only once per week. Despite the differences in how often the subjects trained, total training volume was similar. The subjects who trained only once per week did three times the volume on their training days to even things up.

The results? After 8 weeks, strength gains between the two groups were similar. Based on this study, it appears you can train only once per week and get similar strength gains to someone who works out three times per week. The key is to do equal training volume. So, total training volume is more important than strength training frequency, based on this study.

Another study in 2012 that compared strength training 3 times per week to 6 times per week and controlled for total training volume found that more frequent training led to greater strength gains. However, this study was published in a peer-reviewed journal. Plus, it involved highly trained powerlifters.

Finally, a recent meta-analysis of 12 studies looking at the impact of training frequency on strength gains showed no additional benefits of more frequent training on strength gains when the total training volume was the same. These studies suggest that total volume is more strongly linked with strength gains than how frequently you train.

Also, of interest is a study showing you can retain the strength gains you gain through strength training by training as little as one day per week. However, the endpoint of the study was 12 weeks, so it’s not clear if that holds true over a long period of time. The good news? It takes less training to retain strength than it does to develop it in the first place.

Conclusion

Training frequency seems to be less important than training volume for strength gains. Most of the research showing greater strength gains with more frequent training didn’t control for total training volume. But there haven’t been enough studies that adequately controlled for total training volume to draw firm conclusions. How frequently to train to maximize strength can vary based on a variety of factors – age, genetics, gender, how heavily you train, and the muscle groups you work. It’s hard to draw firm conclusions based on limited data.

Here’s the bottom line. Although it may be possible to gain and retain strength by working your entire body only once per week, the volume you’d have to do could be time prohibitive. But it’s reassuring to know if you ever get into a time squeeze and can’t train more than once per week for a while, you can still make strength gains and retain them.

Whatever approach you take, be sure to give the muscles you worked at least 48 hours of rest and recovery before working them again. Strength adaptations take place in response to training, but they occur between training sessions when your muscles are recovering and rebuilding. Rest is an important part of the equation and one you shouldn’t skimp on. Also, give as much attention to nutrition as you do to your training. If you don’t consume enough calories and protein, the gains you make will be slow.

References:

Stronger by Science. “High-Frequency Training for a Bigger Total: Research on highly trained Norwegian powerlifters”

International Journal of Exercise Science 9(2): 159-167, 2016.

Sports Med Open. 2018 Dec; 4: 36.

Int. J. Sports Med. 1988 Oct; 9(5): 316-9.

How Long Should You Rest Between Sets When Resistance Training?

The rest period between exercise sets is one of the variables you can tweak to change the stimulus you place on the muscles you’re training. The length of time you rest between resistance sets should depend on the resistance you’re using and your training goals. It’s during the rest between sets that your muscles partially replenish their energy stores so they can generate force again. Therefore, the time you rest can impact your performance when you train. So, how long should you rest between sets?

If Strength Building Is Your Main Goal

If your main objective is to build strength, the ideal formula is to choose a heavy resistance since lifting a heavy load maximizes strength gains. In general, a resistance that allows you to complete three to five reps before the muscles are exhausted works best for maximal strength gains. Because you’re using a heavier load, you won’t be able to do as many reps before your muscles fatigue. Once your muscles are exhausted, they have to partially recover to generate the same amount of force. Depending upon the length of the rest period, the recovery can be partial or almost complete.

For strength gains, you’re maximizing the amount of weight you lift on each set. Since you’re using a heavy load, your muscles will need more time to recover between sets. Adding extra recovery time means they can generate more force on the next set. So, in general, rest periods are longer when the goal is to build brute strength.

How long should you rest between heavy lifts? Two minutes would be the minimum, but many powerlifters rest even longer between sets, as long as three to five minutes. Resting longer gives your muscles more time to gear up for the next set.

If You’re Trying to Get Fitter and Leaner

What if your main objective is to get fitter and leaner rather than to build muscle size or strength? In this case, lift lighter and do more reps. This approach primarily builds muscle endurance and increases general fitness. Since you’re not using heavy weights, where you need longer recovery time, the rest periods between sets is short.

In fact, you can do a circuit workout where you whip through exercises in quick succession with little or no rest between exercises. The need for muscle recovery and regeneration of energy is less since you’re not completely depleting muscle energy reserves. In addition, moving quickly from exercise to exercise burns more calories than standing around

If You’re Trying to Increase Muscle Size

If you’re trying to boost the size, or hypertrophy, the muscles you’re working, a moderate rest period can help you achieve your objective. For hypertrophy gains, moderate resistance works best because you can do more repetitions using a moderate weight than you can using the heavy resistance you need to maximize strength gains.

For hypertrophy gains, choose a weight that allows you to do 8 to 10 reps before the muscle is thoroughly fatigued. Since you’re not using an ultra-heavy resistance, as with strength building, the rest period can be shorter, between 60 and 90 seconds. Shorter rest periods, as opposed to the several minute rests you use for strength gains, create more metabolic stress and that favors muscle hypertrophy.

Studies don’t universally support this though. In fact, there was a small study showing a longer rest period may be best for both strength and hypertrophy gains. In the study, 21 guys performed resistance training using either long or short rest periods between sets. The short rest group rested one minute between sets and the second paused for three minutes.

The results? At the end of eight weeks, the long rest group enjoyed greater strength AND hypertrophy gains. The likely reason is the longer rest group was able to perform more total volume when they rested longer between sets. Keep these results in mind when deciding how long your rest periods should be. Extending the rest period a bit to two or three minutes may stimulate greater muscle gains over time by allowing you to do more total volume.

On the downside, you get less metabolic stress, another driver of muscle growth. You can always vary the time you rest between sets during different training sessions or periodize your workouts so you vary your training variables, including rest between sets.

The Conclusion

How long you should rest between sets depends on the resistance you’re using and what you’re trying to achieve. If you’re after brute strength, go heavy on the weight and rest for two to three minutes between sets. For fitness gains without marked changes in muscle size or strength, lighten up on the weight, do high reps, and rest minimally between sets.

Hypertrophy falls somewhere in the middle. Moderate weights and moderate rest between sets. Rest periods can be as short as 60 seconds, but as long as three minutes may be ideal, based on one study. Know your goals and adjust resistance, total training volume, and rest periods based on those factors.

References:

Greatist.com. “How Long Should You Rest Between Strength Training Sets?”

Fitness Prescription. February 2004. pages 152-153.

4 Phases of a Successful Workout Sequence

Are you ready to get into top physical shape at home? Then, it’s time to put on your fitness trainer cap and learn to design your own workout sequence. Fortunately, it’s not hard to do You can divide a workout sequence into four distinct stages. Let’s look at each one and why it’s important.

Dynamic Warm-up

Don’t skip the warm up! Never start a workout with cold muscles. The warm-up is designed to raise your core body temperature and get the blood flowing to your muscles before you start working them. The increased blood flow improves the pliability of muscles and gives them more flexibility. A dynamic warm-up also prepares your heart, nervous system for the exercise to come and gets you in the mood to workout.

At one time, it was popular to make static stretching part of the warm-up, but some research shows this can reduce the power output of a muscle as well as reduce exercise performance. So, a dynamic warm-up is what fitness trainers recommend. This type of warm-up moves the muscles you’ll be working in a dynamic manner rather than holding a muscle static and stretching it.

To begin a dynamic warm-up, start with a few minutes of light cardio exercise, like jogging in place, jumping jacks, high knees, or butt kicks. The goal isn’t to get cardiovascular benefits but to slowly increase your heart rate and body temperature. Keep the intensity low. You should easily be able to talk in complete sentences.

After a few minutes, do some leg swings, front kicks, walking lunges, and alternating side lunges. This sequence should cover your lower body. For the upper body, do a series of arm swings, punches, arm crossovers, shoulder circle shrugs.

Length of time:

5 to 10 minutes. If you’re working out later in the day when your body is warm, 5 minutes may suffice. If it’s first thing in the morning, cold or if you feel stiff, 10 minutes is more appropriate.

Skill Training Phase

Now that your muscles are warm, it’s time to get to the “meat” of the workout. These are the exercises you’ll do to increase your fitness level over time. If you’re training at home, you can build strength, muscle endurance, and muscle size using only body weight exercises.

First, decide how many days per week you plan to train. If you can only train two days per week, you’ll want to work your entire body in a single session, including upper body, lower body, and core. If you can train 3 or 4 days per week you can set up a split routine. Do lower body and core during one session and upper body in a separate session and alternate back and forth between upper and lower body exercises at each session. Here are some of the exercises you can choose:

Upper Body Bodyweight Exercises:

  • Push-up and push-up variations.
  • Pull-ups and chin-ups
  • Triceps Dips
  • Lower Body Bodyweight Exercises:
  • Deep squats
  • Forward, lunges, backward lunges, and side lunges, Bulgarian split squats
  • Glute bridges
  • Hip Thrusts
  • Donkey kicks
  • Calf raises

Core:

  • Planks and plank variations
  • Crunches and variations on crunches (stick more to planks if you have back issues)
  • Leg Raises
  • Bird dogs
  • Supermans
  • Dynamic Exercises for Cardio Benefits:
  • Squat jumps
  • Plyo lunges
  • Burpees
  • Mountain climbers

If you’re training lower body and core, pick 3 exercises from the lower body exercise group and three from the core group. For each exercise, do as many reps as you can until it’s hard to complete another rep using good form. Rest for 2 minutes. Do another set. Aim for 3 sets total. Do the same for the upper body on days that you work your upper body.

What about the dynamic exercises on the list? You can do these exercises that boost your heart rate during a separate training session or in between other bodyweight exercises. If you do them between exercises, the dynamic nature of these movements will keep your heart rate up for additional cardiovascular benefits.

Length of time: 45 minutes to an hour

Maintain Conditioning Phase

To keep making fitness gains, you must continue to place an additional challenge on your body. This is the principle of progressive overload, the idea that you must incrementally increase the challenge to force your body to adapt. When you’re working with weights, you can do this by increasing the weight. With bodyweight exercises, you can overload the muscles by increasing the number of reps, by increasing the number of sets or by adding more exercises to your current workout. Another option is to train more frequently. This will increase the total number of sets you do on a weekly basis. But, be sure to rest the muscles you just worked for at least 48 hours.

Also, you can do more challenging versions of body weight exercises you’re currently doing. For example, you can make push-ups harder by elevating your feet on a bench or by doing variations like plyo push-ups or triangle push-ups. There are tons of push-up variations to choose from! The same goes for planks.

If you continue to train without adding progressive overload, you’ll maintain your current level of fitness but will eventually reach a plateau where you stop making further gains. If you’ve built up a certain level of fitness and just want to maintain it, this may work for you.

Cool-Down Phase

The cool-down is designed to bring your body temperature down slowly and re-equilibrate blood flow. When you exercise, blood diverts to the muscles you’re working and away from organs, like your digestive tract that doesn’t need it.

The cool-down helps restore blood flow to vital organs like your brain. If you suddenly stop exercising without cooling down, you may feel lightheaded or dizzy as blood flow hasn’t is still directed toward your working muscles and your brain feels the shortfall. So, it’s important to reduce exercise intensity slowly and not stop suddenly.

If you’ve just done exercises that boost your heart rate, like mountain climbers, a light jog will bring your heart rate down gradually. Include some of the dynamic movements you did during the warm-up, such as leg and arms swings, in the cooldown as well.

Now that your workout is over, static stretching helps lengthen the muscle you’ve just worked. Include some of these at the end of a cooldown, especially if you have muscle groups prone toward tightness. Borrow from yoga and include downward and upward-facing dogs in your cooldown routine. Once you’ve finished cooling down, don’t forget to hydrate!

Length of time: 5 to 10 minutes

Conclusion:

Now you have a better idea of how to structure your workouts when you train at home. Be sure to give yourself a full day of rest each week!


Pull vs. Push Workout: Why It’s an Effective Way to Strength Train

When you train for strength or hypertrophy gains, the workout you do should be balanced. Maintaining balanced strength and muscle development means working each muscle along with its opposing muscles to ensure symmetrical strength development. That’s important since strength imbalances increase the risk of injury.

The movements that muscle perform fall into two main classes: pushing and pulling. For example, when you do a bench press, a classic pushing movement, the muscles in your chest contract as you push the weight above your chest. Pushing movements, like the bench press, also work the triceps and deltoids in the upper body. So, the triceps and deltoids are pushing muscles. Other examples of pushing movements for the upper body include push-ups and shoulder presses. These exercises target the triceps and deltoids respectively. In the lower body, a classic pushing exercise is leg extensions and squats, exercises that primarily work the quadriceps. Other push muscle muscles in the lower body are the glutes and calves.

Muscles That Pull

With a pull movement, the muscles you’re targeting contract as you pull the weight toward your body. These movements work the opposing muscle groups to the ones targeted during push exercises. An example of an upper body pulling exercise is biceps curls. When you curl the weight up toward your shoulders, you pull the weight in the direction of your body, and your biceps do the pulling. So, the biceps are classic pull muscles. Other pull muscles include the muscles in the upper back (trapezius & latissimus dorsi), the hamstrings, and the abdominals.

Push-pull training helps ensure you’re getting balanced training since you’re working the opposing muscle groups separately and focusing on muscles that perform a particular function during each training session. The goal is to do specific exercises that target the “pushers” or “pullers” in a balanced manner. Balanced training is important for making functional strength gains. For example, the shoulder press works the deltoids, classic pushing muscles, but the opposing muscles in the upper back also need strengthening for symmetry, balance, and functionality. Strength imbalances are a common cause of injury and contribute to chronic back and neck pain. By working the opposing, pulling muscles, both sets of muscles get the attention they need. How do you balance out a deltoid-centric exercise like the shoulder press? Try chin-ups. Pulling your chin above a bar is a movement that works the opposing muscles in the upper back.

In reality, most people focus too much on strengthening the pushing muscles and too little on working the muscles that pull. Doing enough pulling exercises is particularly important if you sit in a chair most of the day. If you’re stuck in a chair most of the day, you probably sit hunched over in a way that tightens the muscles in your chest and lengthens the muscles in your upper back. Talk about an imbalance! The best way to correct that imbalance is to add pulling exercises to your routine to strengthen the upper back muscles that counter tight chest muscles.

How to Do a Push-Pull Workout

The idea behind a push-pull workout is to train the pushing muscles during one session and the pulling muscles during a separate session on a different day. That way each type of muscle gets the focused attention it needs. Doing it in this manner maximizes workout efficiency and hits the muscles you’re working hard for greater strength and hypertrophy gains. So, one training session would be devoted to pushing exercises and the next to pulling. Depending upon how many days you train, you could work both upper and lower body pushing muscles during the same session or split the upper and lower body into separate sessions.

Some people do a push or pull workout for their upper body during two separate sessions but work their entire lower body on a separate day. For example, they might do upper body pushing exercises during session one. Session two would be lower body training, and session three would consist of upper body pulling exercises. Since you need a day of rest between each session, that means you train three days per week.

If you can work out four days per week, you can train upper and lower body via separate push and pull sessions. Do an upper body push workout on day one, and a lower body pull session on day two. Take a day of rest. Then, do an upper body pull workout on day four and a lower body push session on day five.

You can structure a push-pull workout however you’d like. The only stipulation is that you focus exclusively on pushing or pulling during that session. Of course, you need to know which exercises focus on pushing and which are pulling movements.

Pushing Exercises

Pushing exercises for the upper body include bench press, push-ups, chest presses, chest flies, shoulder presses, lateral raises, front raises, triceps kickbacks, skull crushers, and lateral raises. For the lower body, you can choose from squats and their many variations, leg presses, and forward lunges. You can even do a push workout without equipment by doing several push-variations along with deep squats and lunges.

Pulling Exercises

Pulling exercises for the upper body include biceps curls and their variations. There are lots of variations on curls, including preacher curls, concentration curls, dumbbell curls, barbell curls, hammer curls incline curls, and reverse curls. Each is a pulling exercise. Also, rows and their variations, including bent-over rows, upright rows, renegade rows, single-arm rows, and barbell rows. Don’t forget about pull-ups! They’re the ultimate in challenging pulling exercises. For the lower body, deadlifts, glute bridges, back extensions, and squats and their variations strengthen the muscles that pull efficiently.

Conclusion

Now you have a better idea of the benefits of structuring your workouts around separate push and pull sessions and a greater awareness of which exercises emphasize pulling and which target the pushing muscles. As always, warm up before starting a push or pull workout. Don’t forget that you still need to use progressive overload to keep seeing results. Have fun pushing, pulling, and growing!

References:

Int J Sports Phys Ther. 2013 Apr; 8(2): 138-144.

J Electromyogr Kinesiol. 2005 Jun;15(3):282-9.


Supersets: An Advanced Strength-Training Technique You Want in Your Routine

Muscles adapt to the stimulus you place on them. When you progressively overload your muscles by increasing the resistance or volume when you train, your muscles are forced to develop greater strength and mass to accommodate the overload. But over time, muscle growth and strength gains can slow down or plateau. At that point, you’ll have to challenge them in a way they’re unaccustomed to. There are a variety of advanced training strategies that can help you break out of a plateau and challenge muscles that need a wake-up call. One of these is super sets.

What Are Supersets?

A superset is performed by doing two sets back-to-back with no rest between the sets. Supersets can target agonist muscles or antagonist ones. An agonist superset is carried out by doing two exercises in a row that target the same muscle group. For example, an agonist superset might be squats followed by leg extensions. Both exercises work the quadriceps muscles.

Antagonist supersets work two opposing muscle groups in the same way. For example, the biceps and triceps are two opposing muscle groups. To do an antagonist superset that works these muscles, you could do triceps dips followed by biceps curls. Why not do triceps kickbacks instead of triceps dips? Ideally, supersets should consist of a compound exercise followed by an isolation exercise.

Compound exercises are multi-joint movements that work more than one muscle group at a time. They involve the movement of several joints simultaneously. Squats and triceps dips are examples of multi-joint movements. Isolation exercises, like biceps curls and leg extensions, work only one muscle group at a time.

Could you do two compound exercises instead when you super set? It would be difficult since performing two compound exercises in a row is too exhausting. Remember, you aren’t resting between the two sets. So, you’ll have a hard time tackling another compound movement so quickly. Some people superset by doing sets that involve two different muscle groups entirely. For example, squats followed by biceps curls. However, this isn’t a true superset.

Exercise Order

Which should come first, the compound or the isolation exercise? If you do the isolation exercise first, you’re doing a pre-exhaust superset. In this case, you exhaust a muscle with an isolation movement and then force it to work again in an already exhausted state. Pre-exhausts can spur the growth of the muscle group you targeted with the isolation exercise. If you do the compound exercise first, it’s a post-exhaustion superset.

Which is better? A 2003 study looked at quadriceps activation using EMG analysis when participants did pre-exhaust and post-exhaust sets that worked the quadriceps. Two of the three quad muscles were activated more with the post-exhaust set as opposed to the pre-exhaust set. So, post-exhaust may give you more bang for your training buck.

Why Do Supersets?

As mentioned, supersets challenge your muscles in a unique way. Therefore, the extra stimulus your muscles get from supersetting can help jumpstart muscle growth when you’ve reached a plateau. It’s an example of a more advanced training technique and a way to use progressive overload in a less conventional manner.

Another benefit of this type of training is it creates more of an afterburn. Also referred to as EPOC (excess post-exercise oxygen consumption), the afterburn is the additional calories your body burns after exercise to restore your body to its pre-workout state. When you do two sets in a row without rest, more lactic acid builds up in the muscles you worked. The lactic acid lowers the pH and forces your body to expend more energy to recover. So, it’s a strategy for boosting the number of calories you burn when you train.

Plus, as mentioned, supersets help stimulate the growth of the muscle you’re exhausting. For example, if you’d like to jump-start the growth of your triceps, you might do a post-exhaust set by doing triceps dips (a compound exercise) followed by triceps kickbacks. (an isolation exercise) You can use this strategy to target any muscle group and exhaust it.

Conclusion

Supersets are an advanced training technique you can easily add to your strength-training arsenal. Use this training technique once you’ve mastered a traditional rep scheme and need another way to stimulate your muscles. You can also use supersets as a way to make a training session more time expedient. By not resting between sets, you’ll expedite your workout on those days when you have less time to train. However, superset training fatigues the muscles you’re working more and may require more recovery time between workouts. Keep this in mind and don’t do them more than once per week.

Enjoy the added strength, hypertrophy, and fitness benefits that adding supersets to your routine offers!

References:

Poloquin article. “Workout Systems: Post-Exhaustion Method”

Eur J Appl Physiol. 2017; 117(9): 1877-1889.

​​ Does Strength Training Reduce the Risk of Cancer?


Cancer is a diagnosis we don’t want to get. Unfortunately, the odds of hearing the frightening words “you have cancer” at some point in a lifetime are relatively high. According to the American Cancer Society, a man has a 39.7 percent risk of developing cancer over a lifetime while women have a 37.6 percent risk.

Cancer is a multifaceted disease that can affect any organ and strike at any age, but the risk of developing most cancers rises as the years go by. Genetics plays a role in cancer risk, but most cancer stems from an interaction between genetics and the environment. Estimates are that at least 40 percent of cancers can be prevented through lifestyle. That’s encouraging!

One healthy lifestyle factor linked with a lower risk of some health problems, including cancer, is exercise. You might think that aerobic exercise wins the prize for being the most protective against malignancies, but a large study suggests that strength training too may lower the odds of getting a cancer diagnosis too.

What Research Shows about Exercise and Cancer Prevention

During the study, researchers looked at the lifestyle habits of over 80,000 adults past the age of 30. They quantified how much strength and aerobic exercise they did and took into account other lifestyle factors that might influence cancer risk. What did they find?

Subjects who strength trained at least two times per week had a 31 percent lower risk of dying of cancer. They also had a reduced risk of dying prematurely from any cause. Interestingly, following the World Health Organization’s guidelines for aerobic activity was not linked with a lower risk of developing a malignancy, although this doesn’t mean aerobic exercise doesn’t have benefits.

Because this was an observational study rather than a randomized, controlled trial, it only shows an association between strength training and a reduction in cancer. It doesn’t necessarily imply causation. However, other research links greater muscle strength with a reduced risk of dying of cancer as well. In addition, a study published in Mayo Clinical Proceedings found that strength training at least once per week was correlated with a lower risk of death among cancer survivors. So, exercise is beneficial for people who have had cancer too.

How Might Strength Training Reduce Cancer Risk?

The mechanism by which strength training lowers cancer risk isn’t clear but there are some theories. Working muscles against resistance and increasing muscle size and mass improve how cells handle glucose. When cells can more easily take up glucose, less insulin circulates in the bloodstream. That’s a health positive! Insulin is a growth factor that stimulates cell growth, including malignant cells. One way in which strength training may reduce cancer risk is by reducing insulin-stimulated cell growth and by lowering blood sugar levels.

Another possible way strength training likely reduces cancer risk is by helping with weight control. Obesity is associated with a higher risk of at least 13 types of cancer. So, staying a healthy body weight should be part of an anti-cancer lifestyle. It’s not just total body weight that counts, it’s also body composition. You can be normal body weight and still be obese according to body fat percentage. Men who have a body fat percentage greater than 26 percent are obese while over 32 percent is the cut-off for obesity in women.

Start Strength Training!

Strength training has so many health and fitness benefits. It’s through strength training that we reduce muscle loss due to aging. Inevitably, loss of muscle tissue leads to frailty and inability to get around as easily. How many seniors are in nursing homes because they lost so much muscle from inactivity and because they didn’t work their muscles against resistance?

On the positive side, research shows even people in their 80’s and 90’s can gain muscle size and strength through strength training. But, even better, start now. Do it regularly and you may lower your risk of health problems later, including your risk of developing cancer.

Remember, you don’t need a gym to build strength. You can strength train at home with little or no equipment. Bodyweight exercises build strength and muscle size and all you need is an exercise mat. Once you’ve built a baseline level of strength, you can add resistance bands, kettlebells, or dumbbells later. Just do it! But, remember, aerobic exercise is still important. Make time in your routine for that too. It doesn’t have to be prolonged. Even 20 minutes of high-intensity interval exercise is enough to offer substantial health benefits.

References:

Cancer Epidemiol Biomarkers Prev. 2009;18(5):1468-1476. doi:10.1158/1055-9965.EPI-08-1075.

Medical News Today. “Strength training may lower early death risk”

Mayo Clin Proc. 2014 Aug; 89(8): 1108-1115.

American Cancer Society. “Facts & Figures 2018: Rate of Deaths from Cancer Continues to Decline”

WebMD.com. “Body Fat Measurement: Percentage Vs. Body Mass”

​​ Power Up Your Fitness Level with Mountain Climbers

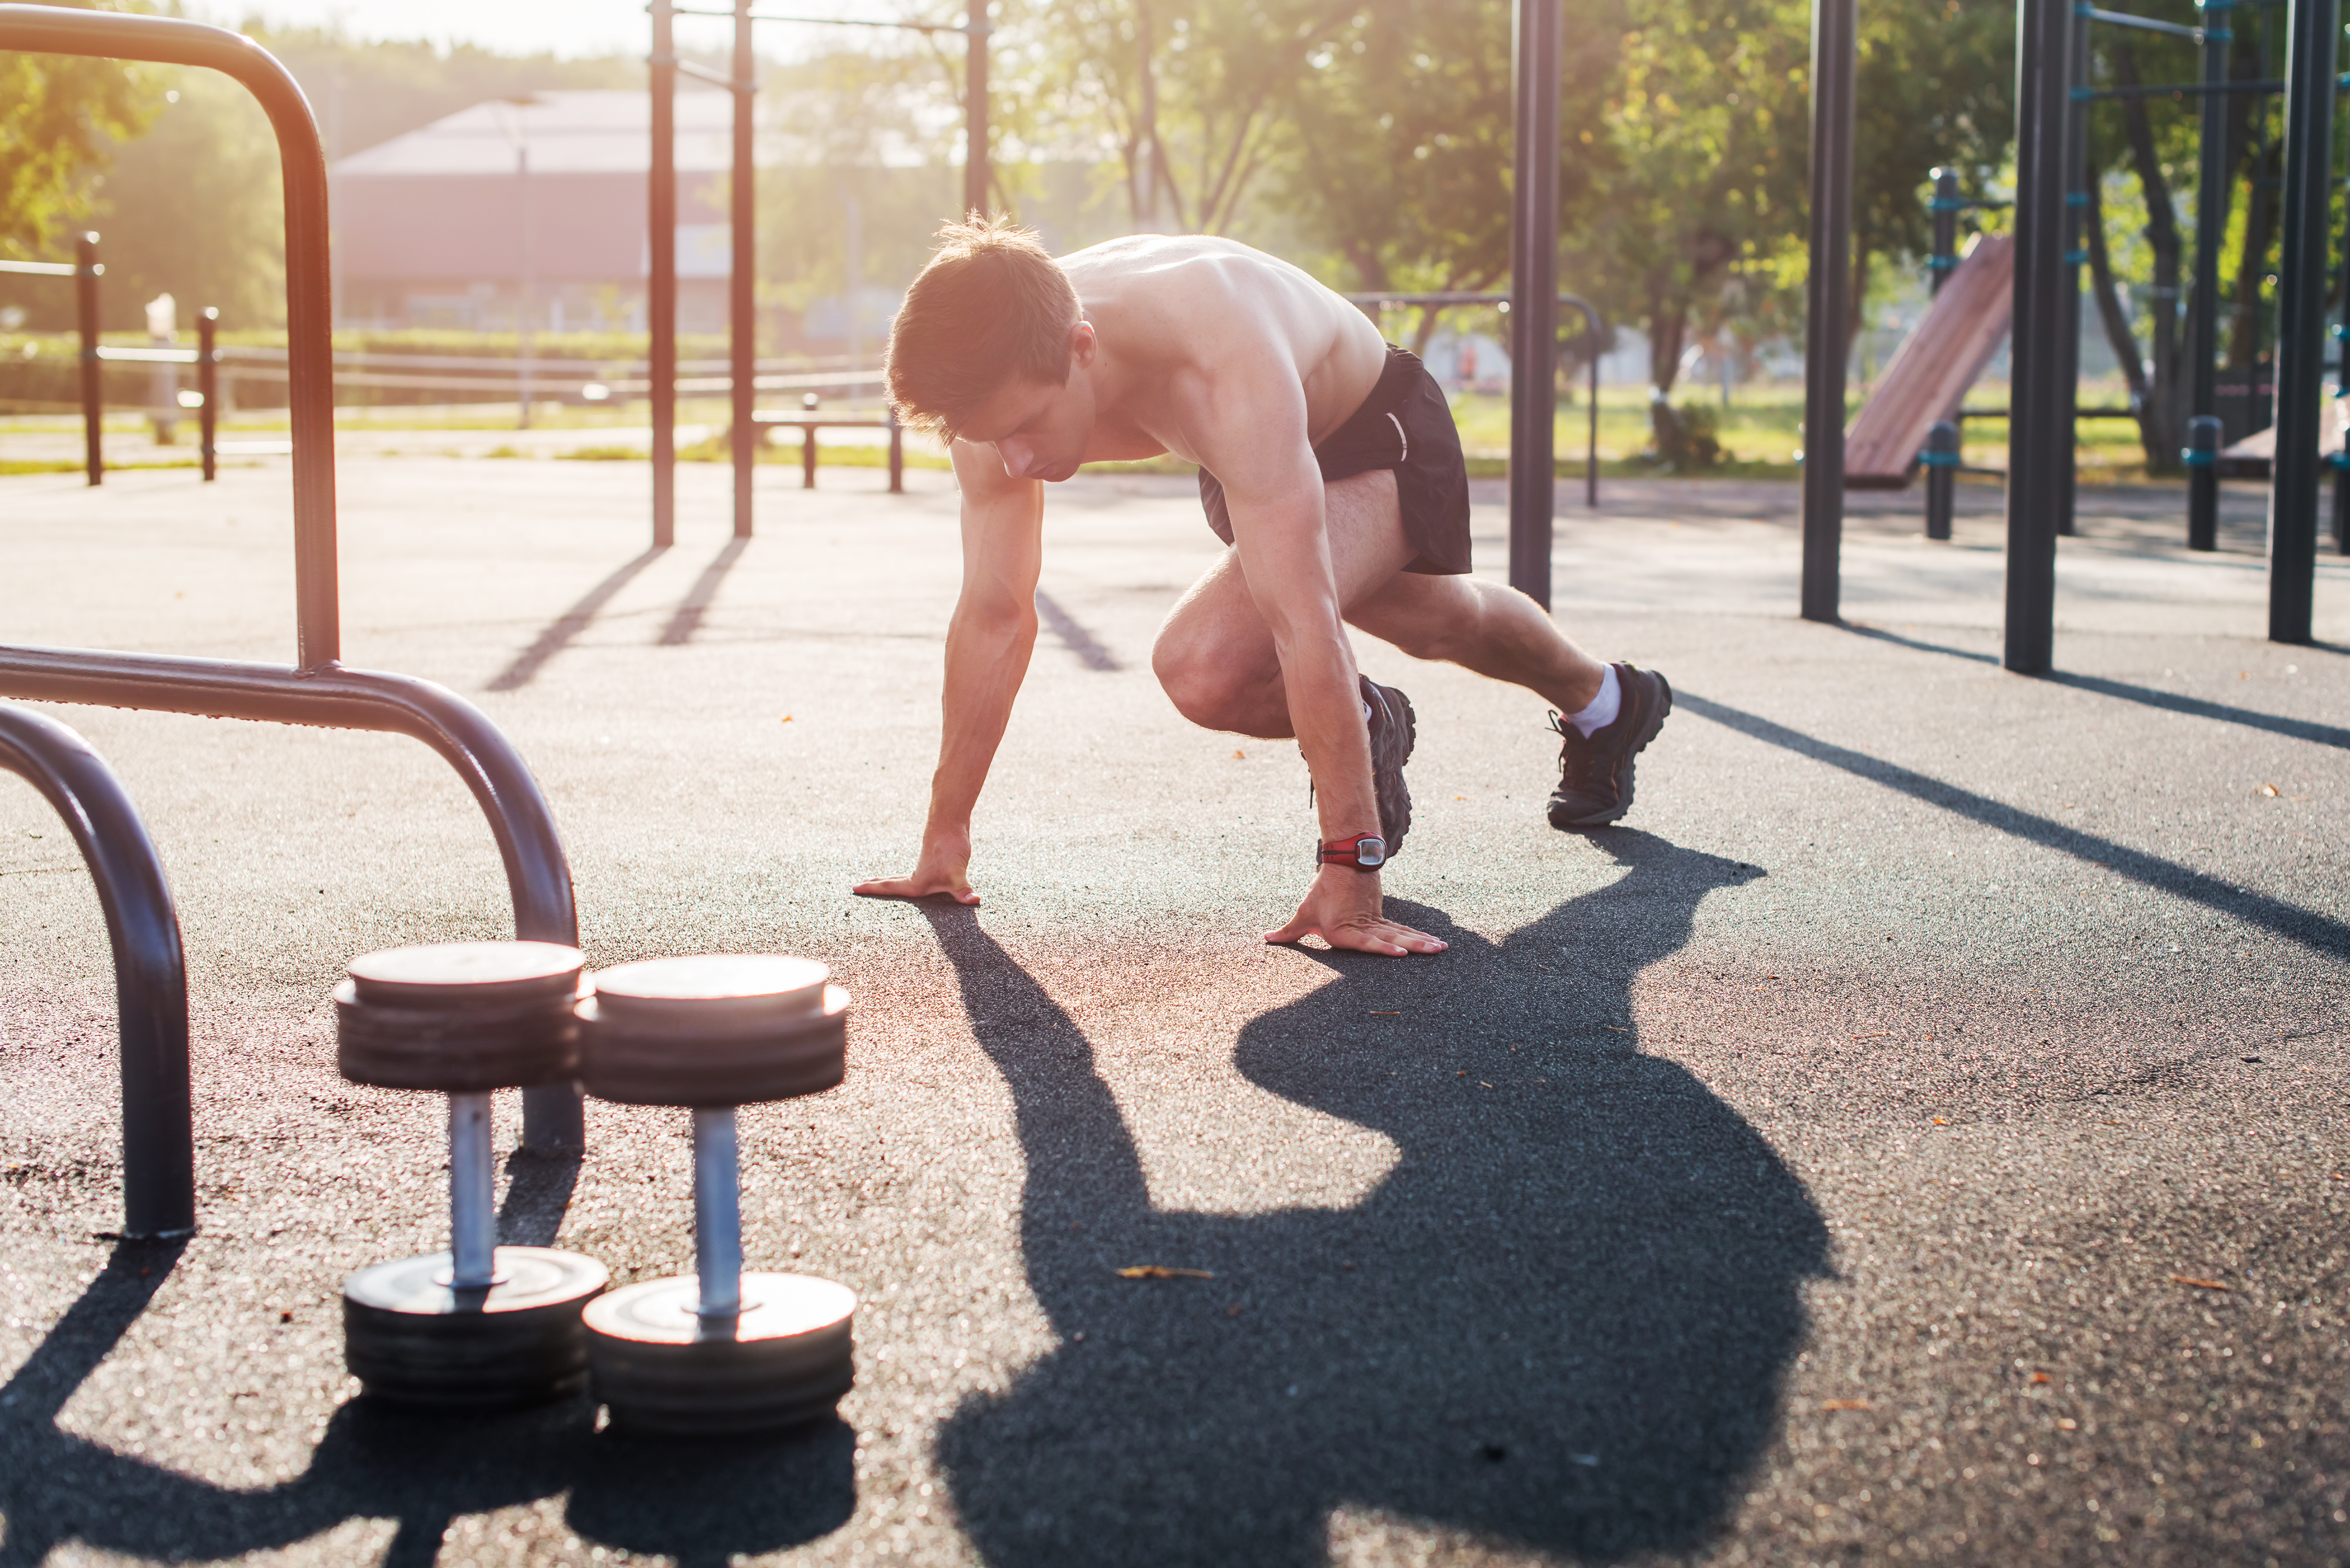
Mountain climbers sound like a tough exercise. It’s true! They’re no walk in the park. But, with challenge comes change and greater fitness. That’s the goal, right? Mountain climbers have you covered on all accounts. What is this powerful exercise and how can you add it to your fitness routine?

An Equipment-Free Movement

All you need to do mountain climbers is an exercise mat and a sturdy pair of exercise shoes. In the beginning, you can place your hands on a low riser or bench as opposed to the floor. Elevating the hands makes the exercise a bit easier. Here’s how to do a mountain climber:

•Stretch out on the floor with your feet. Your body should be in a straight line in a standard plank position. Keep your weight on the ball of your feet.

•Flex your right knee up toward your chest and bring it back down.

•As you bring the right knee down, quickly flex the left knee toward your chest and bring it back down.

•Keep switching the leg you bring toward your chest as quickly as possible.

Mountain climbers is an exercise that mimics the task of quickly climbing a mountain. The good news is you don’t have to leave home or find a mountain to do it! Yet, you can still get some of the fitness benefits of tackling an incline.

What Are the Fitness Benefits of Mountain Climbers?

You might wonder why you want to do mountain climbers in the first place. It’s a multi-faceted exercise. As little as 20 seconds of mountain climbers will quickly elevate your heart rate. Assuming you maintain a quick pace, mountain climbers qualify as a cardiovascular exercise. You may not start out at a super-fast pace, initially, but you can work up to faster speeds. As your fitness level increases, switch your legs back and forth in an explosive manner to further enhance aerobic and anaerobic fitness.

Mountain climbers also work multiple muscle groups simultaneously. You’re constantly moving your lower body as you switch your legs back and forth. With each leg switch, your hamstrings, quads, and glutes get a workout. Your deltoids, chest, and triceps are also targeted isometrically as you hold the plank position. Plus, the all-important core muscles contract to stabilize as you do the movements. So, it’s a total body workout.

Improve Agility and Mobility

One fitness attribute we sometimes fail to emphasize enough is agility. Mountain climbers require coordination, quick reaction time, and stamina. Doing them regularly also improves agility. This can improve your performance in sports that require quick movements and changes in direction. You can be strong and have good stamina, but if you lack agility, you’ll have a hard time excelling at sports like volleyball, soccer, basketball, and rugby. They can also make you a better mountain climber!

Mountain climbers will also improve your hip mobility. Most of us have tight hip flexors from sitting too much during the day. When your hip flexors are shortened and tight, it throws off postural alignment and can trigger back pain. Mountain climbers are also an ideal exercise for increasing the mobility of your hips. Hip mobility is often a limiting factor for other exercises, especially exercises like kettlebell swings that use a hip hinge movement.

Conclusion

Mountain climbers improve multiple aspects of fitness, including muscle endurance, agility, speed, power, and coordination. It’s a dynamic exercise that’ll get you in shape fast. But, as with all exercises, you’ll get more out of them and reduce your risk of injury if you use good form. Don’t get so caught up in making the movement fast and explosive that you let your hips or back sag and don’t maintain proper alignment. Always keep your weight balanced between your two feet. If possible, have someone snap a video while you’re doing the exercise and make sure you’re doing the exercise with good form.

With mountain climbers, you can combine strength training and cardio. Just do 20 or 30 seconds of mountain climbers in between your strength training moves. Mountain climbers are a low-impact exercise that doesn’t place added stress on your joints as long periods of running can. Take advantage of this dynamic and highly efficient exercise and make mountain climbers part of your fitness training routine!

References:

Movement as Medicine. “4 Hip Mobility Drills to Improve Your Squat”

Stack.com. “Why You’re Doing Mountain Climbers Wrong and How to Fix Them”